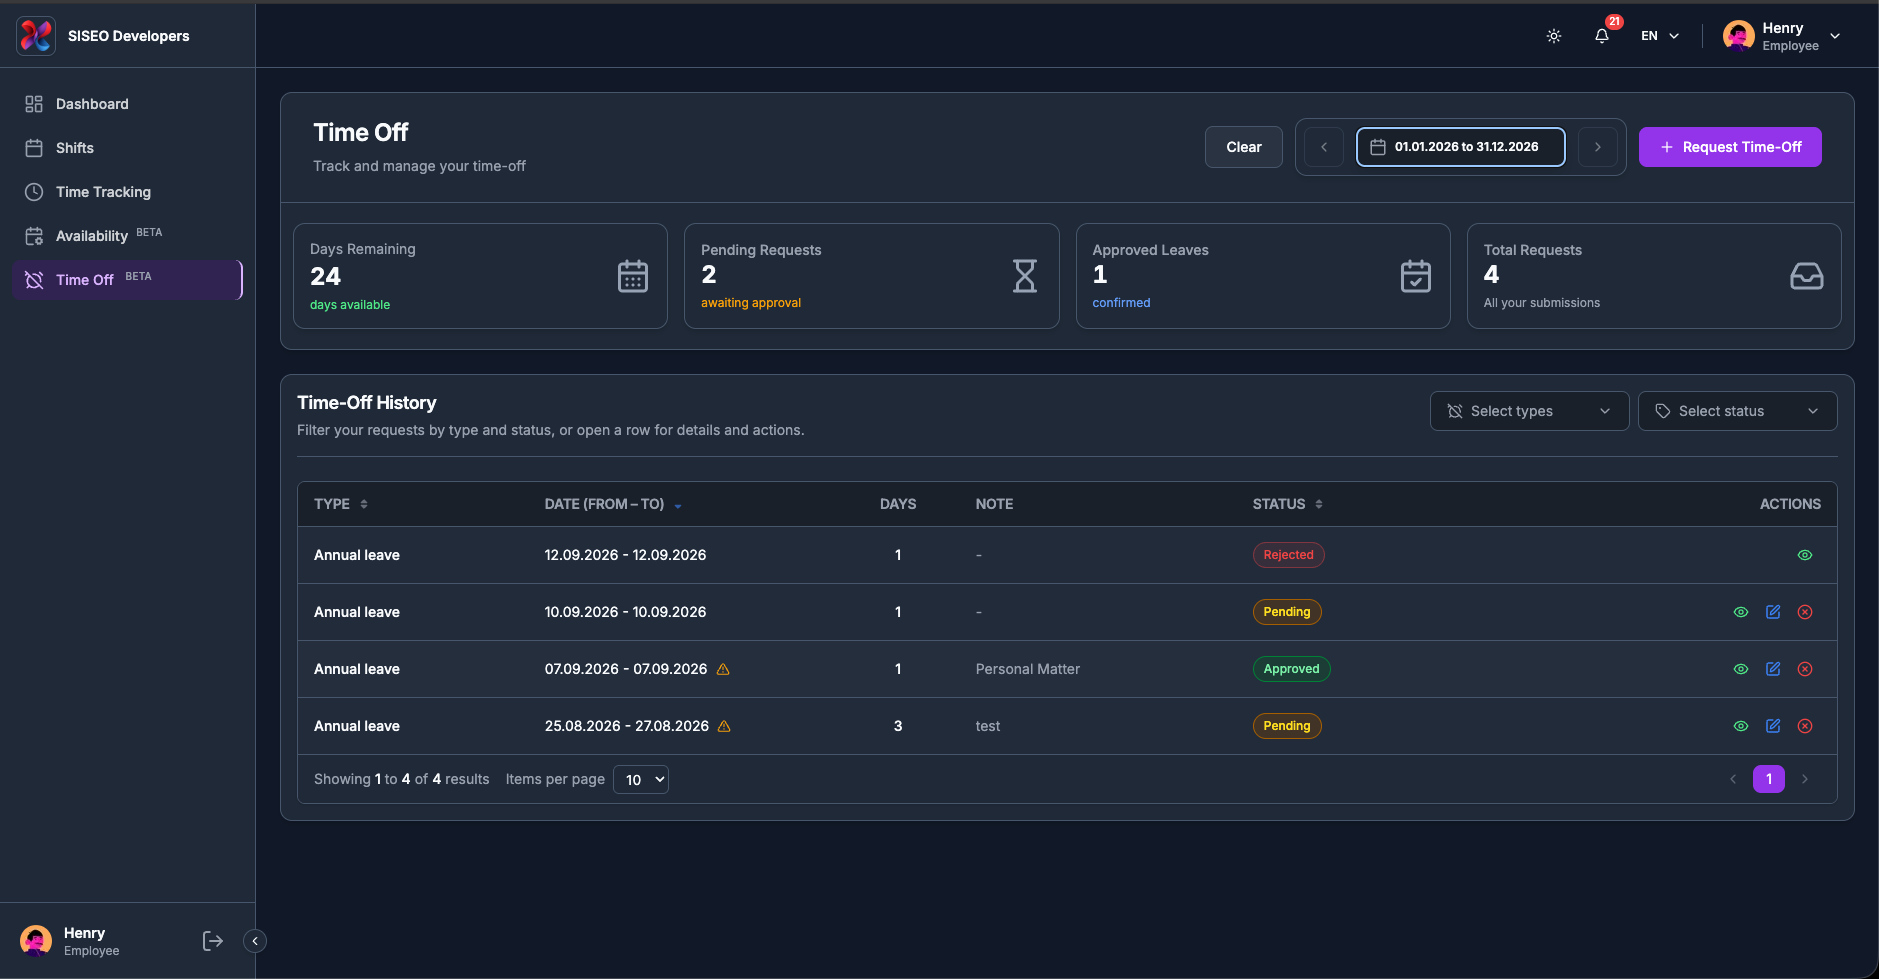
The Time Off page is where you ask for leave and follow what happened to the request. It shows how many days you have left, what is still waiting on your manager, and the full history of everything you have submitted.
5.1Overview
Two blocks:
5.2The summary cards
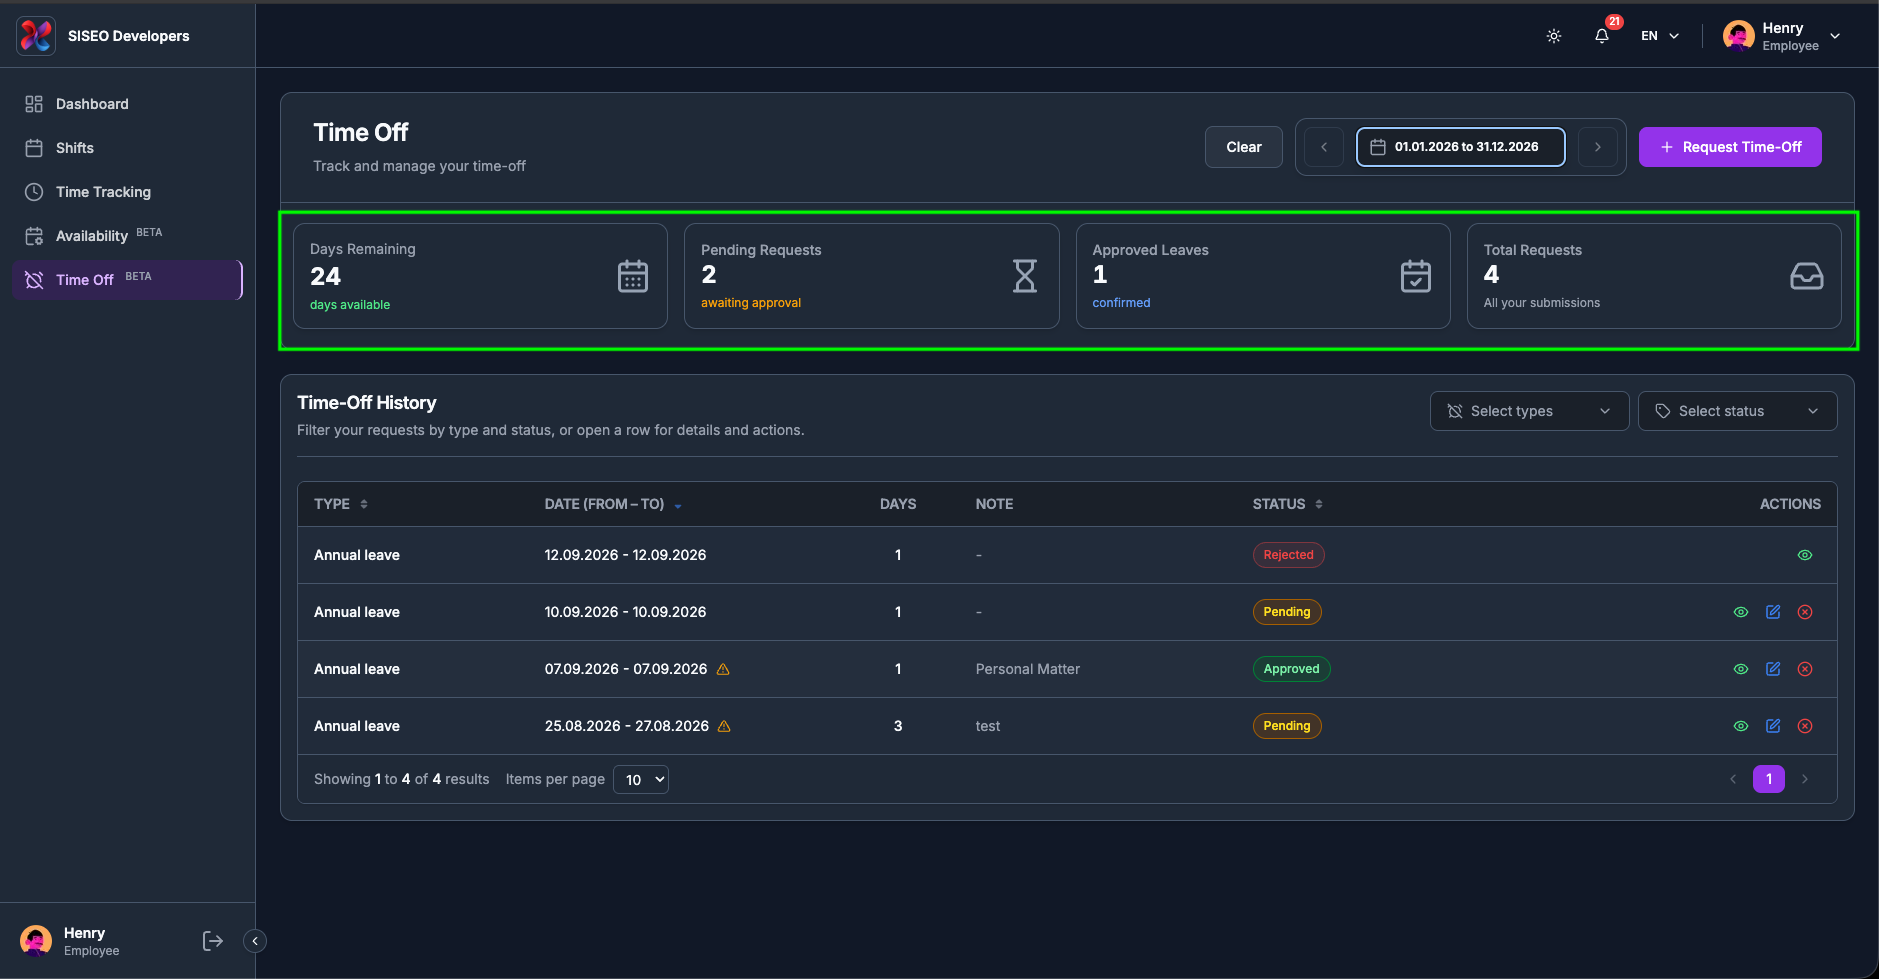
5.2.1What Days Remaining actually counts
It is your entitlement for the current year minus the days already approved in that year, and sick leave is excluded from the subtraction. Two consequences worth knowing:
5.2.2The date range
The picker works as described in 2.4 and defaults to this month; a Clear button appears beside it whenever the range is something else. A request is shown if any part of it falls inside the range, so a holiday spanning two months appears in both.
5.3The Time-Off History table
5.3.1The columns
5.3.2The shift-conflict warning
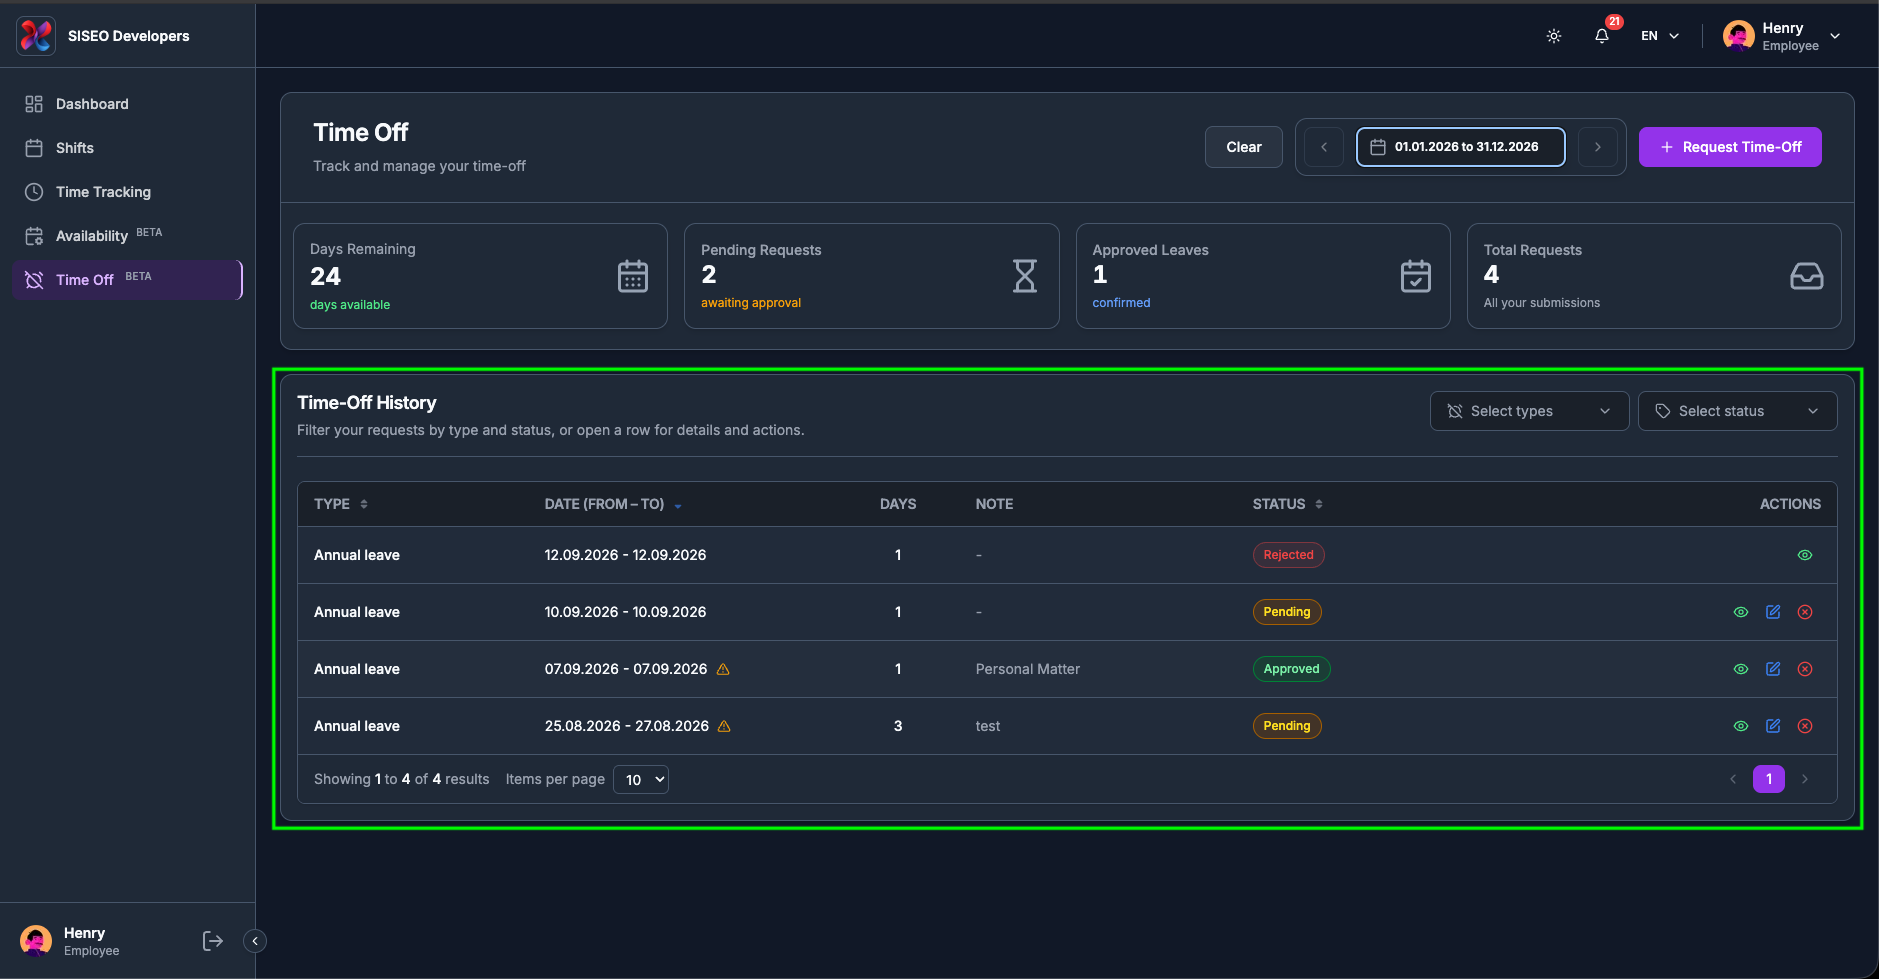
An orange triangle beside a date means the request overlaps shifts you are already on. Hovering it says how many, for example 2 shifts conflicted. Only Scheduled and Confirmed shifts count; cancelled ones are ignored. It is a flag for you and your manager, not a block.
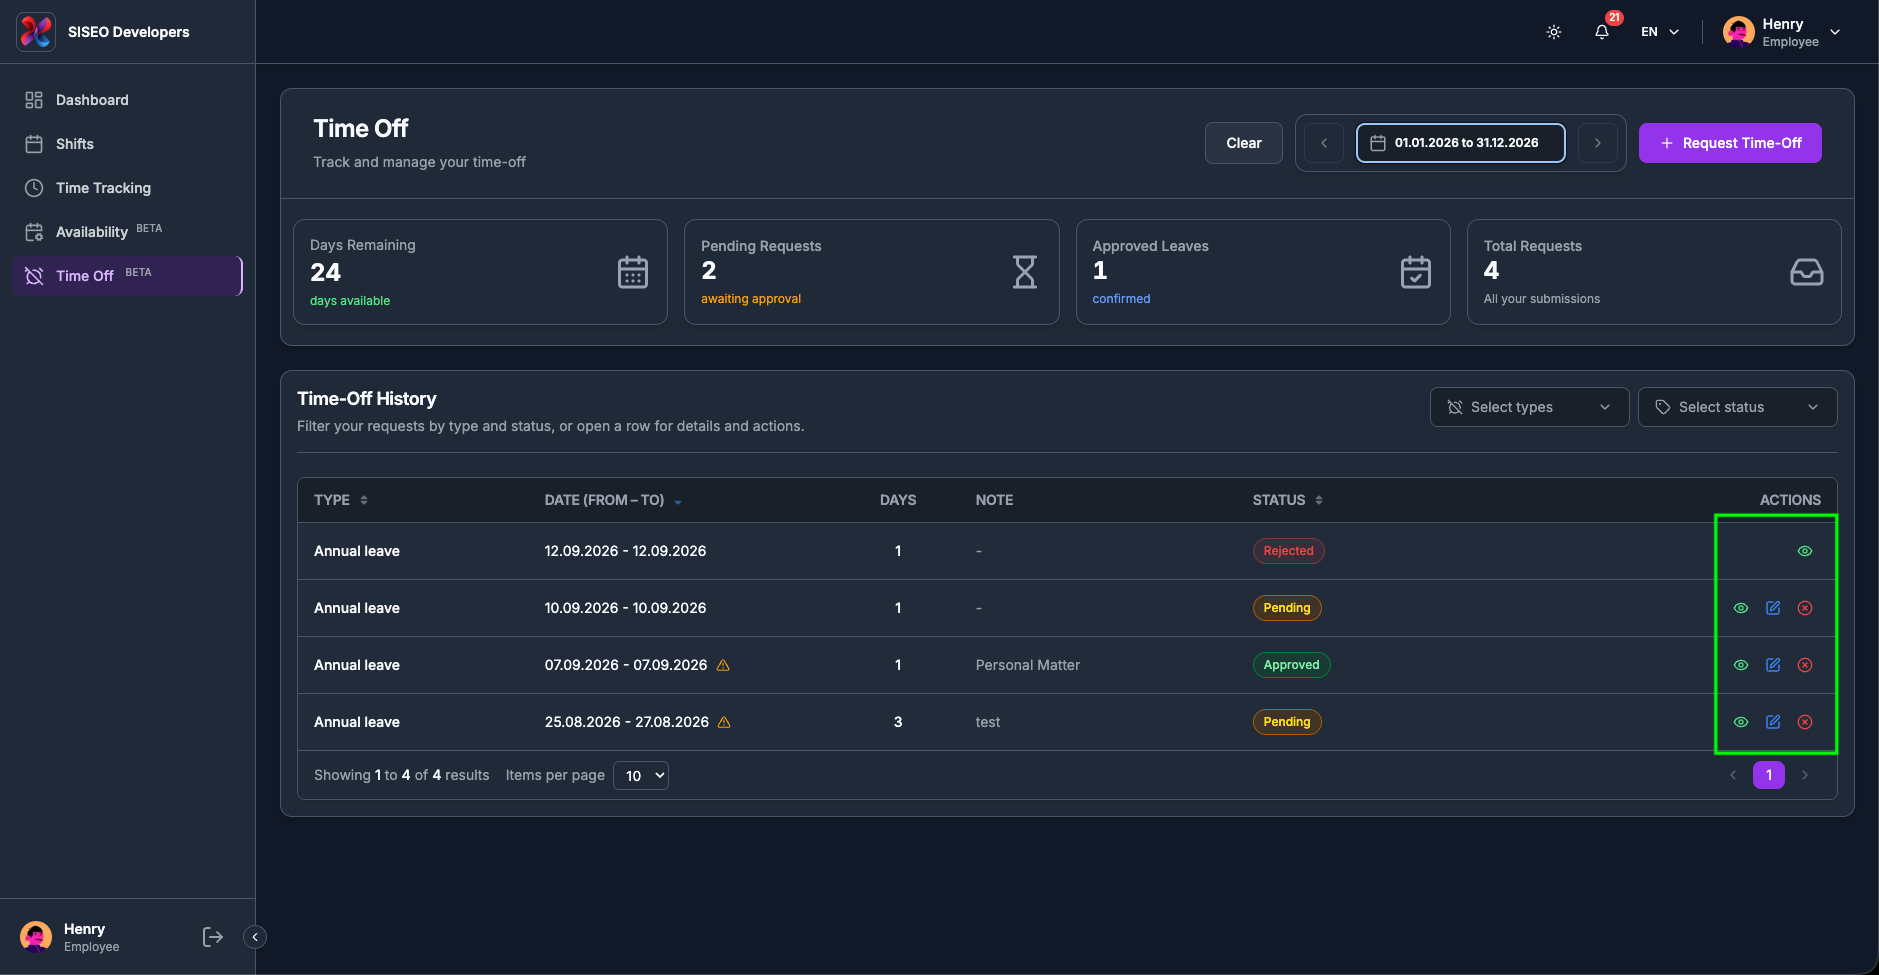
5.3.3The row actions
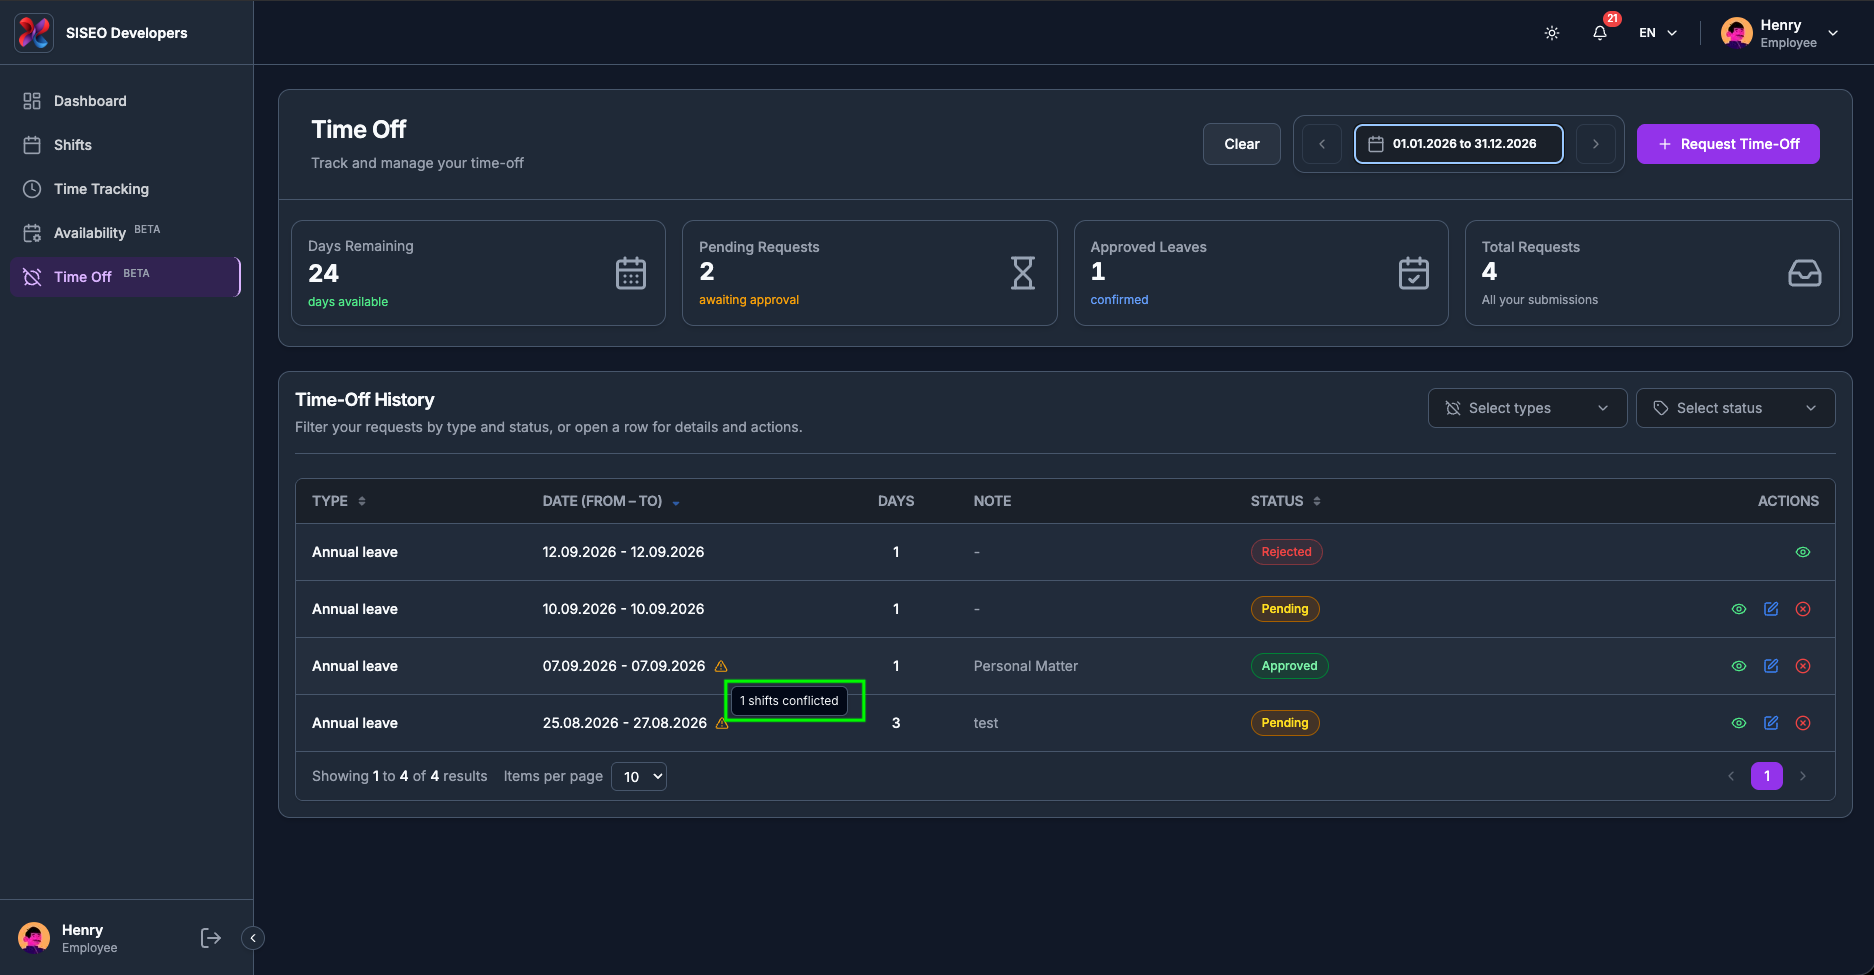
A rejected or already-cancelled request has the eye only, there is nothing left to do to it.
5.4Request statuses
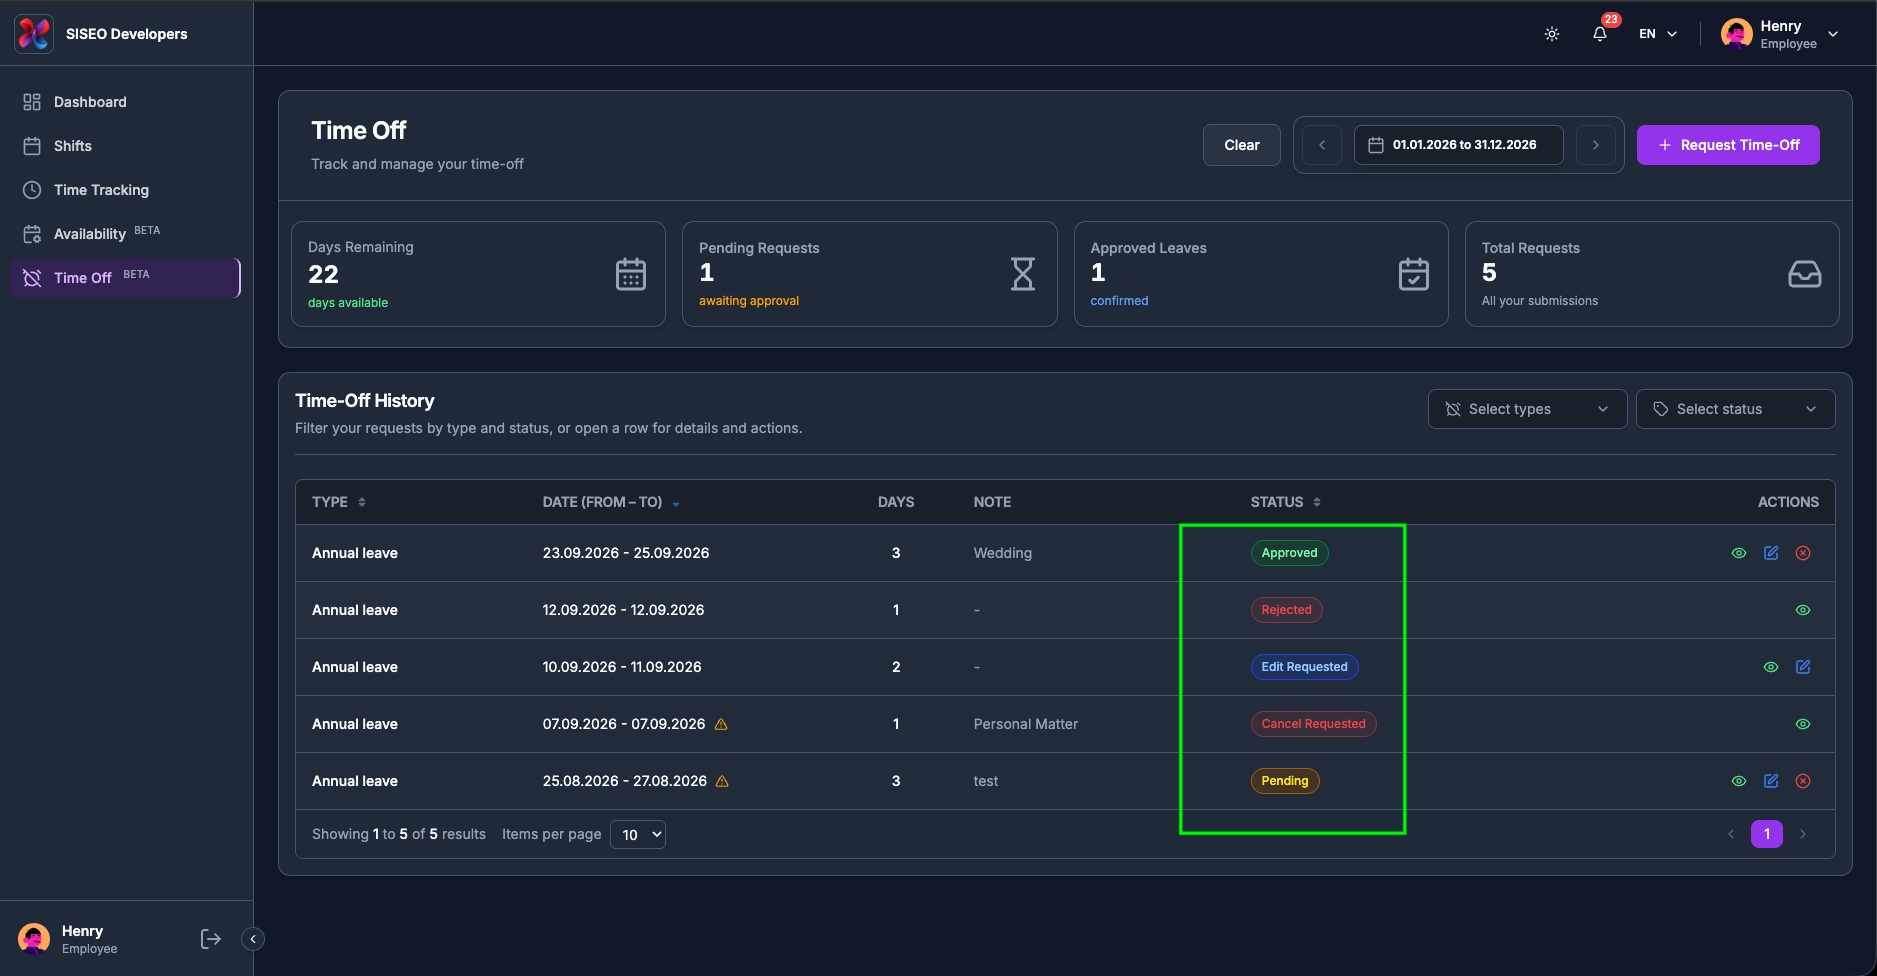
| Status | Badge | Meaning |
|---|---|---|
| Pending | Yellow | Submitted, waiting for your manager. |
| Approved | Green | Granted. The days are booked against your balance. |
| Rejected | Red | Turned down. Nothing is deducted. |
| Edit Requested | Blue | You changed an already-approved request; the change is waiting for approval. The original approved version still stands until it is decided. |
| Cancel Requested | Red | You asked to cancel an approved request; the cancellation is waiting for approval. |
| Cancelled | Grey | Cancelled and closed. The days go back to your balance. |
| Sick | Purple | An approved sick-leave request. Shown in its own colour so it stands out from ordinary leave, and it does not come off your balance (6.2.1). |
5.5Requesting time off
5.5.1How to submit a request
-
1
Click Request Time-Off at the top right. The Leave Request dialog opens with your name and personnel number filled in at the top; neither can be changed.
-
2
In the calendar on the left, click every day you want off. It is a multi-select and the days need not be next to each other, each click adds one, clicking again removes it.
-
3
Choose the Leave Type. The rules for that type appear underneath as soon as you pick it.
-
4
Set Return to Work if your company asks for it, add a Reason, and attach any documents (6.5.2).
-
5
Check Leave Days Count, it is calculated for you and cannot be typed into, then click Submit Request.
5.5.2Attaching documents
Drag files onto the upload area or click it to browse. PDF, DOC, DOCX, JPG and PNG are accepted, up to 10 MB each, and you can attach several, the label counts them. Remove takes one off again.
Where the type requires documents, submitting without one gives “Supporting documents are required for this leave type”.
5.6The detail panel
The eye opens a panel on the right, subtitled Time-Off Details and led by the request’s status badge. It holds:
Edit and Cancel Request sit at the bottom, on the same conditions as the row actions.
5.7Changing or cancelling a request
5.7.1How to edit
Click the pencil, on the row or in the detail panel. Edit Leave Request opens with everything filled in, and works exactly like the request dialog.
5.7.2How to cancel
-
1
Click × on the row, or Cancel Request in the detail panel.
-
2
Request Cancellation? explains it: “Your manager will need to approve this request. Once approved, the days will be credited back to your balance.”
-
3
Click Request Cancellation.
The status becomes Cancel Requested. Your days come back only once your manager approves it, cancelling is a request like any other, not an undo button.
Leave a Reply