The Availability page is where you tell your employer when you can and cannot work, and, separately, when you would prefer to. Nothing here books a shift. It is information your manager uses when building the rota.
4.1Overview
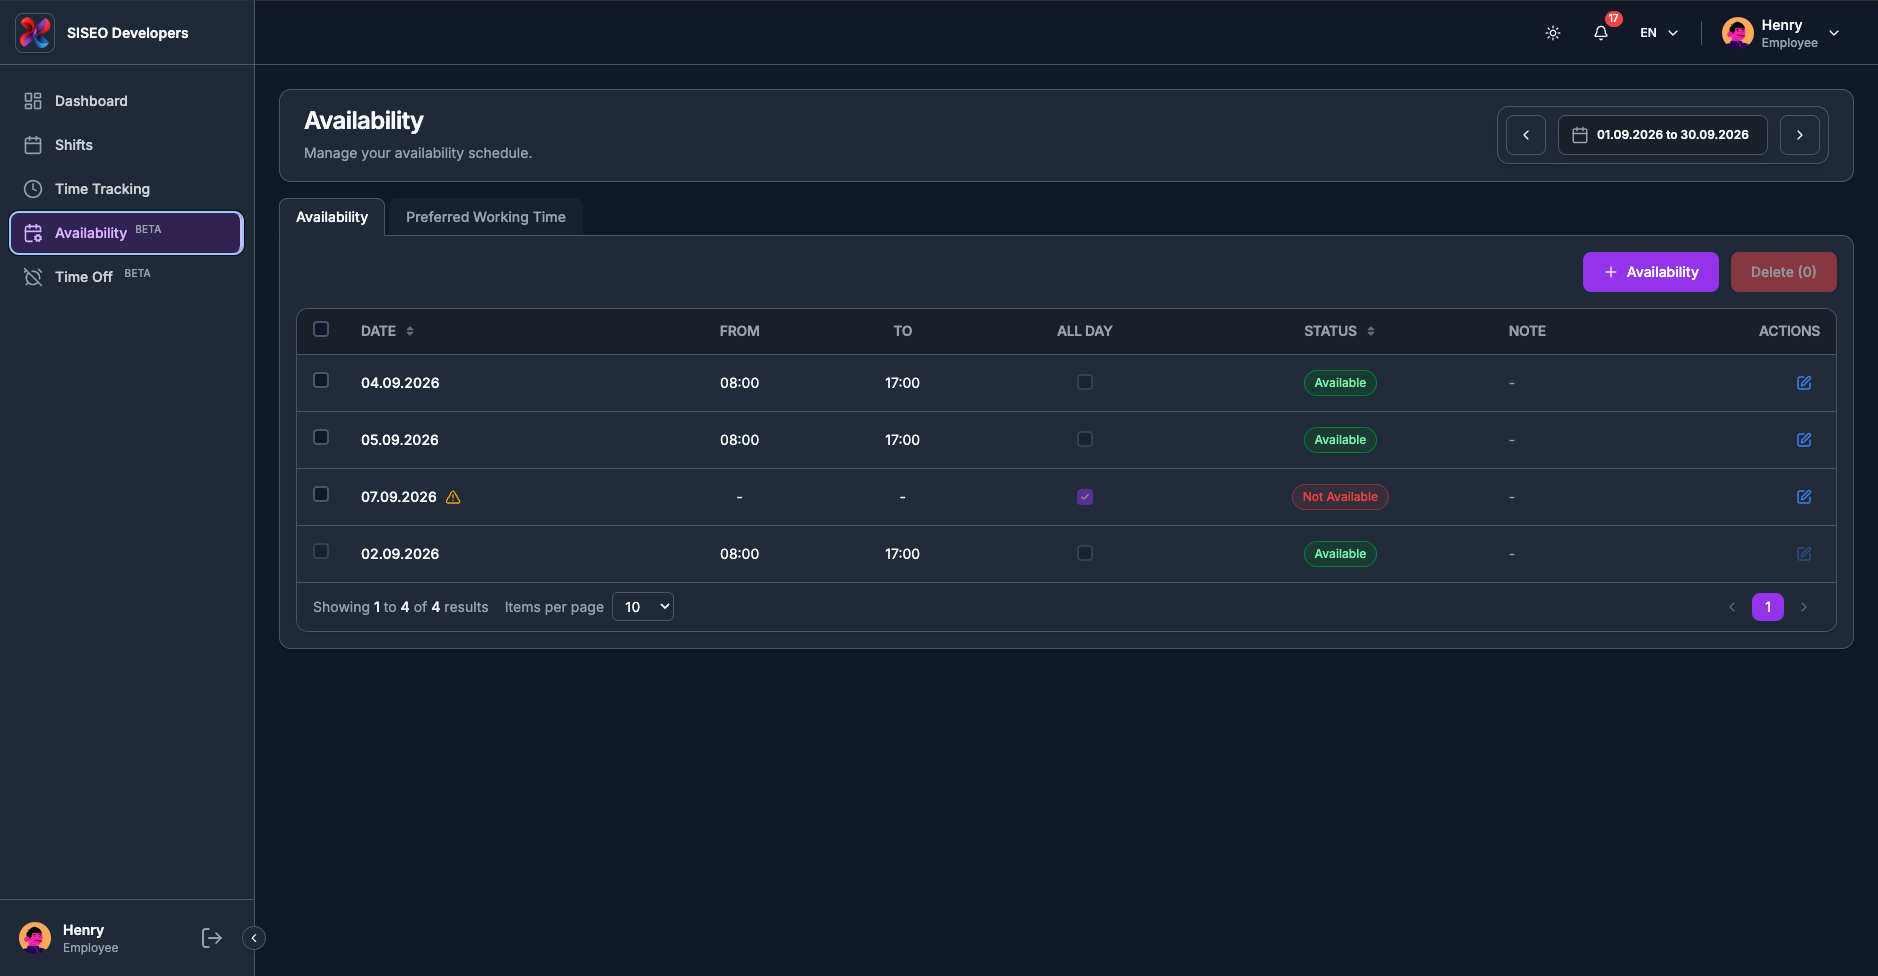
The page is a title, a date-range control, and two tabs. Each tab is its own module, with its own table, its own dialogs and its own + button:
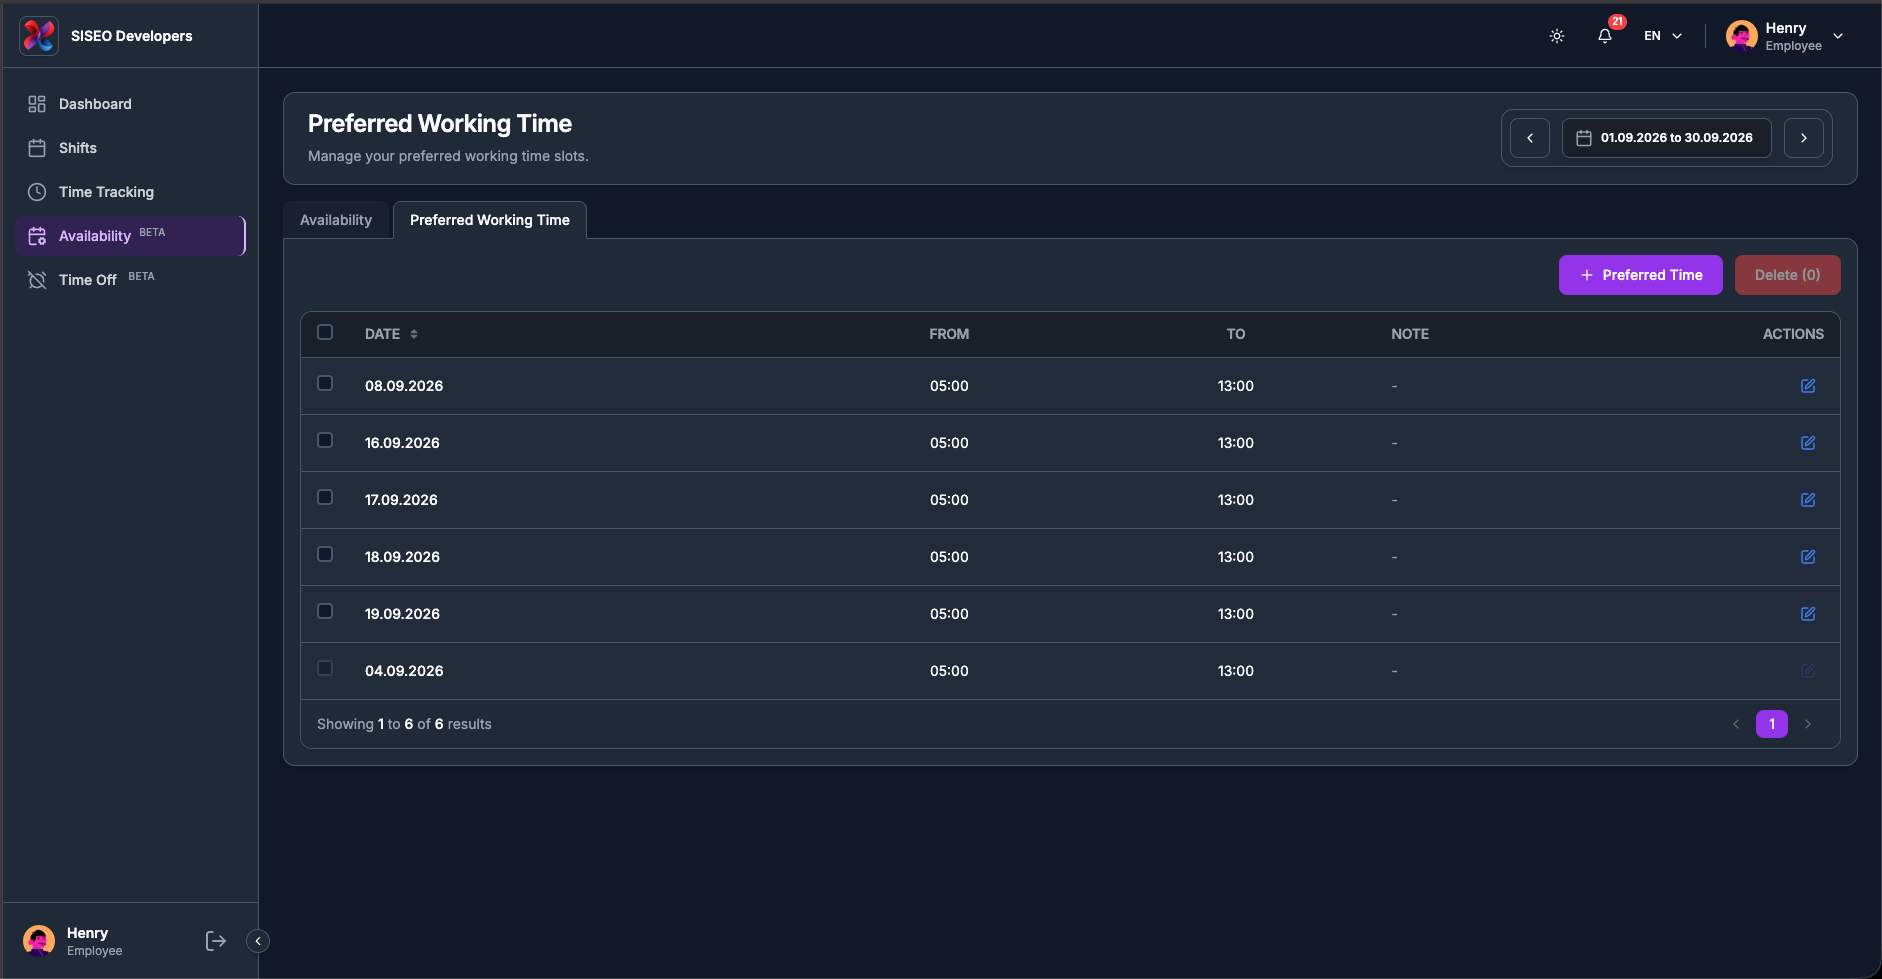
The page title and subtitle change with the tab: Availability, “Manage your availability schedule.”, or Preferred Working Time, “Manage your preferred working time slots.” The date picker at the top right stays where it is and applies to both.
4.2The date range
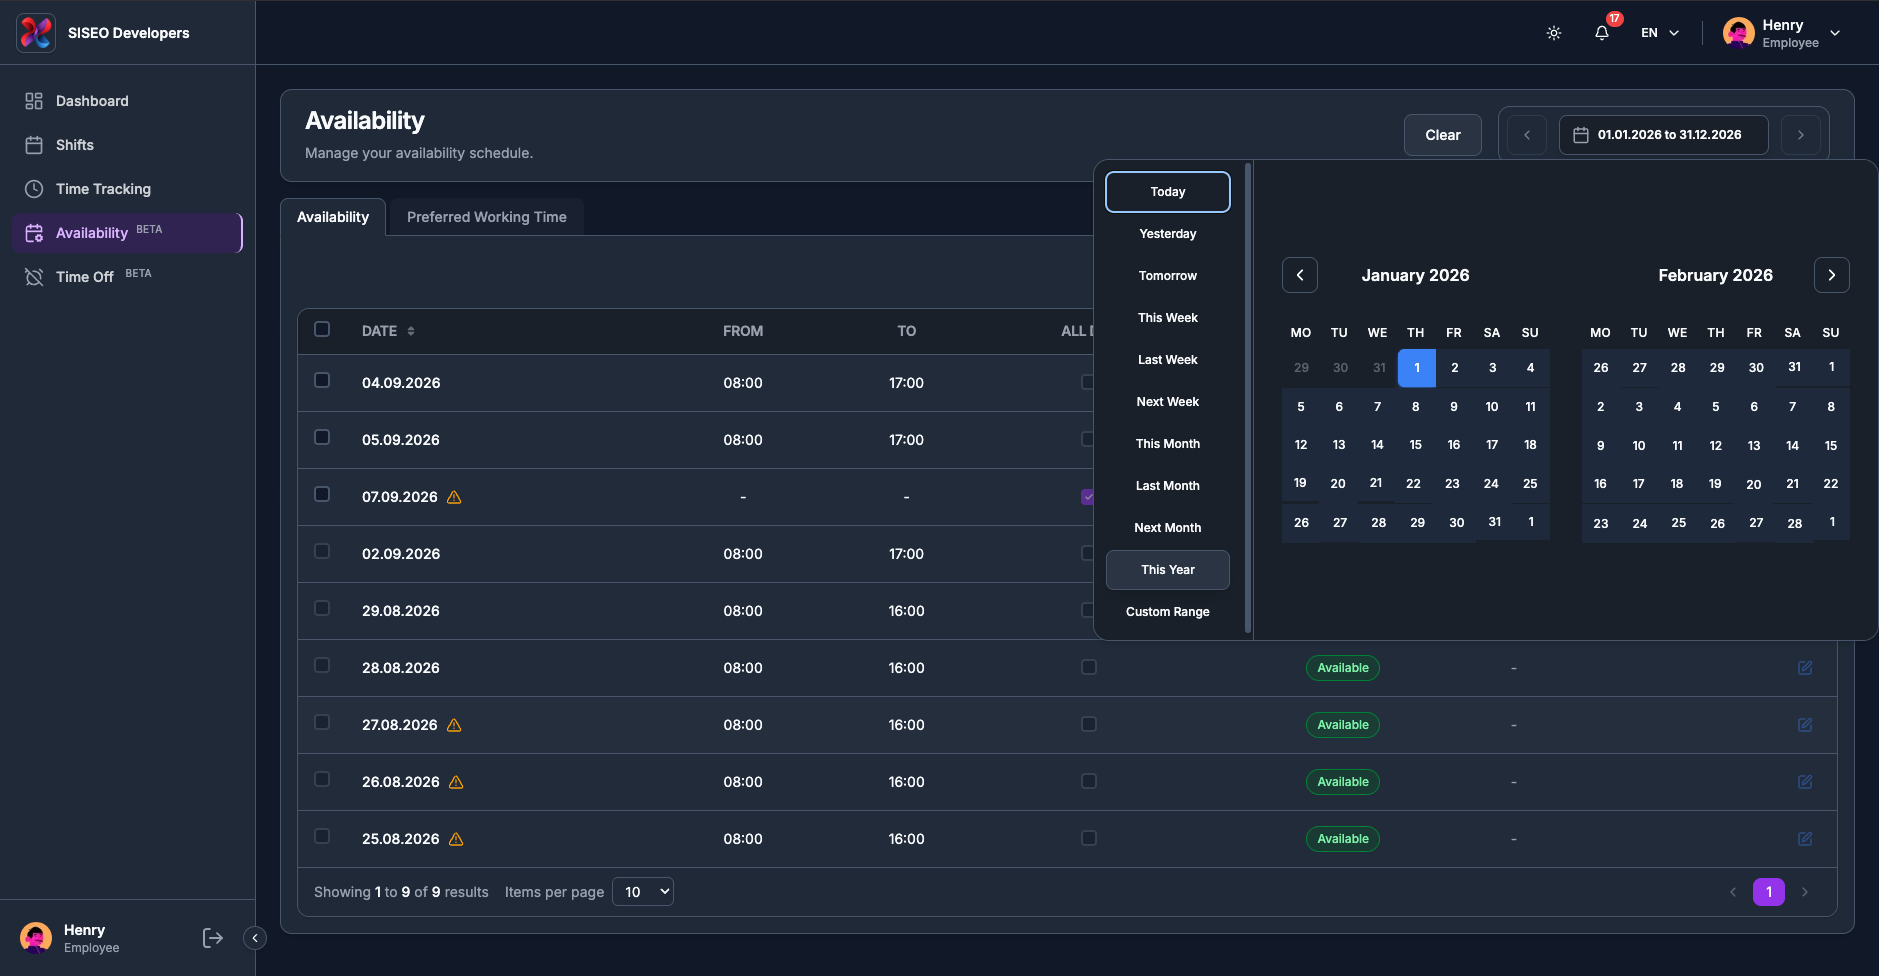
The picker at the top right works as described in 2.4, with one addition: it also offers a This Year preset, which is useful here because availability is often planned months ahead.
The page opens on this month. A Clear button appears beside the picker as soon as the range is anything else, and takes you straight back to this month.
Both tables show only entries whose date falls inside the range. As everywhere else in TAMEDA, an entry you cannot find is usually outside the range rather than gone.
4.3The Availability tab
4.3.1Availability table
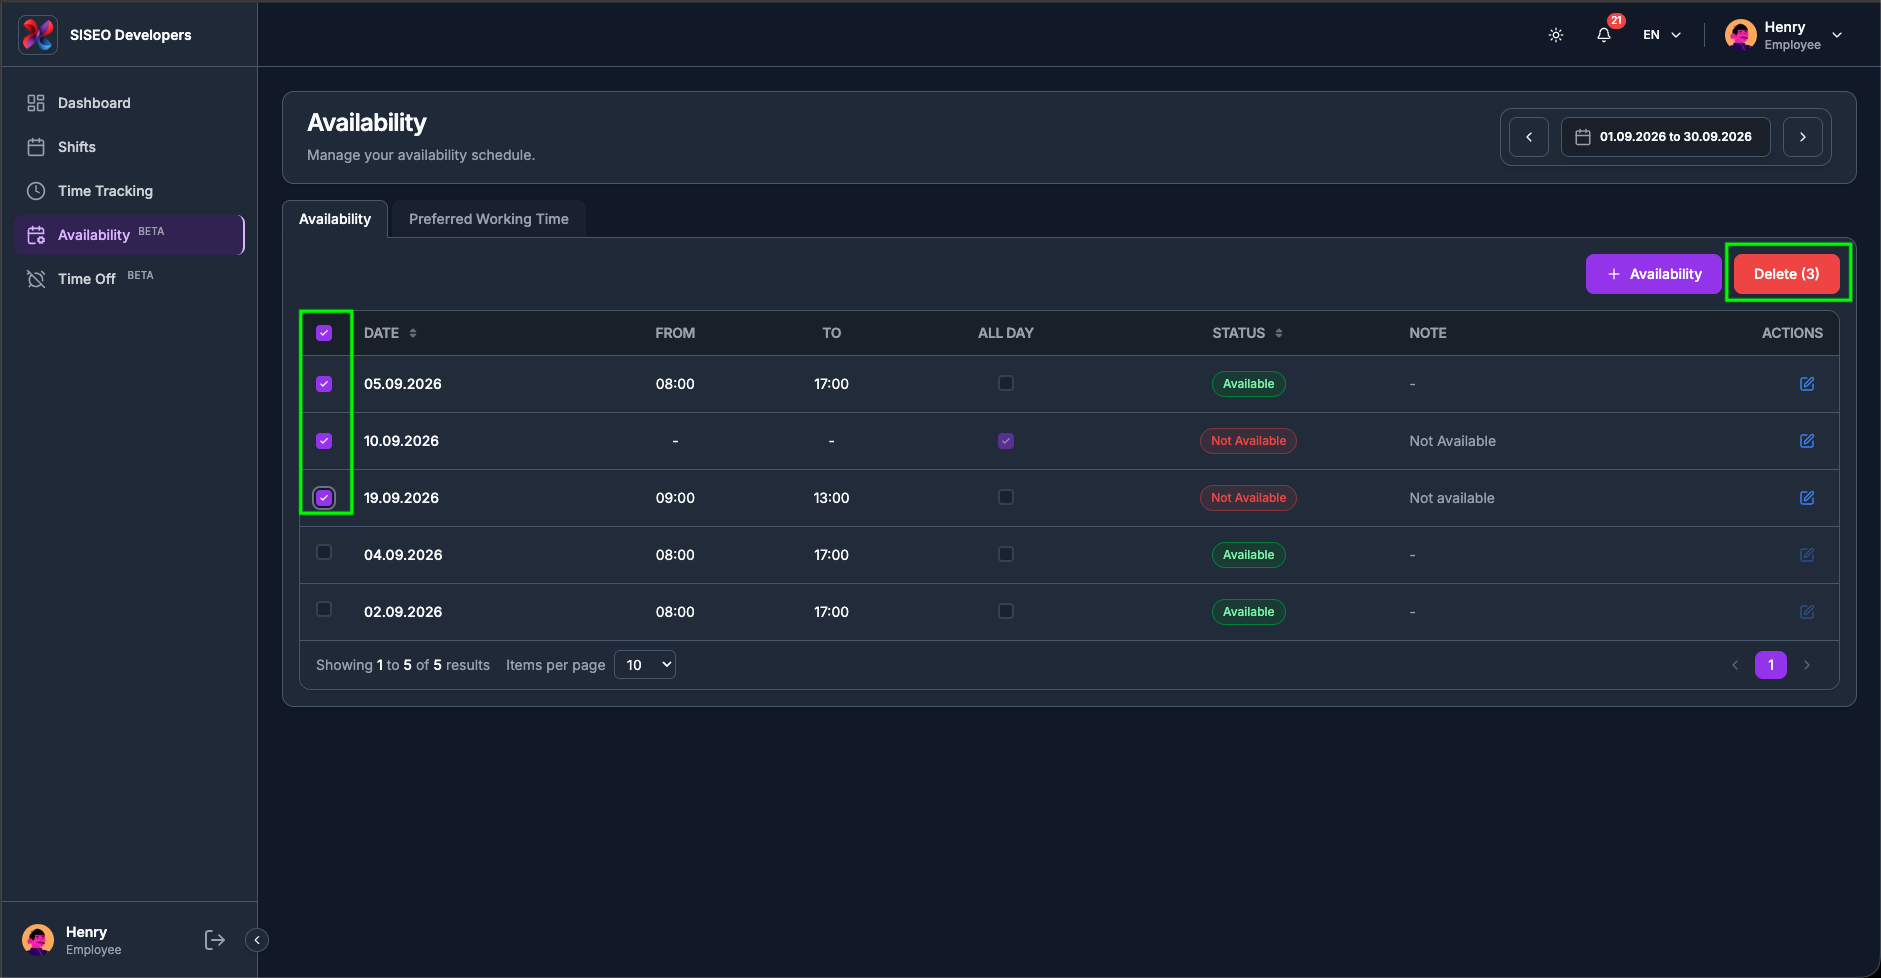
A checkbox column sits at the far left for selecting rows to delete.
4.3.2The statuses
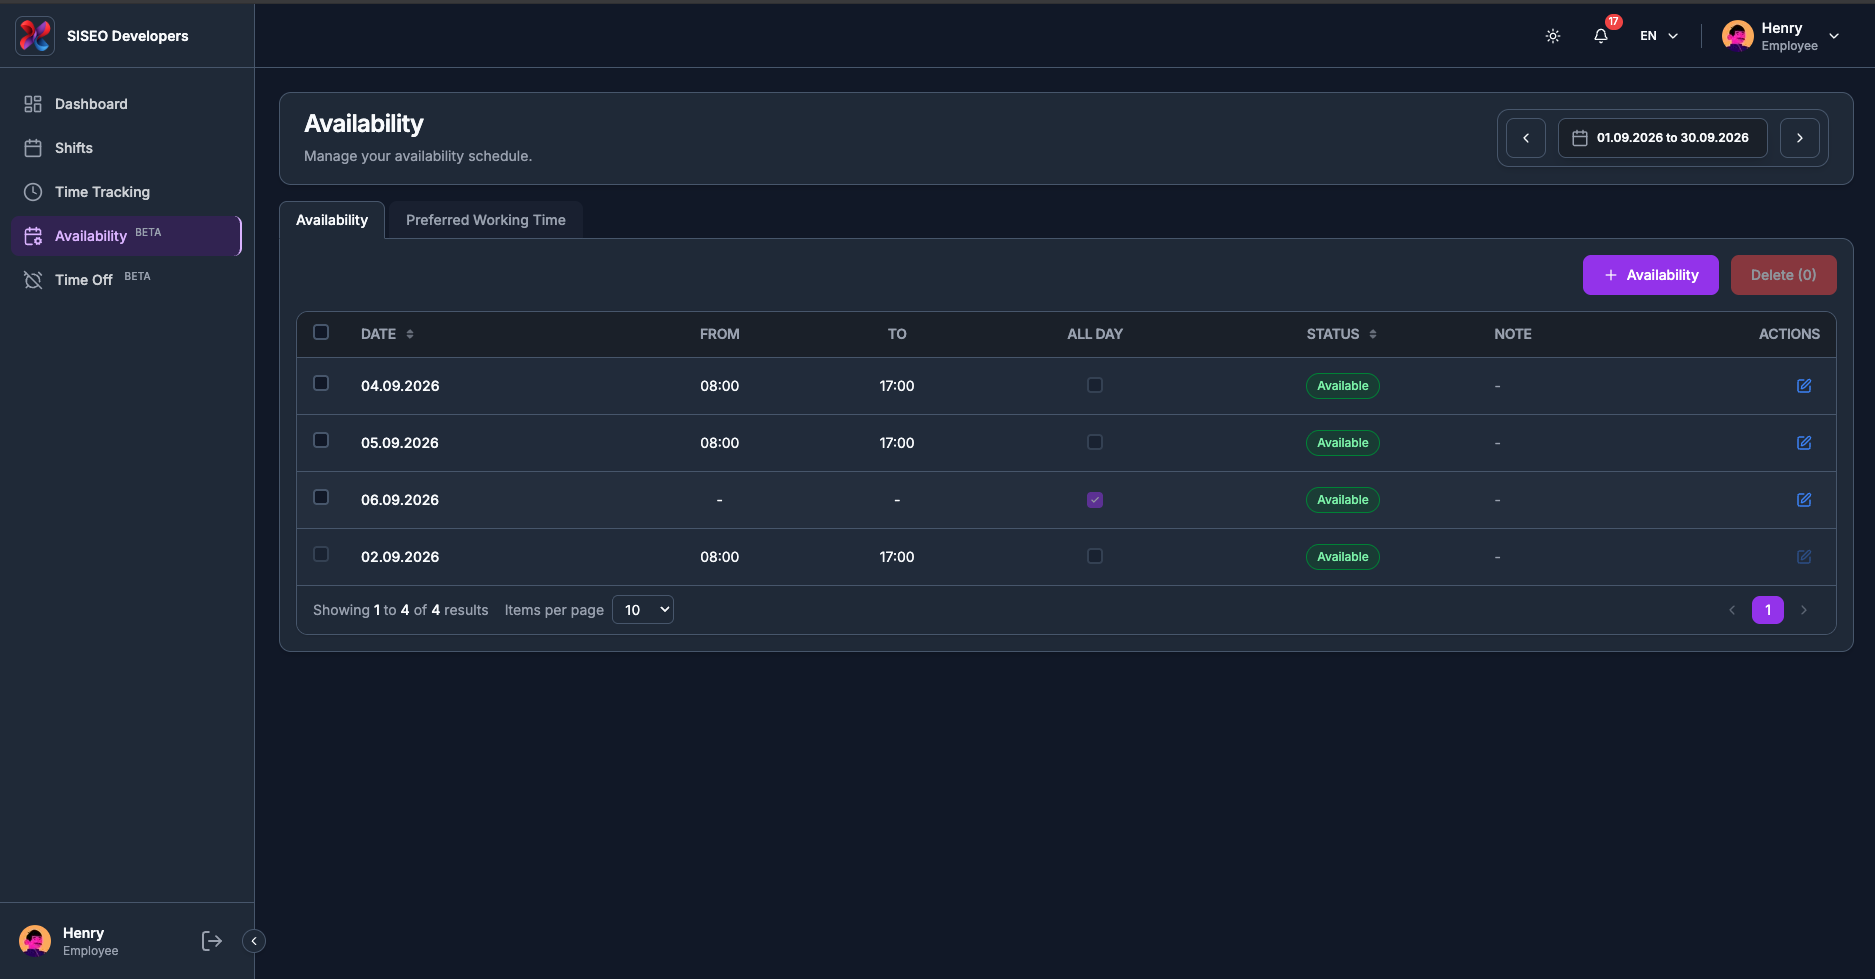
You can set two statuses. Two more exist that only your manager can set:
| Status | Badge | Meaning |
|---|---|---|
| Available | Green | You can work that day, within the hours given. |
| Not Available | Red | You cannot work that day, or not within those hours. |
| Sick | Red | Recorded sickness. |
| Holiday | Red | Recorded holiday. |
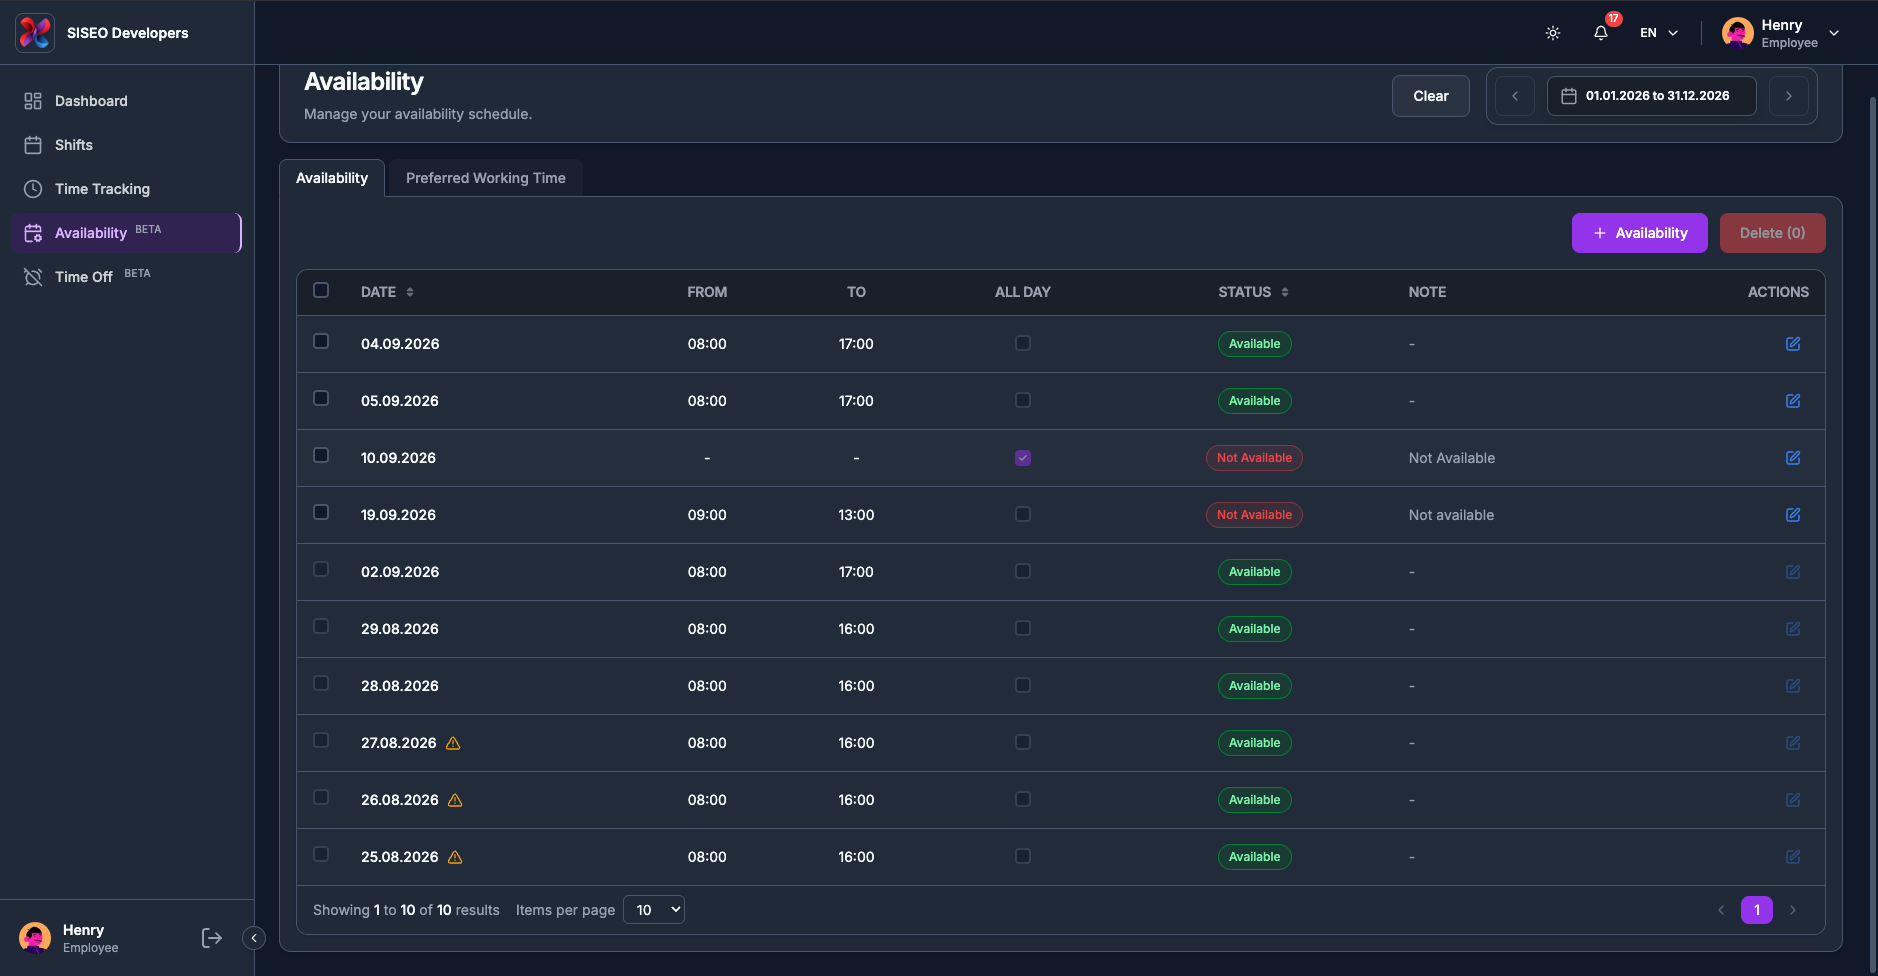
Editing a Sick or Holiday entry with the pencil is possible while it is in the future, but the status dropdown only offers Available and Not Available, saving therefore converts it into an ordinary entry. If your manager recorded it, leave it alone.
4.3.3How to add availability
-
1
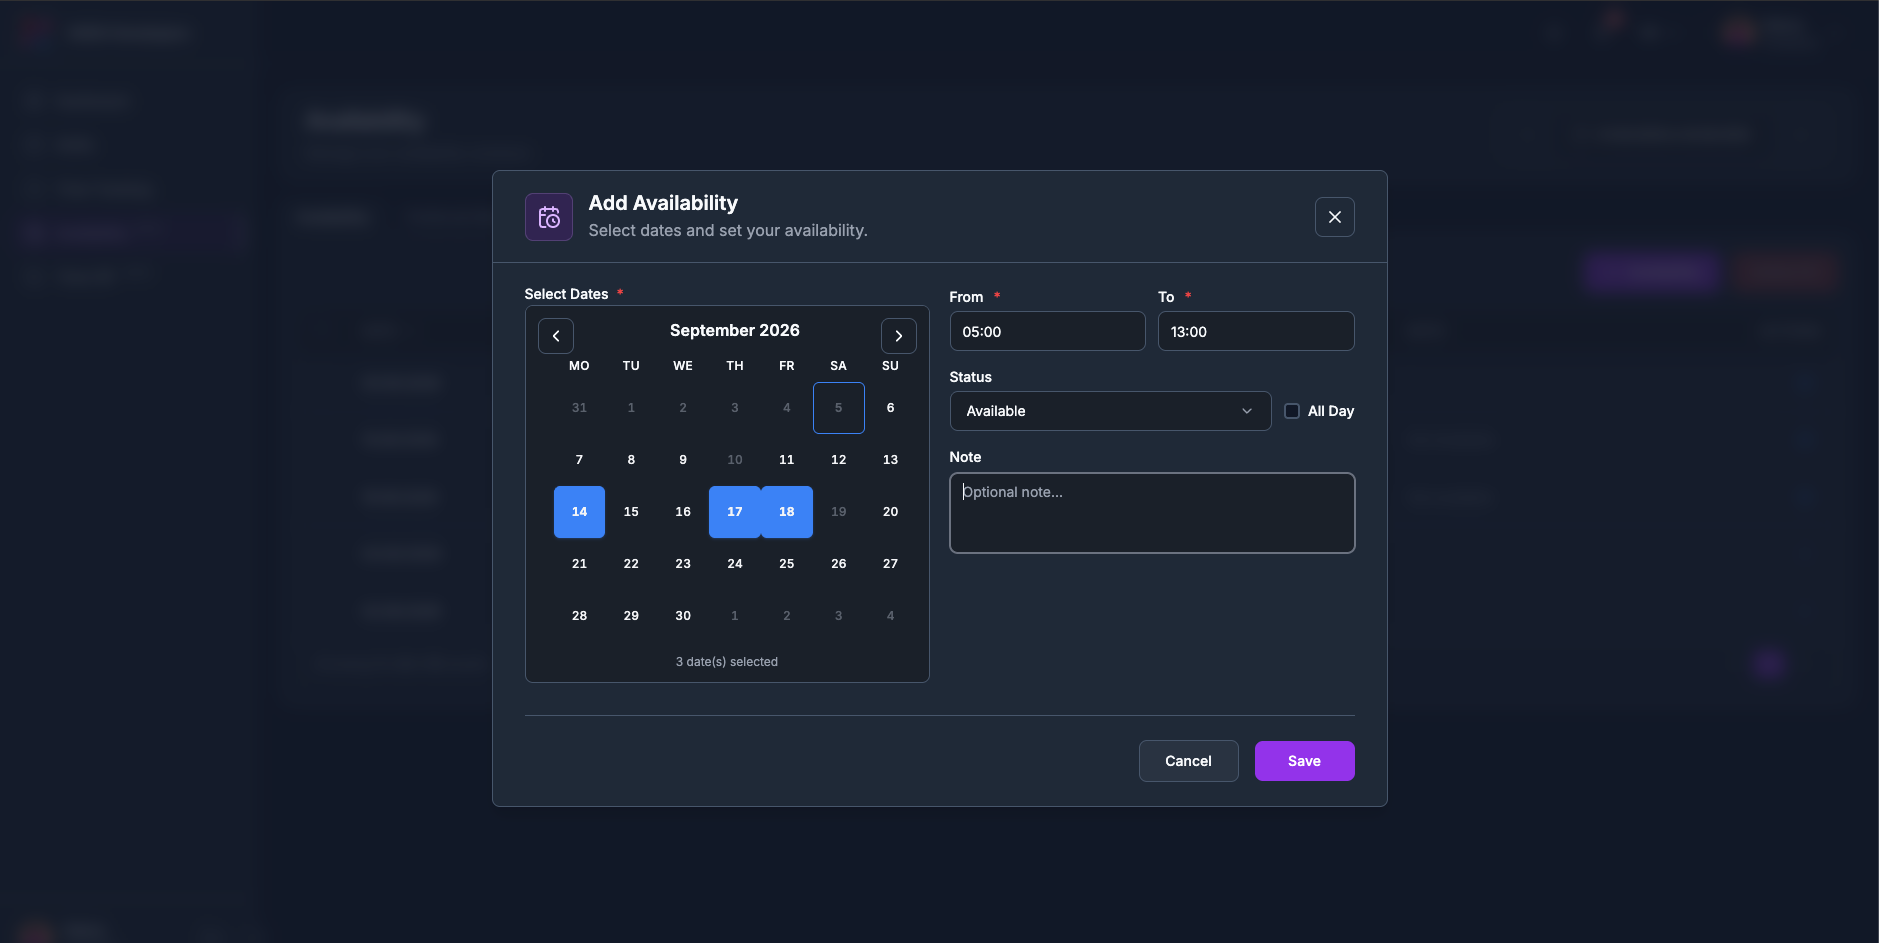
Click + Availability. The dialog Add Availability opens, “Select dates and set your availability.” (The button is briefly disabled while the page loads its data.)
-
2
In the calendar, click every day this should apply to. It is a multi-select and the days need not be consecutive; the count underneath reads, for example, 4 date(s) selected. Clicking a selected day again removes it. Past days, and days that already have an entry, are greyed out.
-
3
Type From and To as HH:MM, or tick All Day, which empties and disables both fields.
-
4
Choose the Status: Available or Not Available.
-
5
Add a Note if it helps your manager, then click Save.
One entry is created per selected date, all with the same times, status and note. The confirmation says how many: “4 availability entries saved successfully.”, or “Availability saved successfully.” for a single day.
4.3.4How to change an entry
-
1
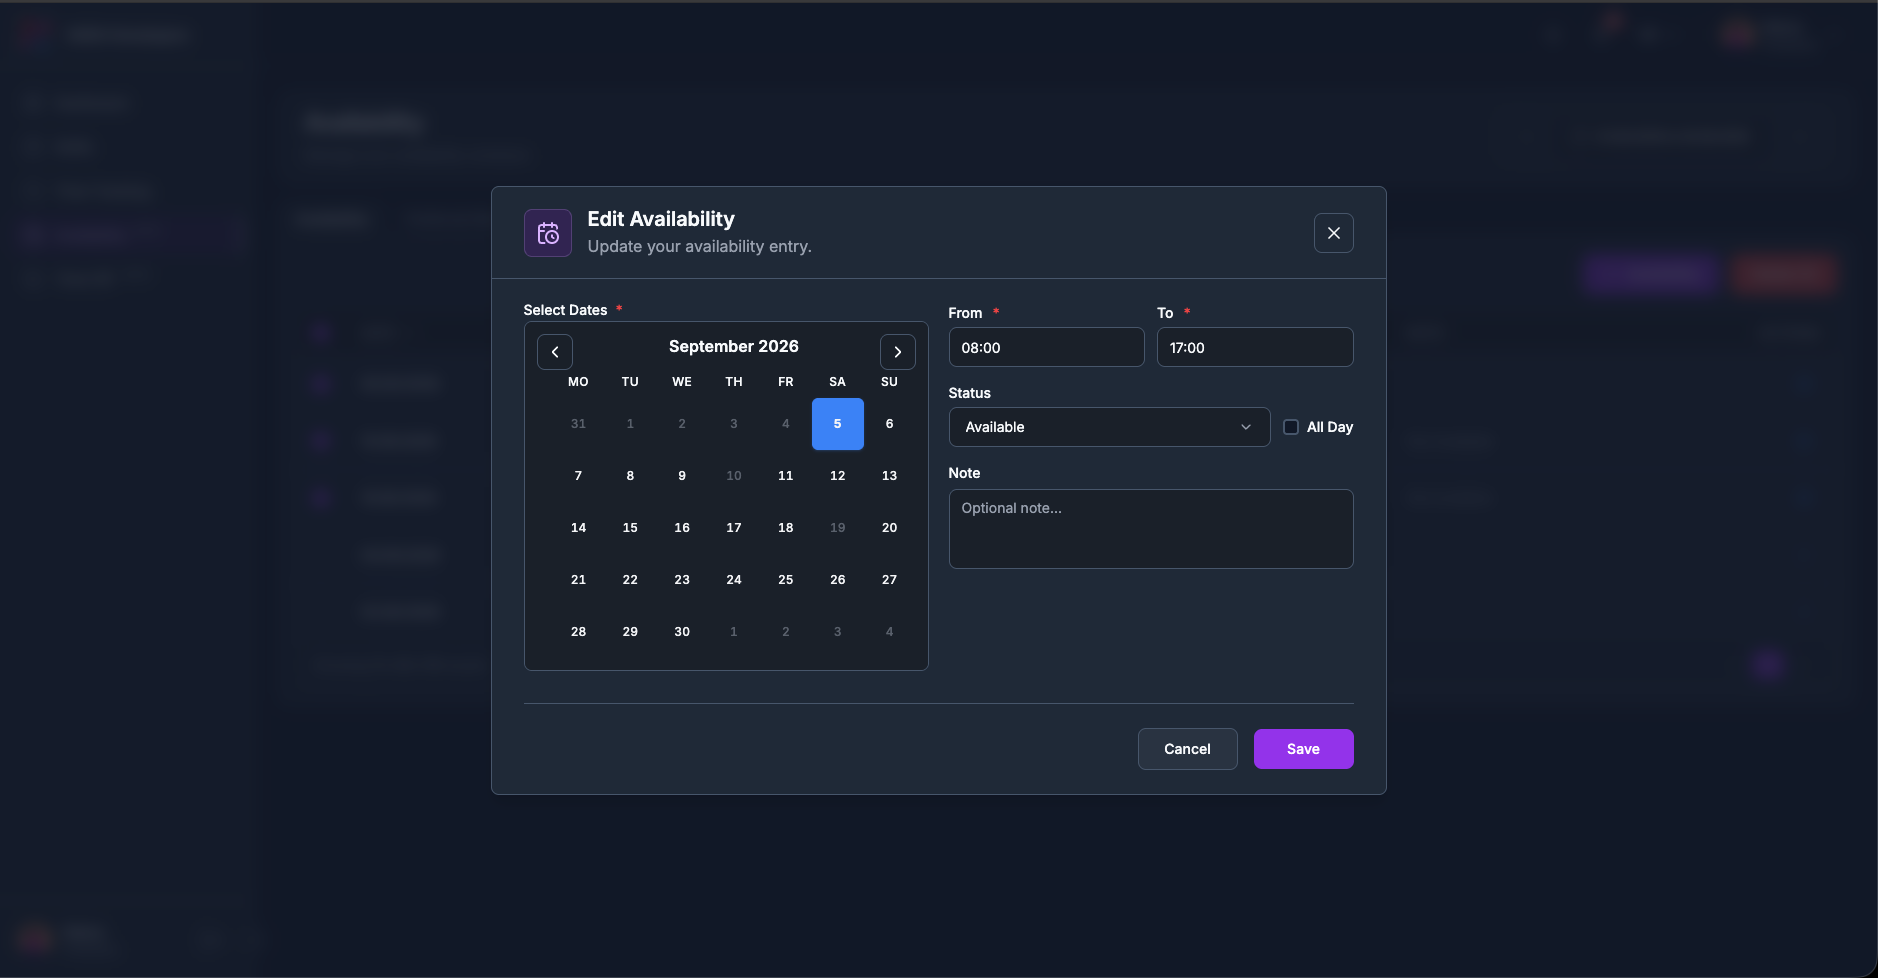
Click the pencil on the row. Edit Availability opens, “Update your availability entry.”, with the values filled in.
-
2
The calendar is now single-select: one entry, one date. You may move it to another free day; its own date stays selectable, and days that already have another entry stay greyed out.
-
3
Change what you need and click Save. The confirmation reads “Availability updated successfully.”
The pencil does nothing on a past row.
4.3.5How to delete entries
-
1
Tick the rows you want gone. The checkbox in the header selects every unlocked row on the current page; clicking it again clears them.
-
2
Click Delete (N). It stays greyed out at (0).
-
3
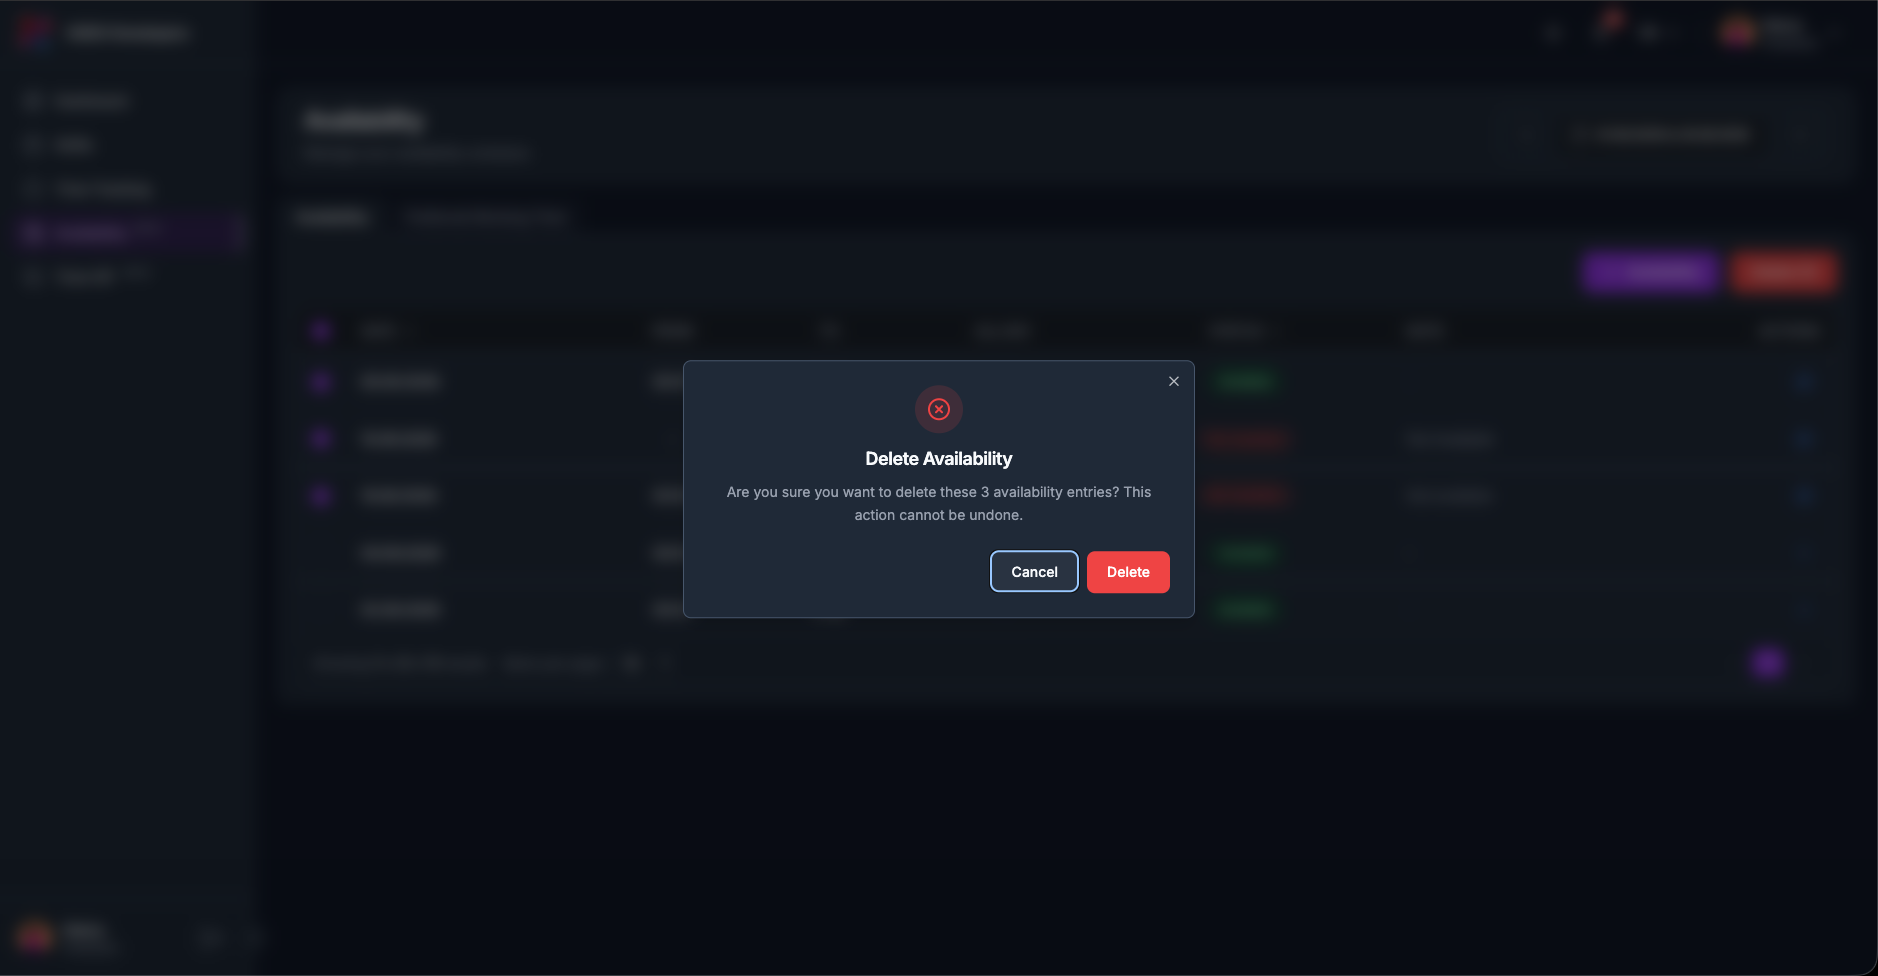
Confirm, Delete Availability, “Are you sure you want to delete these N availability entries? This action cannot be undone.”
Selections survive paging, so you can tick rows on page 1, go to page 2, tick more, and delete them together, the count on the button is the true total.
The entries are deleted one at a time. If some fail, the message says how many went through and why the others did not, for example “2 deleted. Some failed: …”.
4.4The Preferred Working Time tab
Preferred working time says when you would like to work, not whether you can. It is a wish your manager can see while planning; it does not block, reserve or promise anything. If you genuinely cannot work, that belongs on the Availability tab.
4.4.1The table
There is no Status column, because a preferred slot has nothing to be, and no All Day column, a preferred slot is always a time range.
An empty table reads No preferred working time entries, “Click ‘+ Preferred Time’ to add your first entry.”
The default row order is the same as the other tab: upcoming first ascending, then the past in reverse.
4.4.2How to add preferred time
-
1
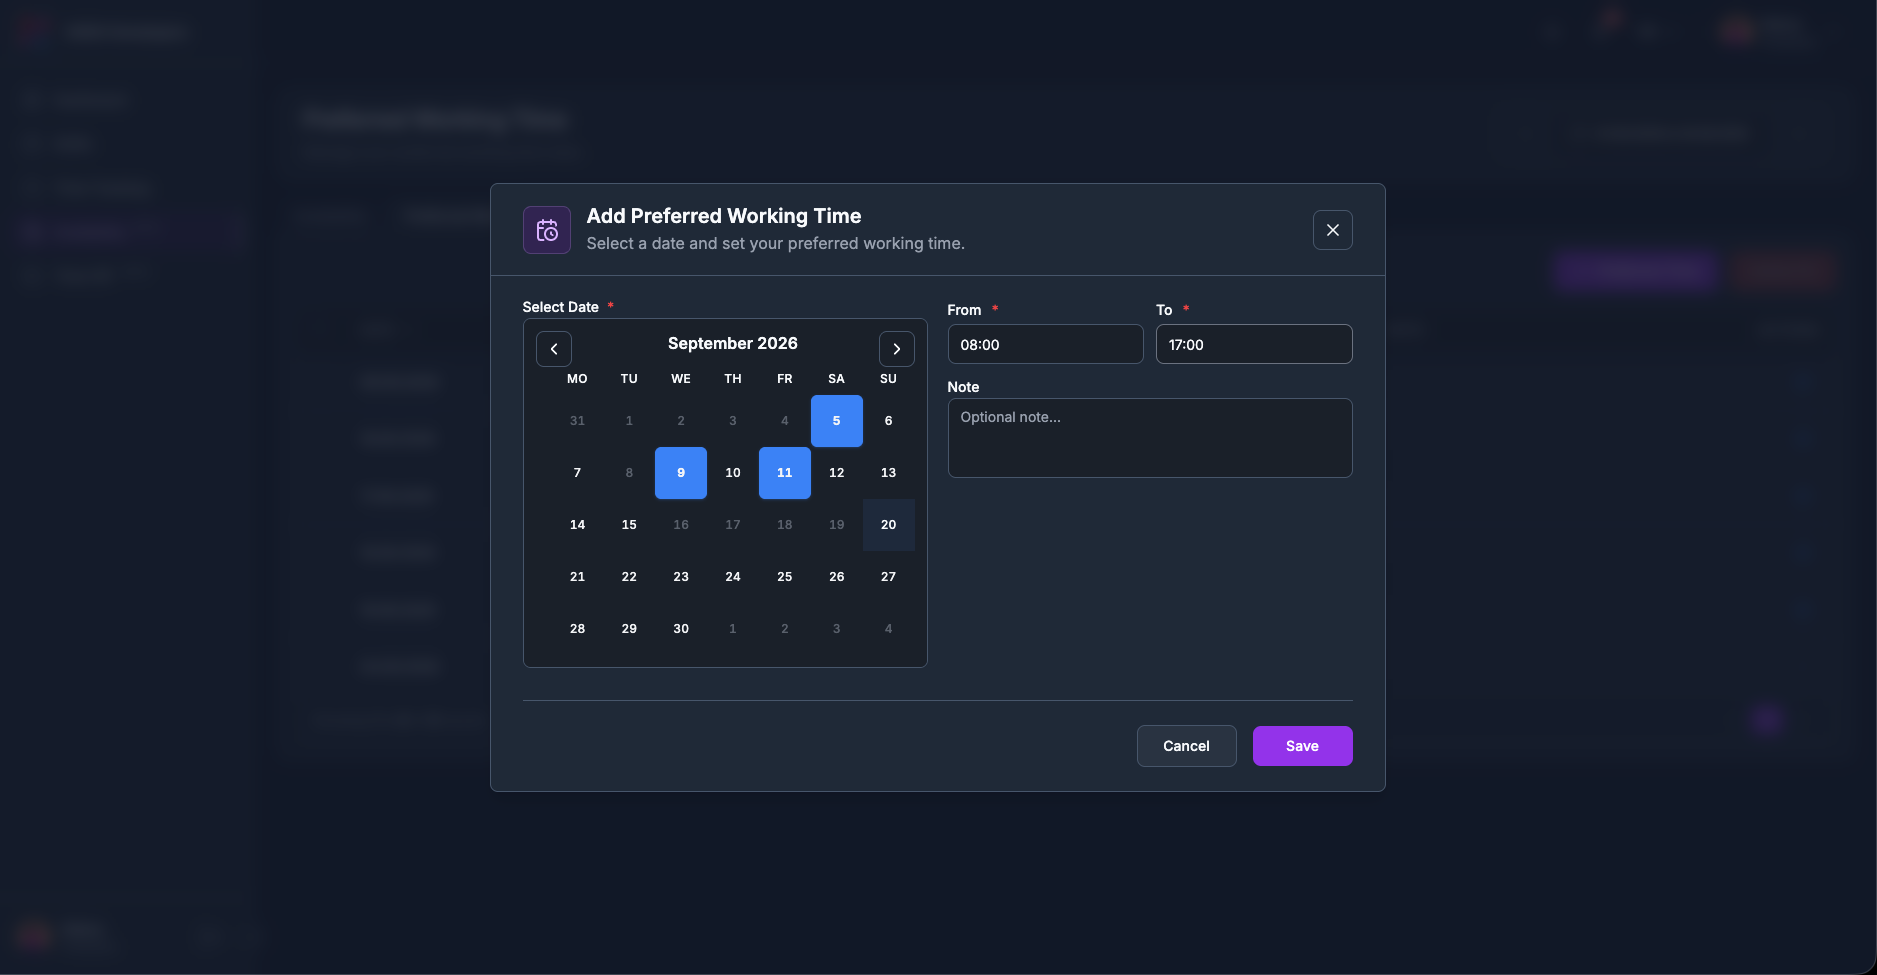
Click + Preferred Time to open Add Preferred Working Time, “Select a date and set your preferred working time.”
-
2
Select one or several dates in the calendar, exactly as on the other tab.
-
3
Type From and To, add a note if you want, and click Save.
As on the other tab, one entry is created per selected date.
4.4.3Editing and deleting
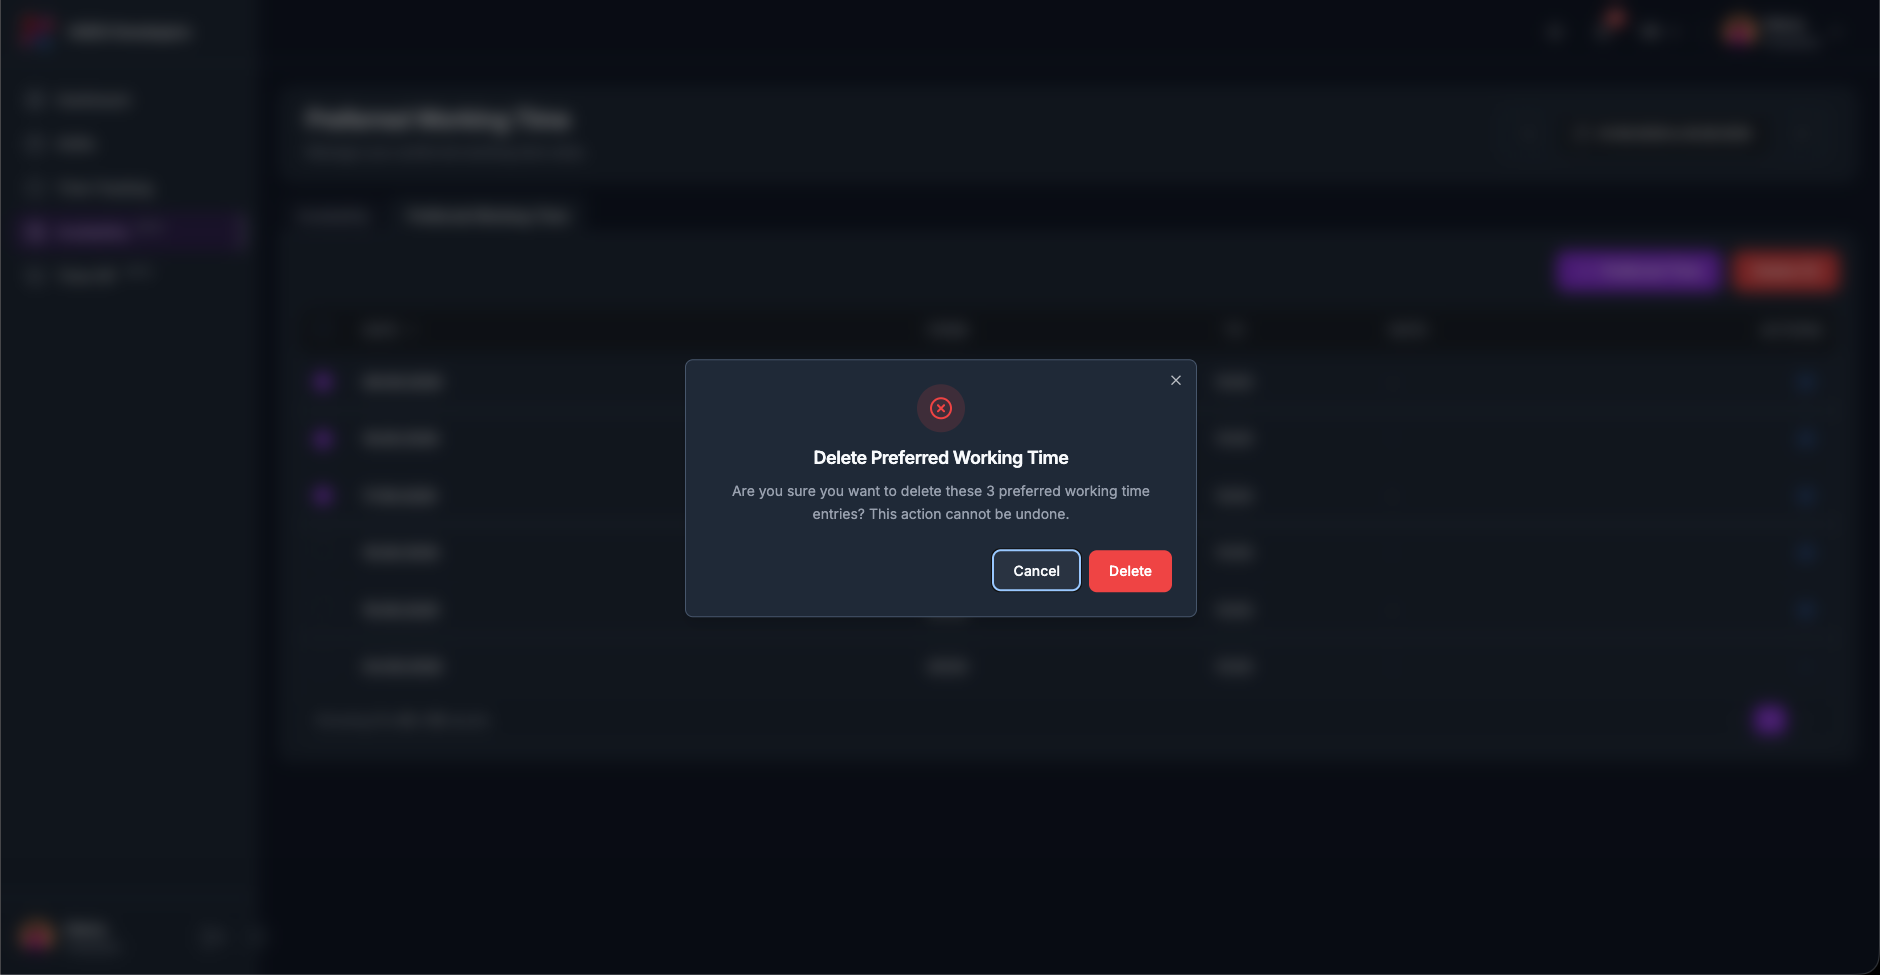
Both work exactly as on the Availability tab. The pencil opens Edit Preferred Working Time with a single-select calendar; the entry’s own date stays selectable so you can leave it where it is. Deleting uses the same tick-then-Delete (N) flow, with its own dialog headed Delete Preferred Working Time and the same “This action cannot be undone.” warning. Past rows cannot be selected or edited.
Leave a Reply