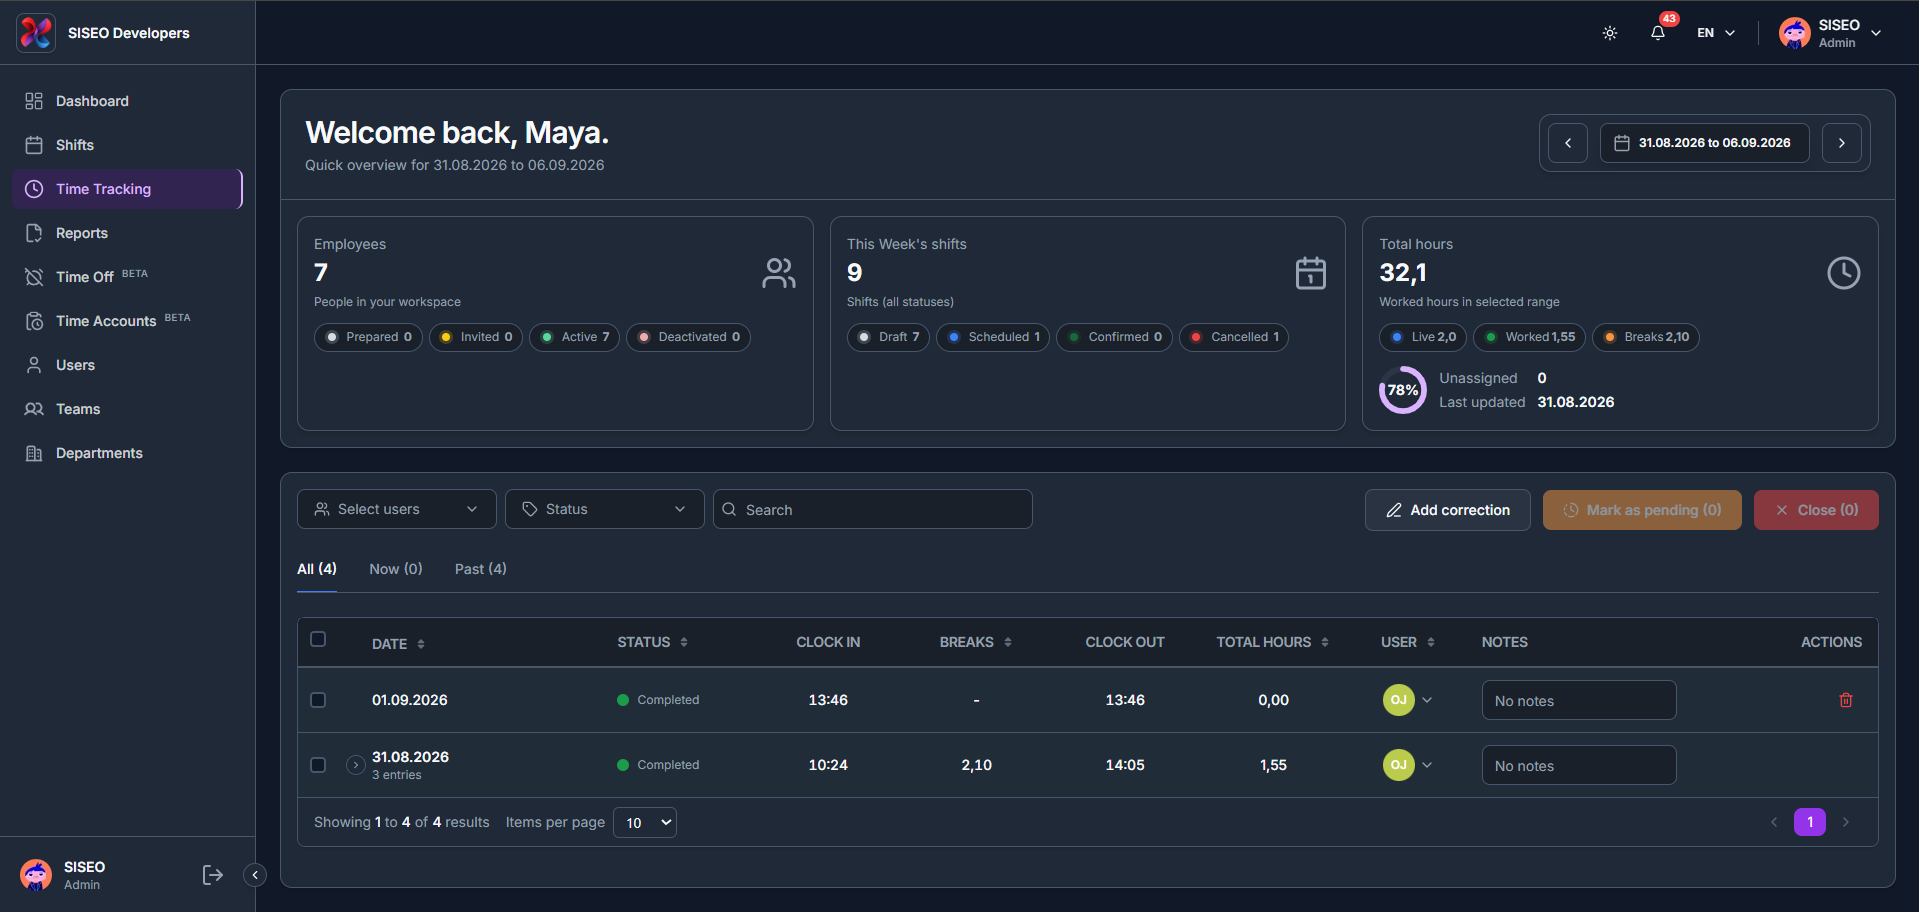
The Time Tracking page (admin view) lists every clock-in and clock-out entry for your team, alongside the same header cards used elsewhere.
3.1Overview
3.2How to filter and read entries
3.2.1How to filter the entries table
- 1
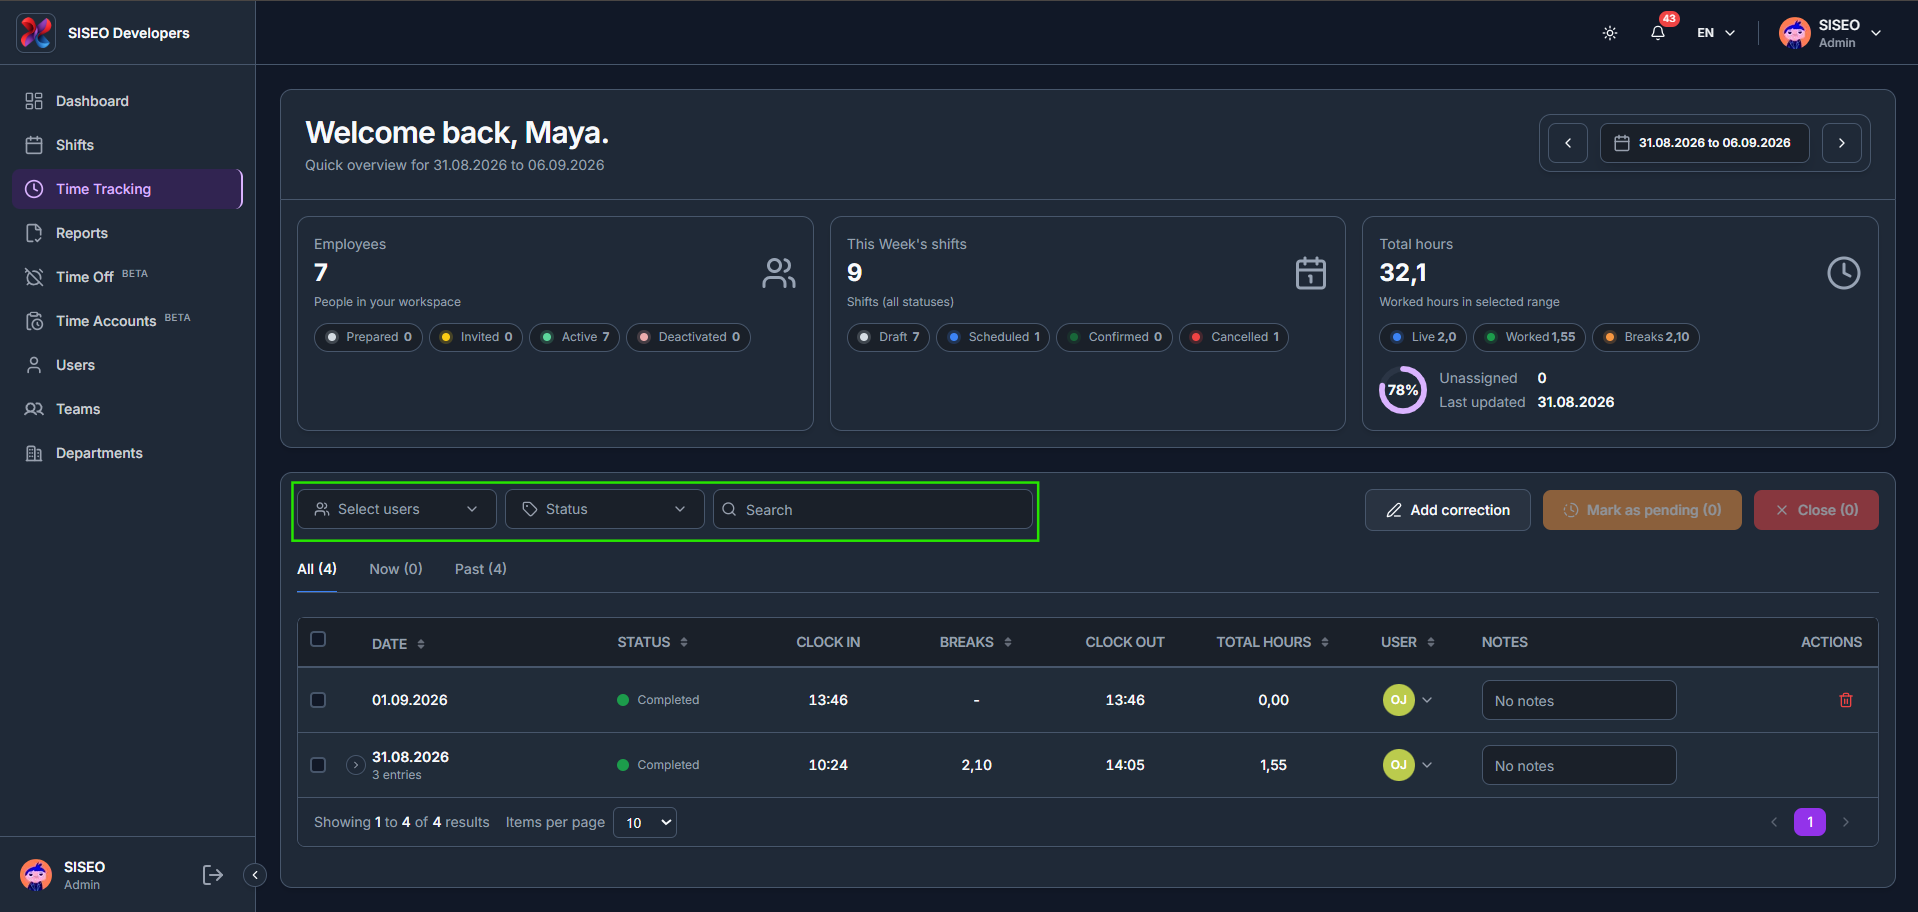
Use Select users, Status and Search above the table to narrow the list.
- 2
Select users lets you filter by team or by individual employee.
- 3
Status lets you filter by In Progress, Completed, Closed, Correction, or Pending manual entries.
3.2.2How to view a day with multiple entries
- 1
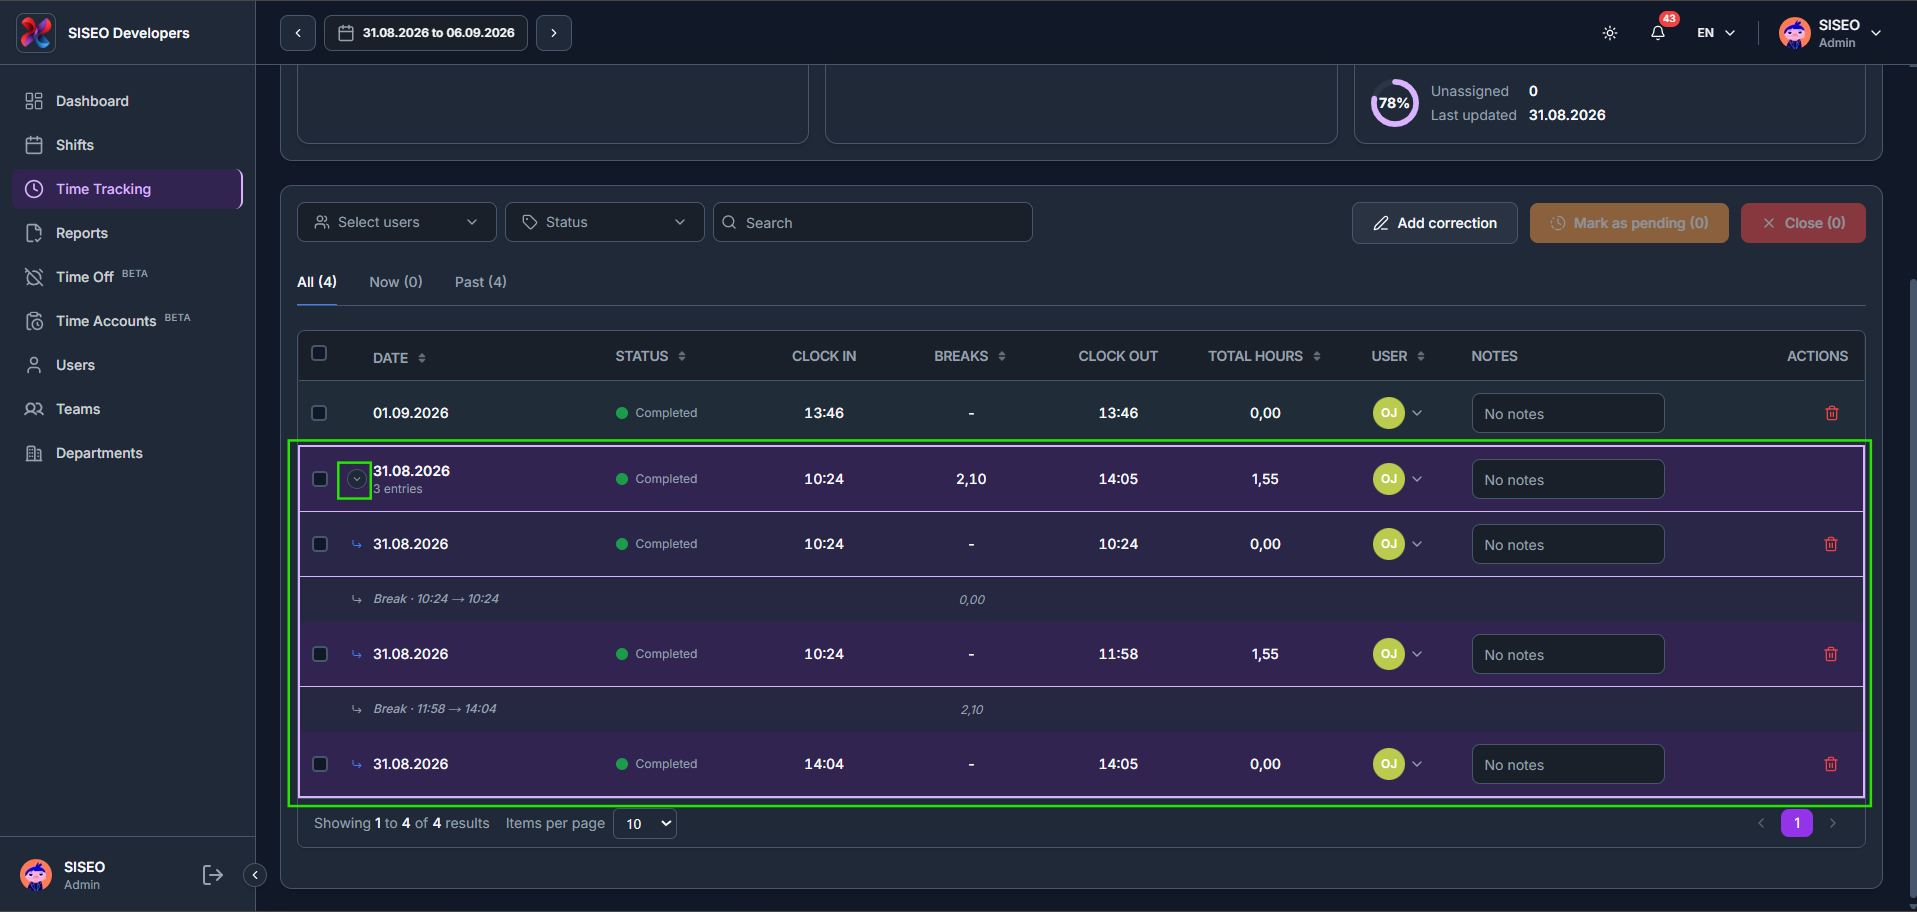
Click the arrow next to a date with more than one entry to expand it and see each clock-in, clock-out and break separately.
3.3How to add a correction
- 1
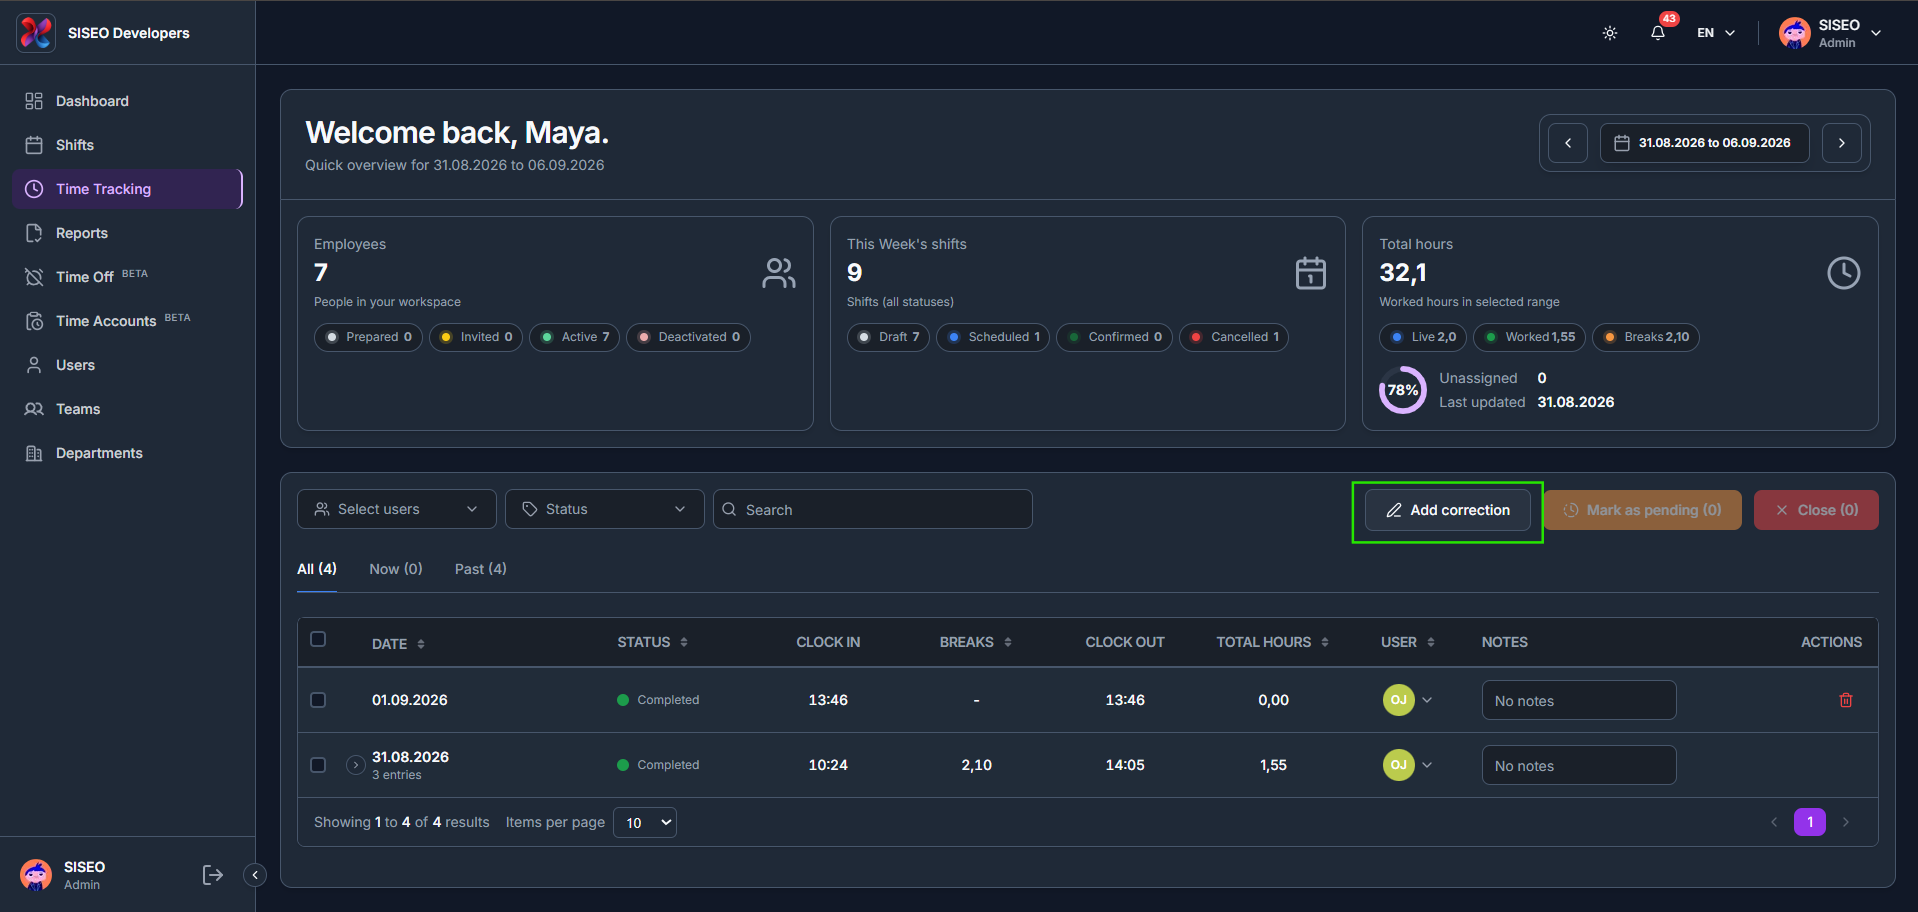
Click Add correction above the table.
- 2
Choose a Sign: Positive to add hours, or Negative to remove hours, then pick the employee, date and times.
- 3
A Positive correction warns you with a Time Overlap Warning if the new times overlap an existing entry.
- 4
A Negative correction has no break fields, since a break window isn’t available for a negative correction.
- 5
A Negative correction must stay within a recorded clock entry for that day, or it shows an Outside recorded clock entry error.
- 6
Once saved, positive corrections show their added hours in green, and negative corrections show their deducted hours in red.
3.4How to mark an entry as pending
- 1
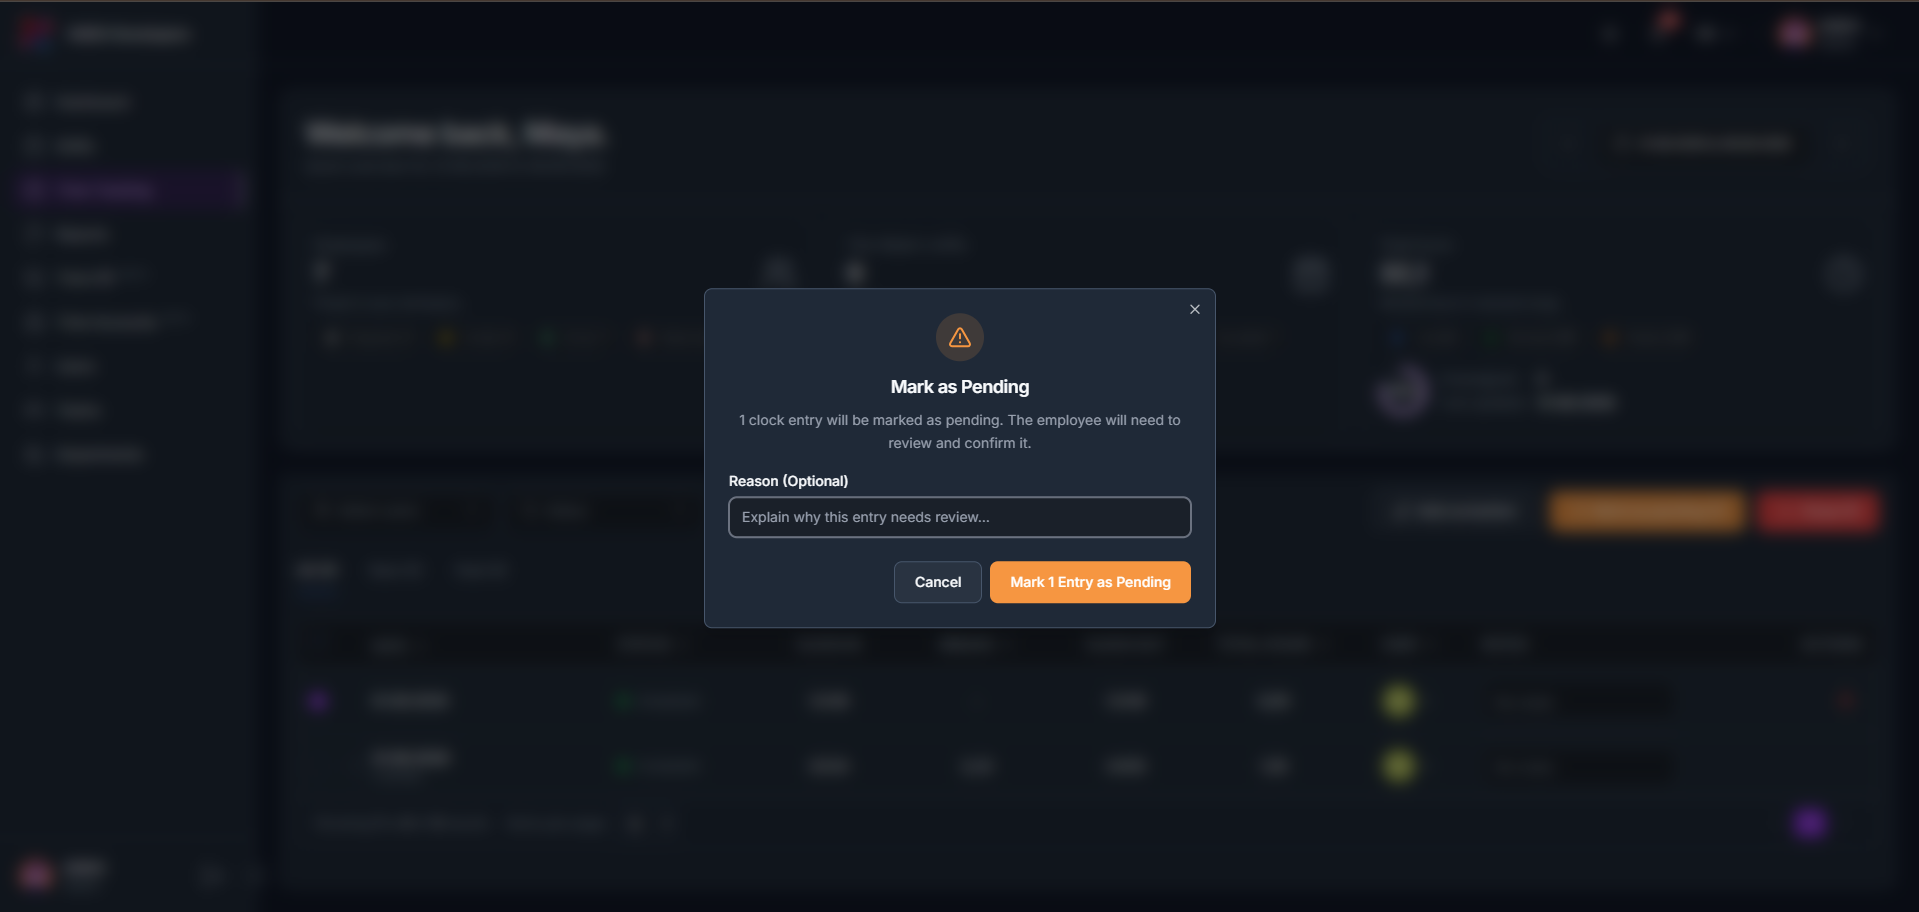
Tick the checkbox on one or more entries, click Mark as pending, and optionally add a reason for the review.
- 2
The entry’s status changes to Pending, and the employee will need to review and confirm it.
- 3
Tick entries you have reviewed and click Close instead to close them out without flagging them for pending review.
3.5How to delete an entry or a correction
- 1
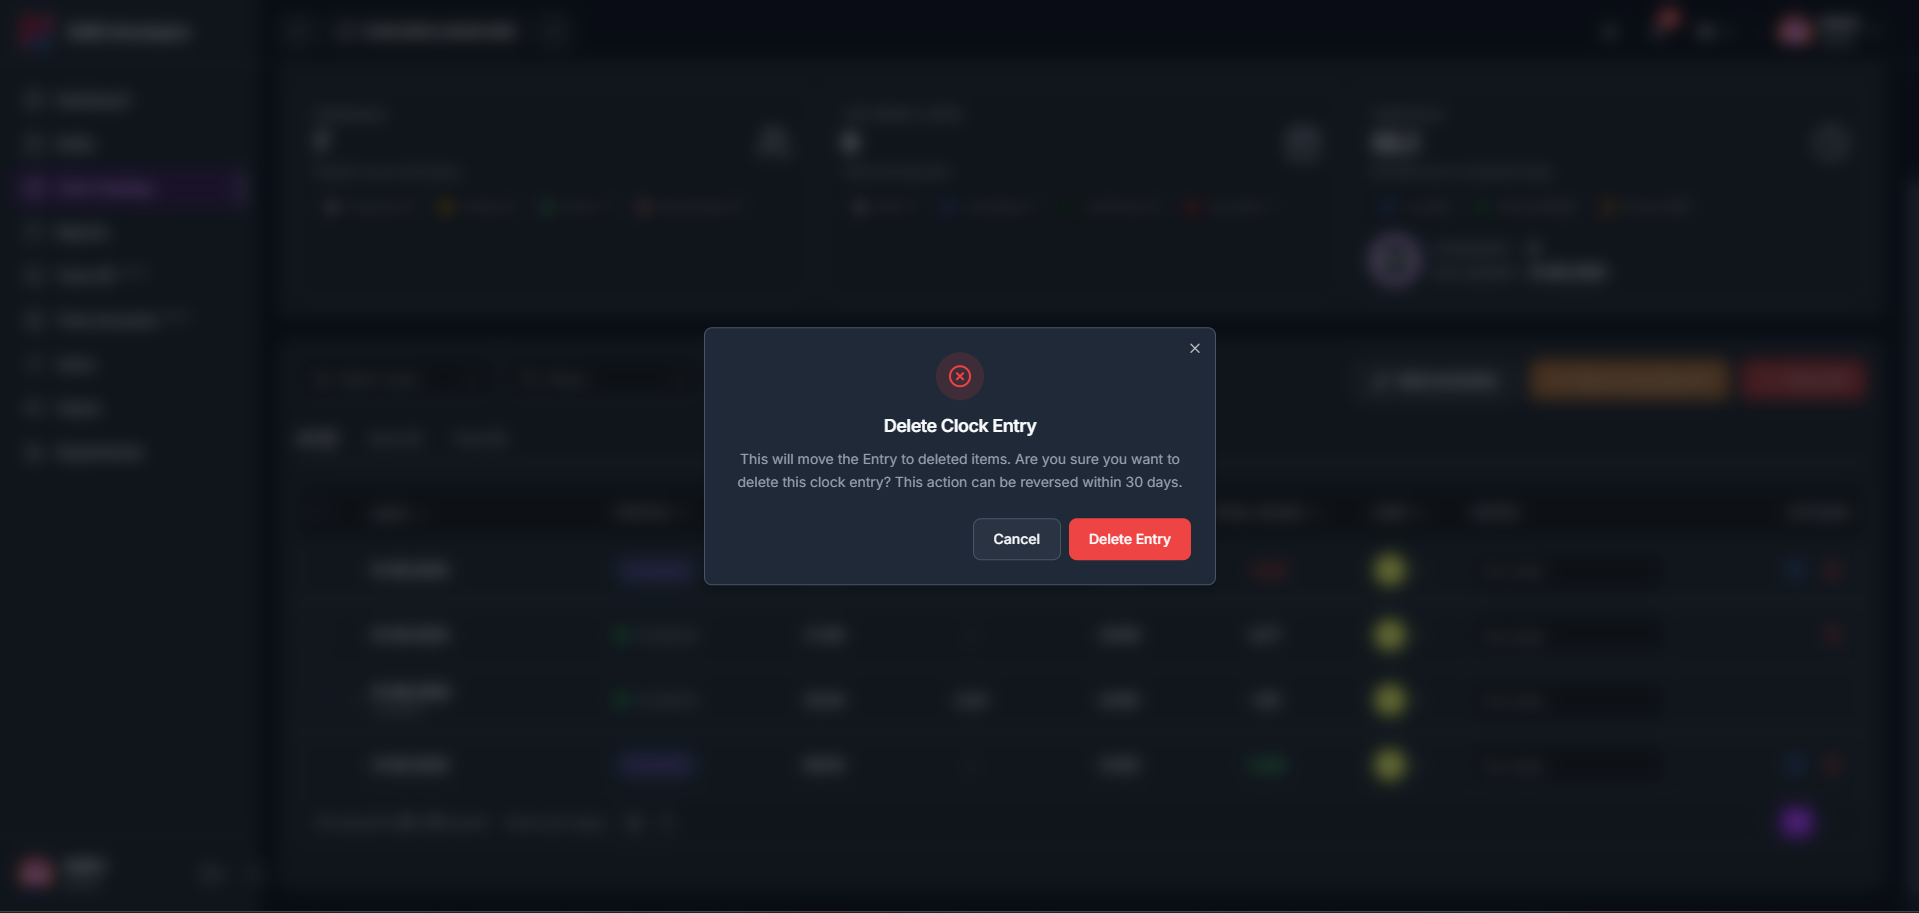
Click the delete icon on a clock entry. A confirmation dialog appears; click Delete Entry to confirm, or Cancel to keep the entry. This can be reversed within 30 days.
- 2
Deleting a correction instead shows a stronger warning, since this action cannot be undone.
Leave a Reply