The Shift page is where you build and manage the schedule. It has three tabs: Shifts (the full shift list and shift creation), Availability (Beta), and Preferred (Beta) working time.
2.1Overview
2.2Shifts tab
2.2.1What is in the shifts table
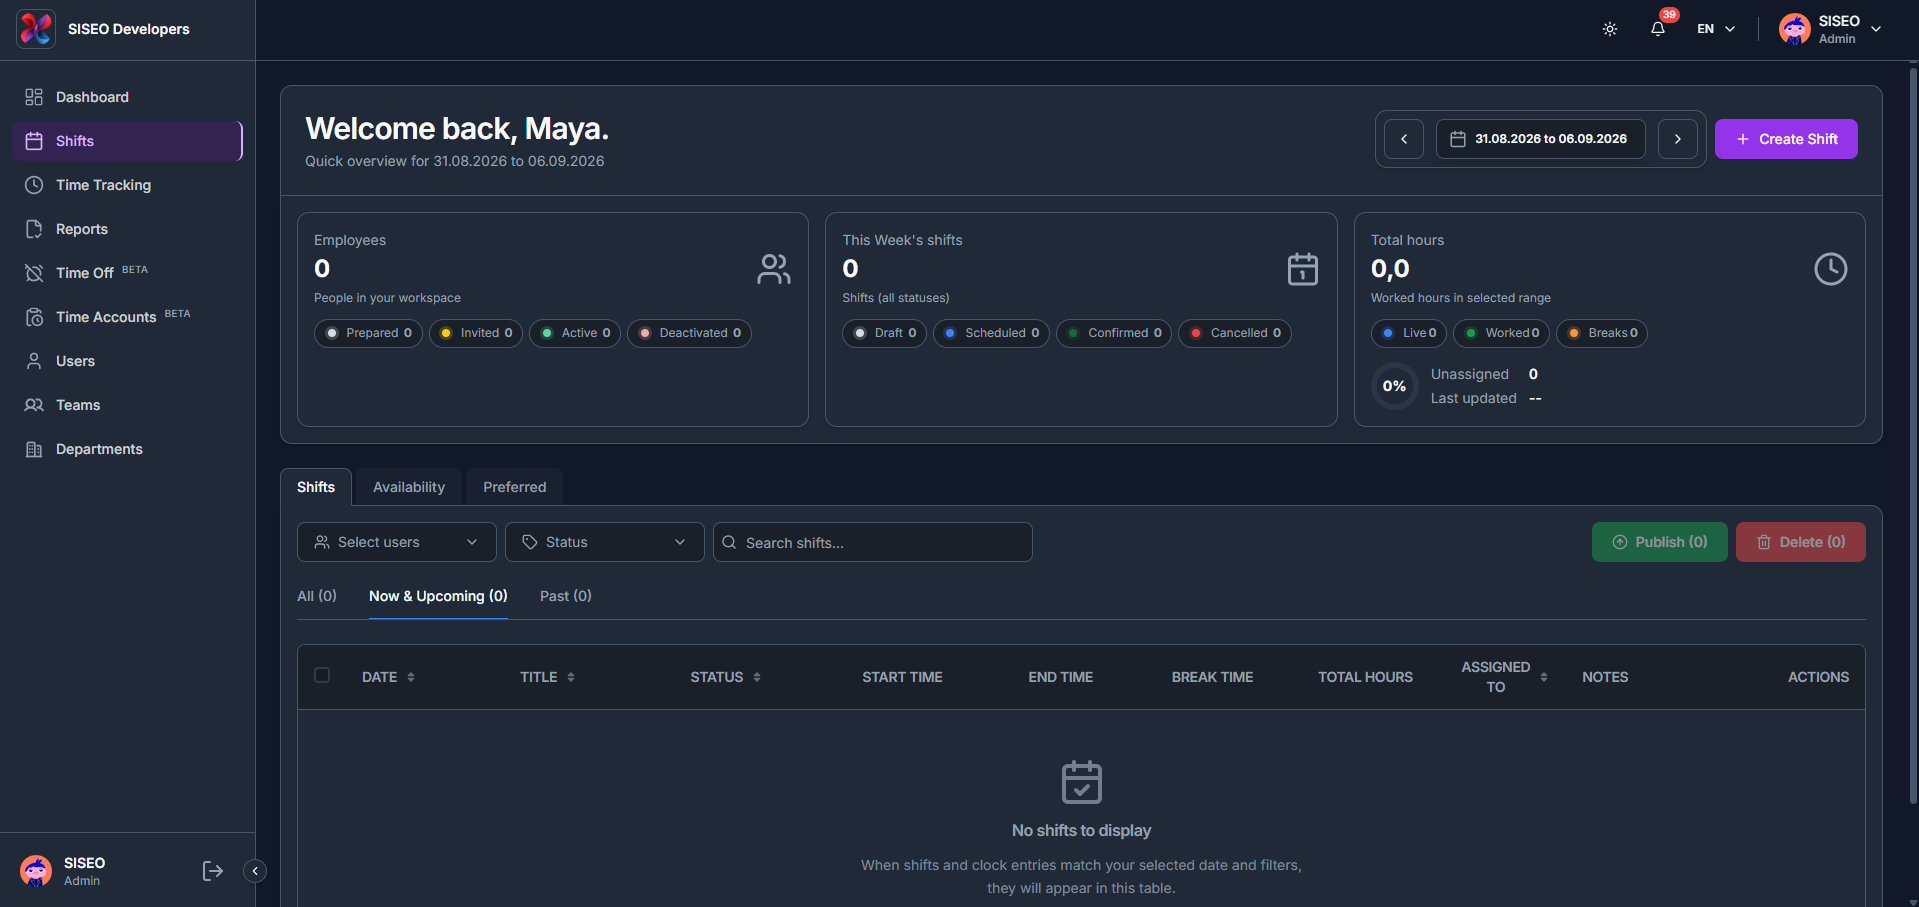
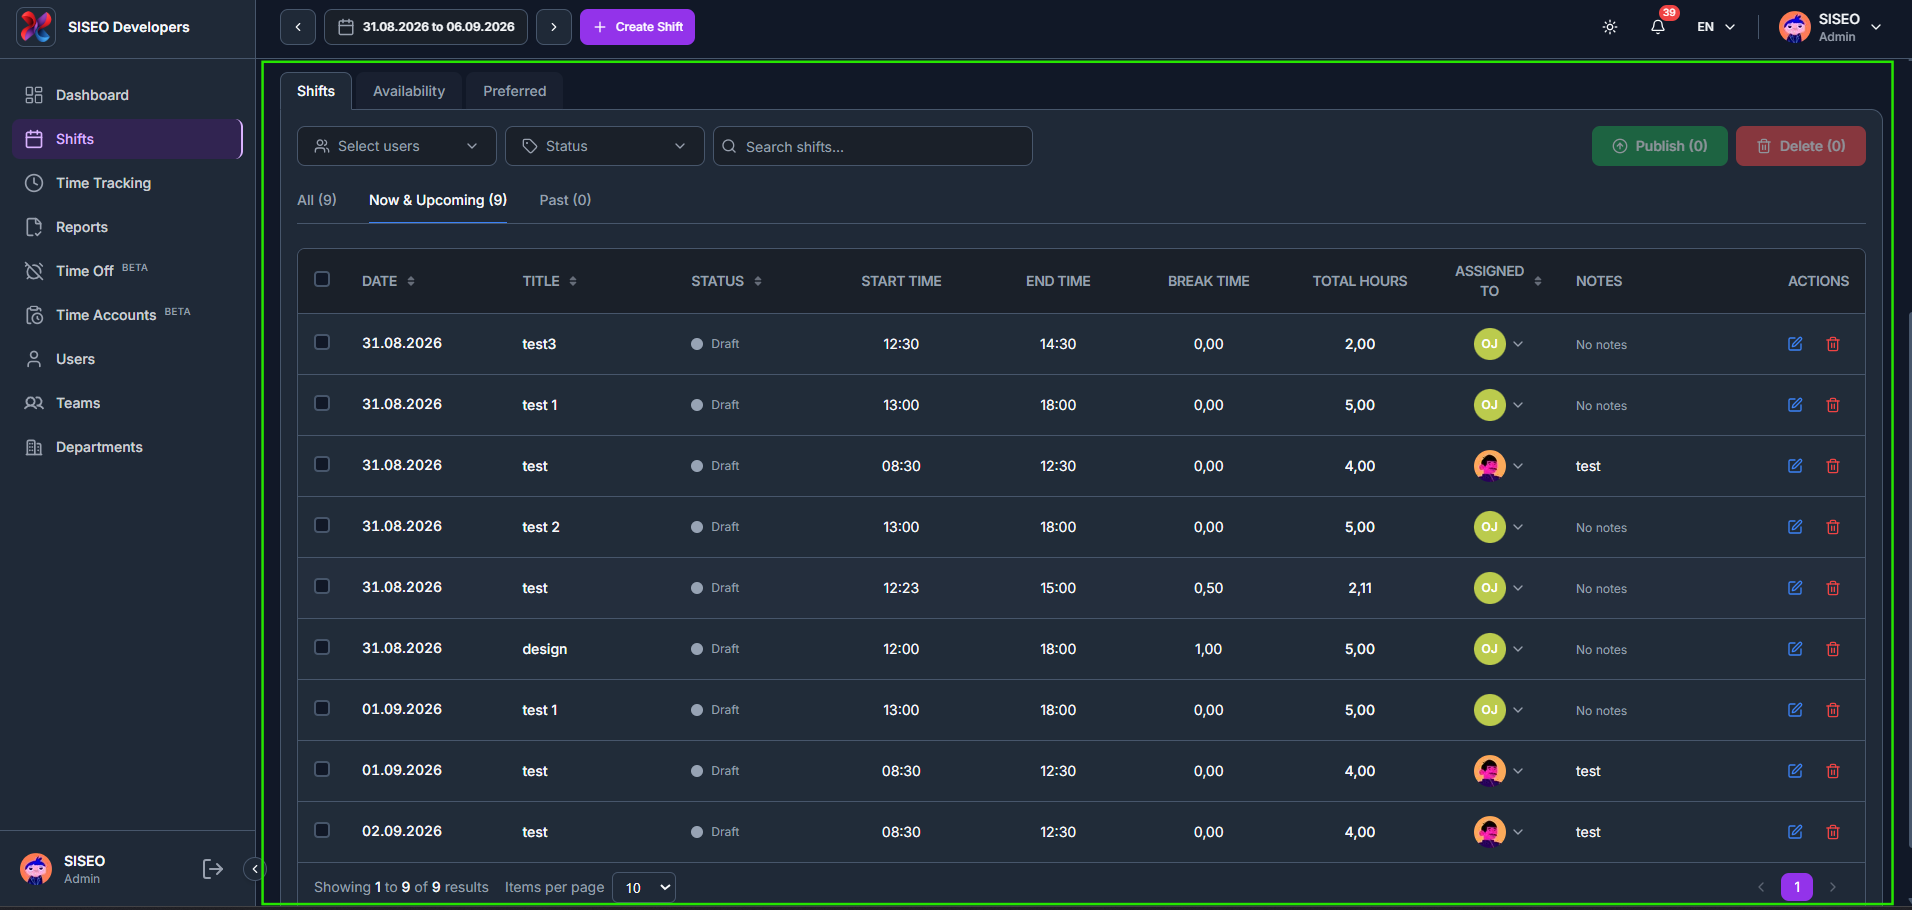
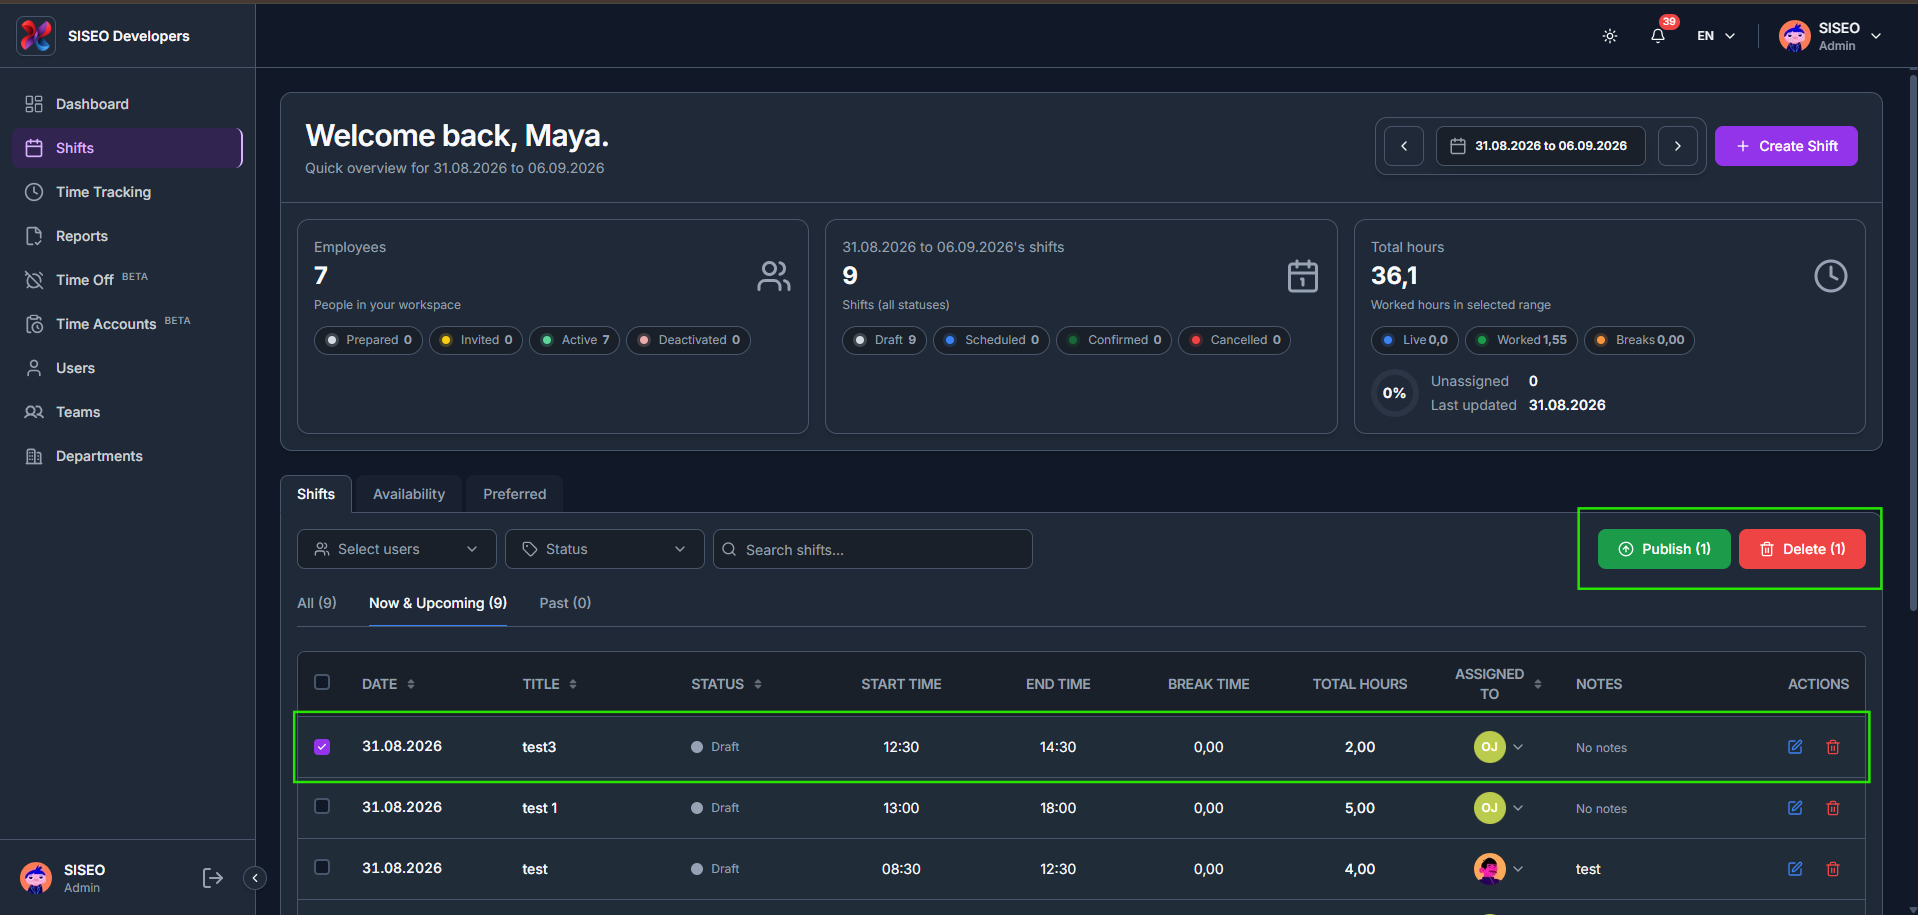
Every shift is listed with Date, Title, Status, Start Time, End Time, Break Time, Total Hours, Assigned To, and Notes. Use the All, Now & Upcoming, and Past tabs above the table to switch between every shift, currently active and upcoming shifts, or past shifts.
2.2.2How to filter and search shifts
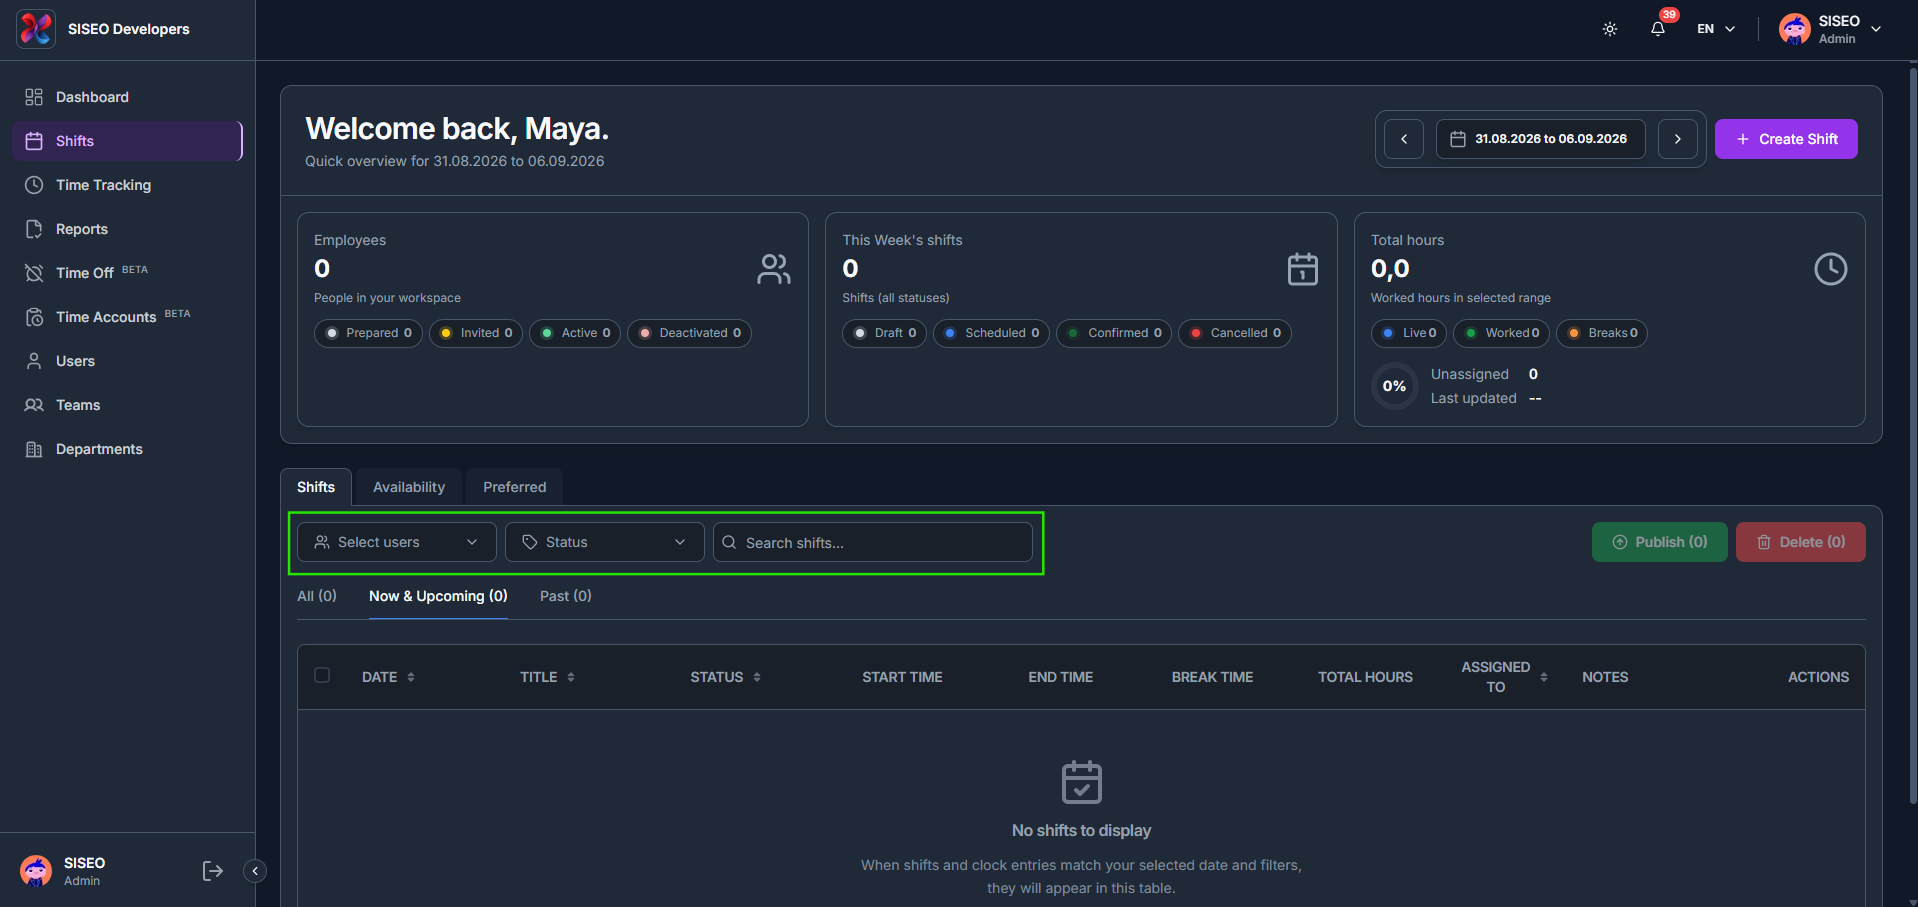
The toolbar above the table lets you narrow down the shift list: Select users, Status, and a Search box.
- 1
Click Select users to open a searchable checklist grouped by Teams and Users (search by name, team, or tag), with a Select All option, so you can narrow the list to specific people.
- 2
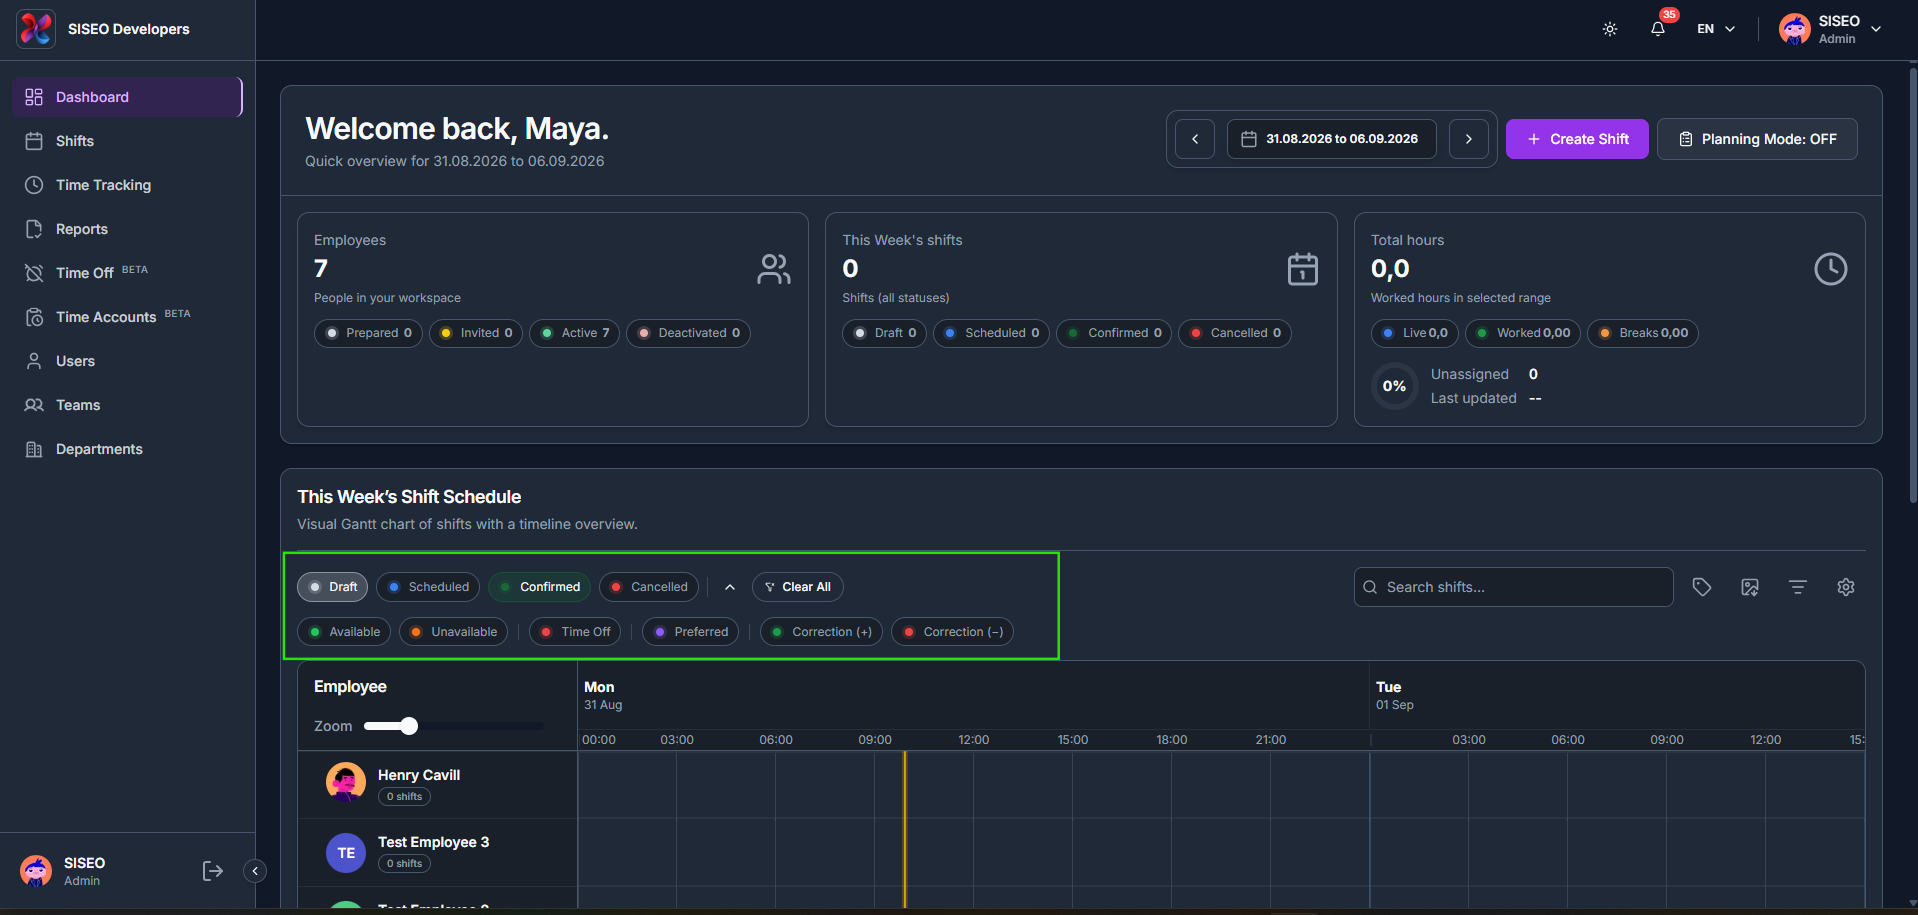
Click Status to open a checklist of Draft, Scheduled, Confirmed, In Progress, Completed and Cancelled, plus Select All. (Cancelled shifts you delete from the table live in Recently Cancelled Shifts below instead.)
- 3
Use the Search shifts box to filter the list directly as you type, independent of the two dropdowns above. Once filters are applied, click Clear All to reset everything back to default.
2.2.3Shift validation warnings
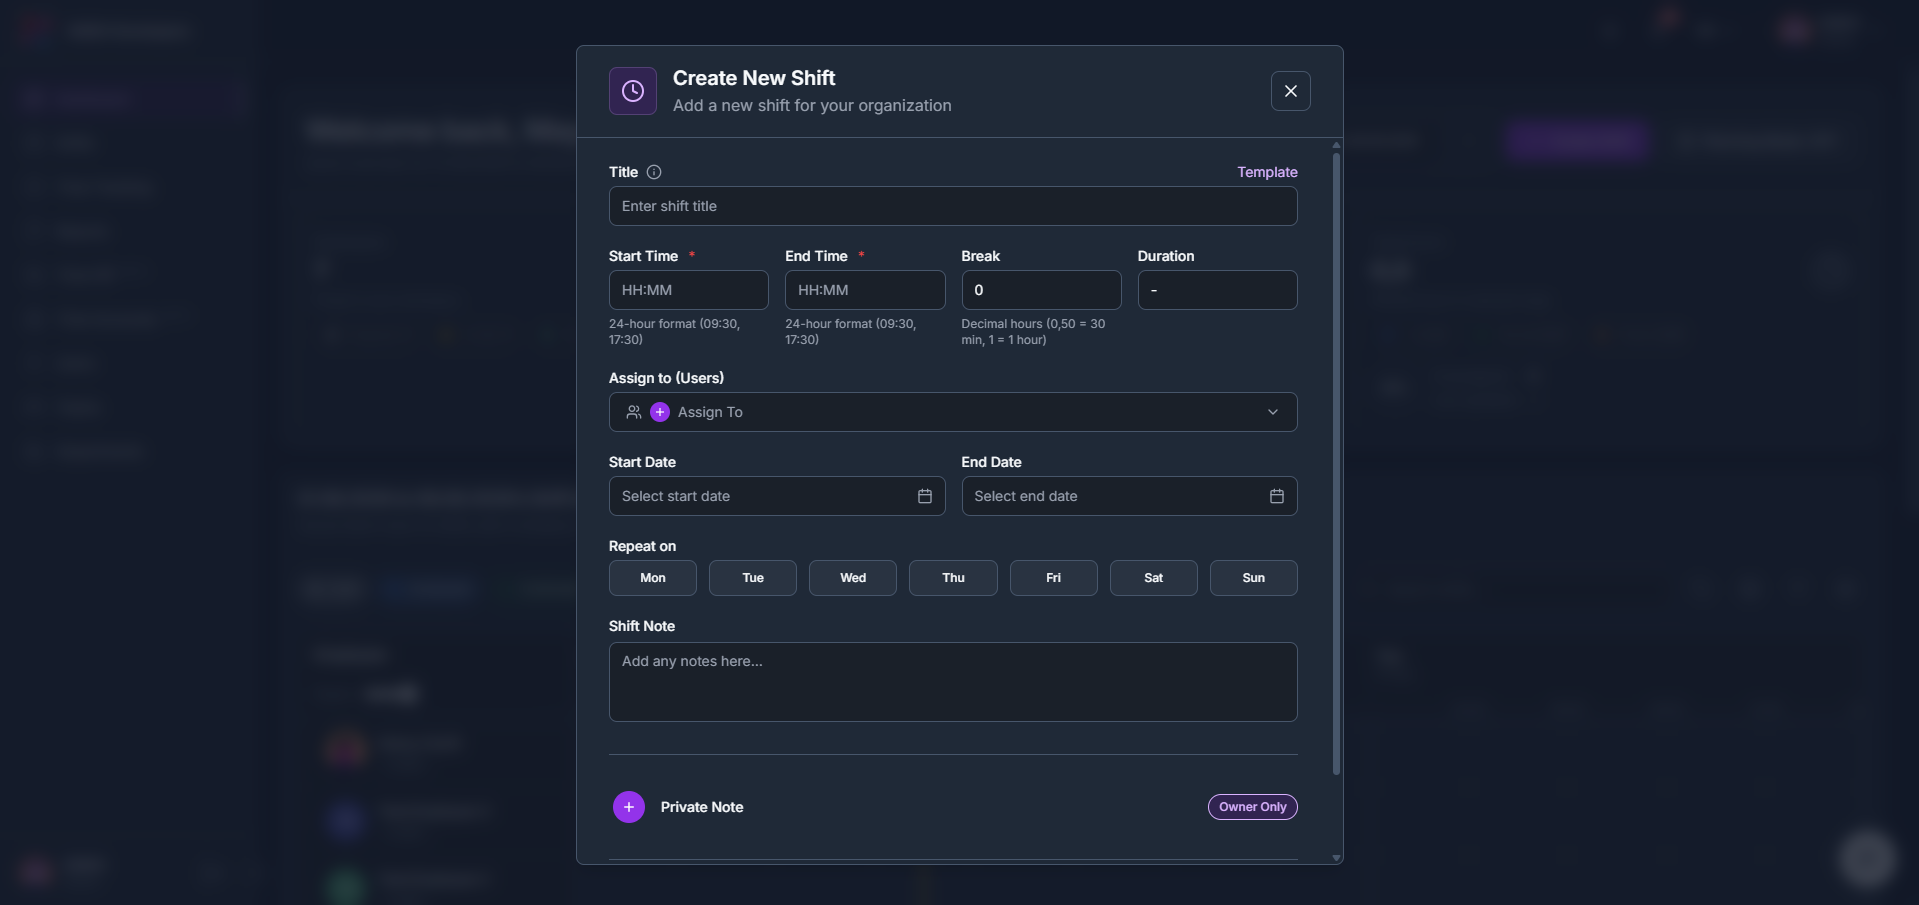
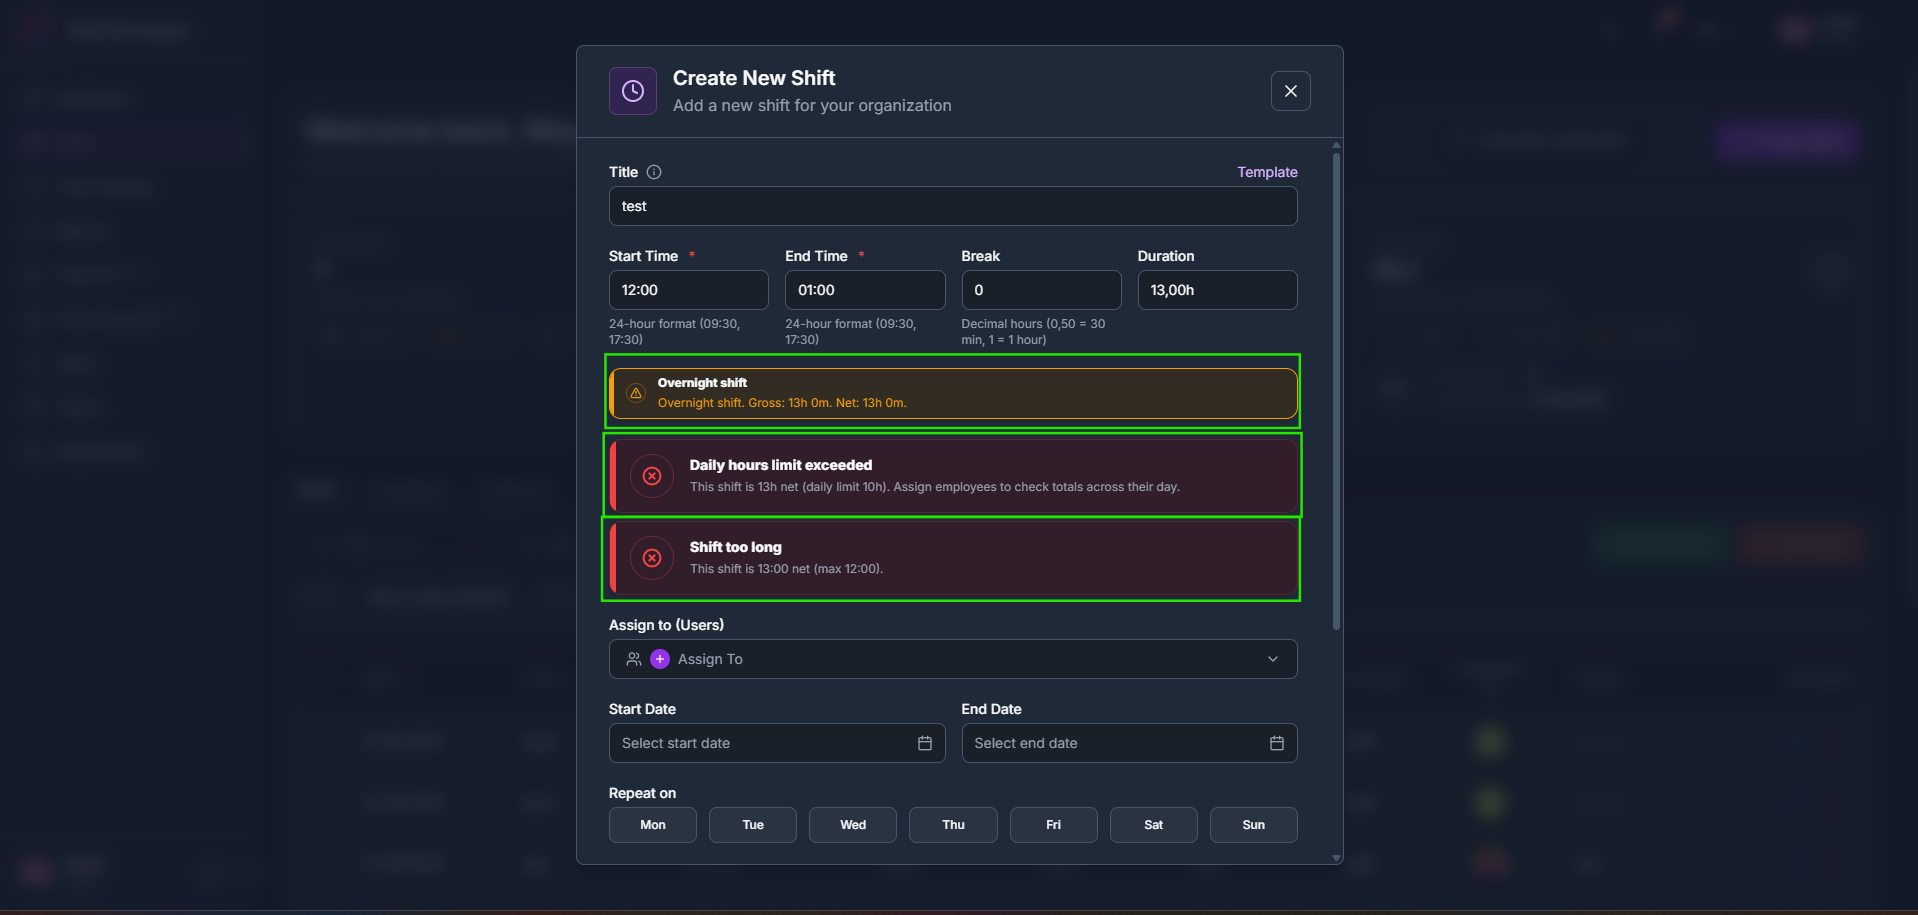
Create Shift and Edit Shift both check the times you enter and warn you before you save. An Overnight shift notice confirms when a shift crosses midnight, while Daily hours limit exceeded and Shift too long are hard warnings shown in red when a shift would put an employee over their daily hour limit or exceeds the maximum shift length.
When editing an existing shift, the same check runs against that employee’s actual schedule for the day and names them directly, for example warning that a specific employee would have a certain number of hours on that date if the change is saved. Once a shift is saved, a Success confirmation slides in confirming it was created.
2.2.4How to edit a shift
- 1
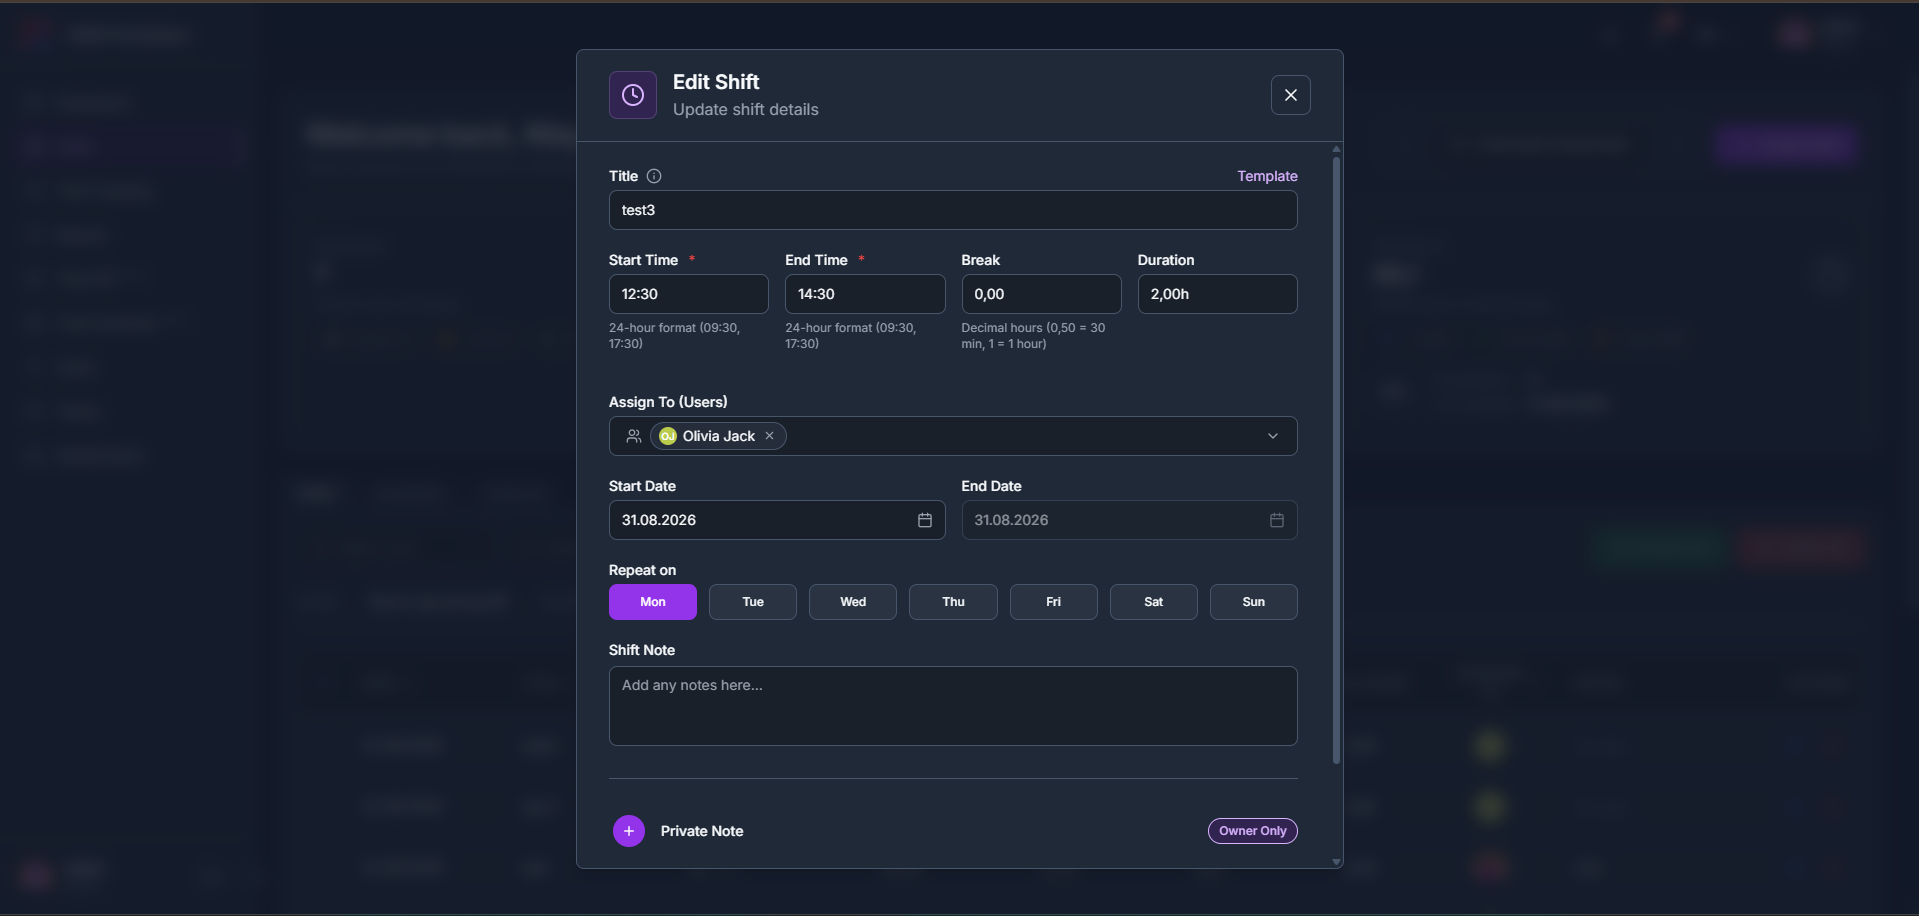
Click the edit (pencil) icon in the Actions column of any shift row to open Edit Shift, update its details, and save your changes.
2.2.5How to publish shifts
- 1
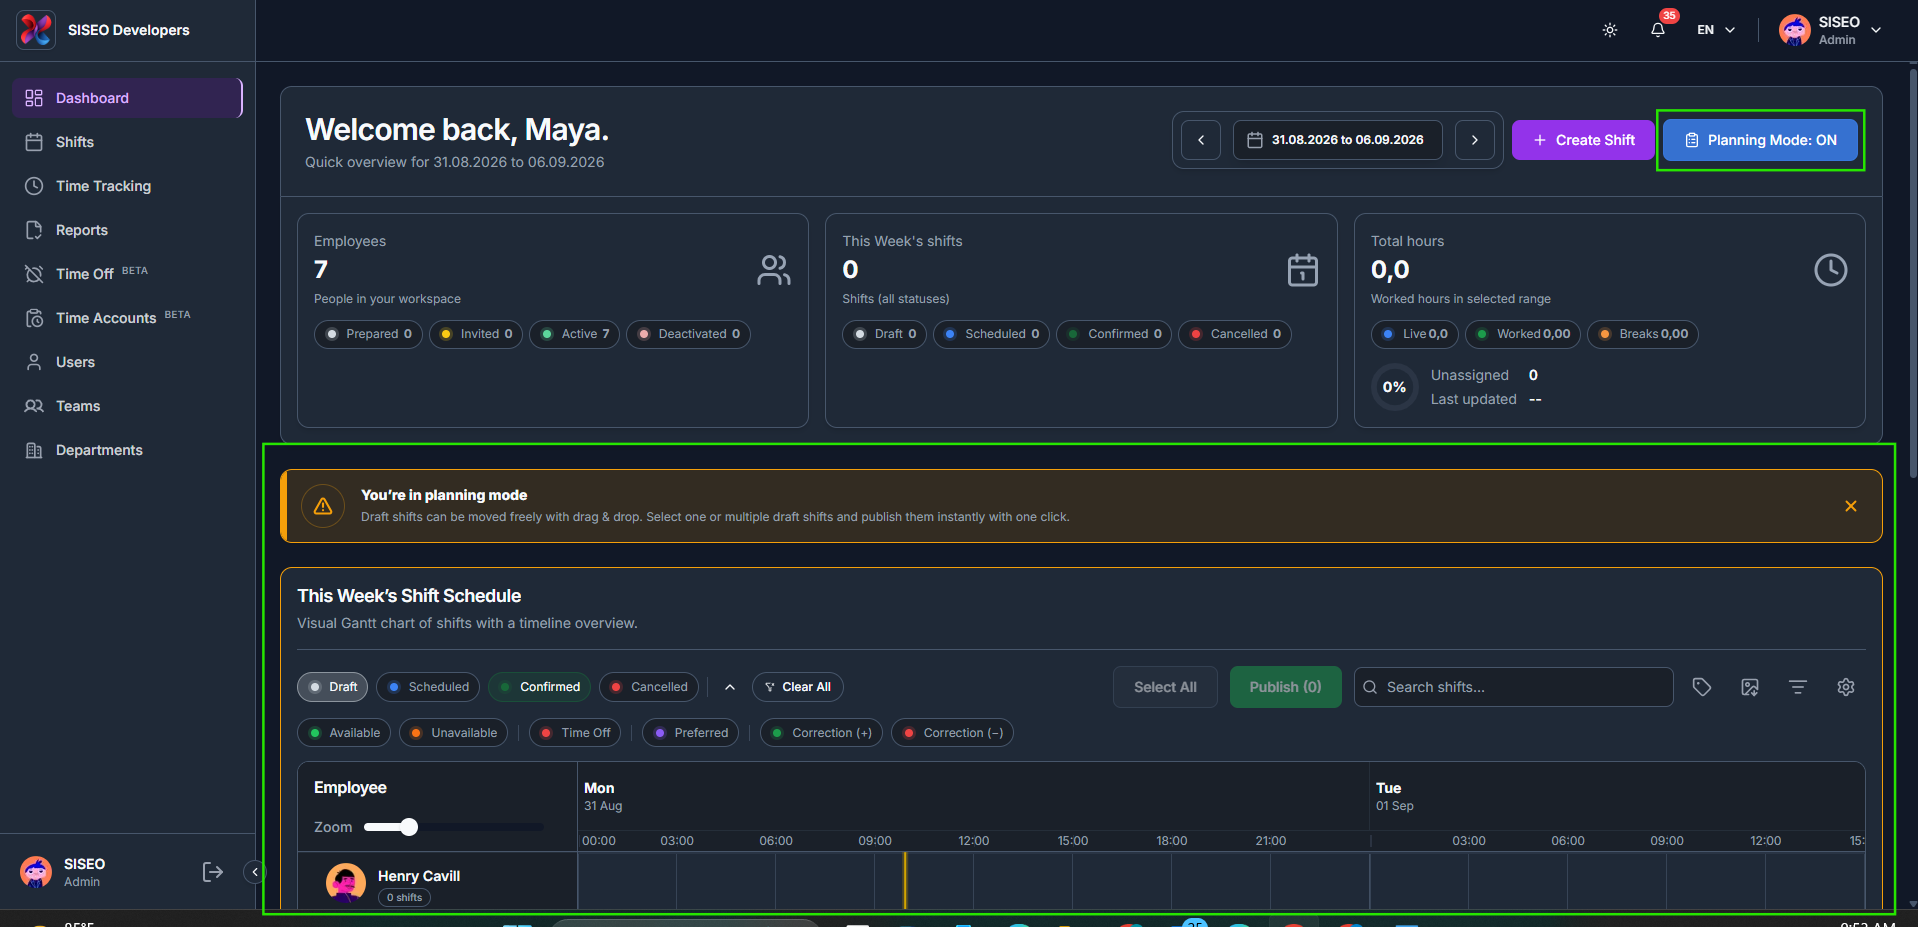
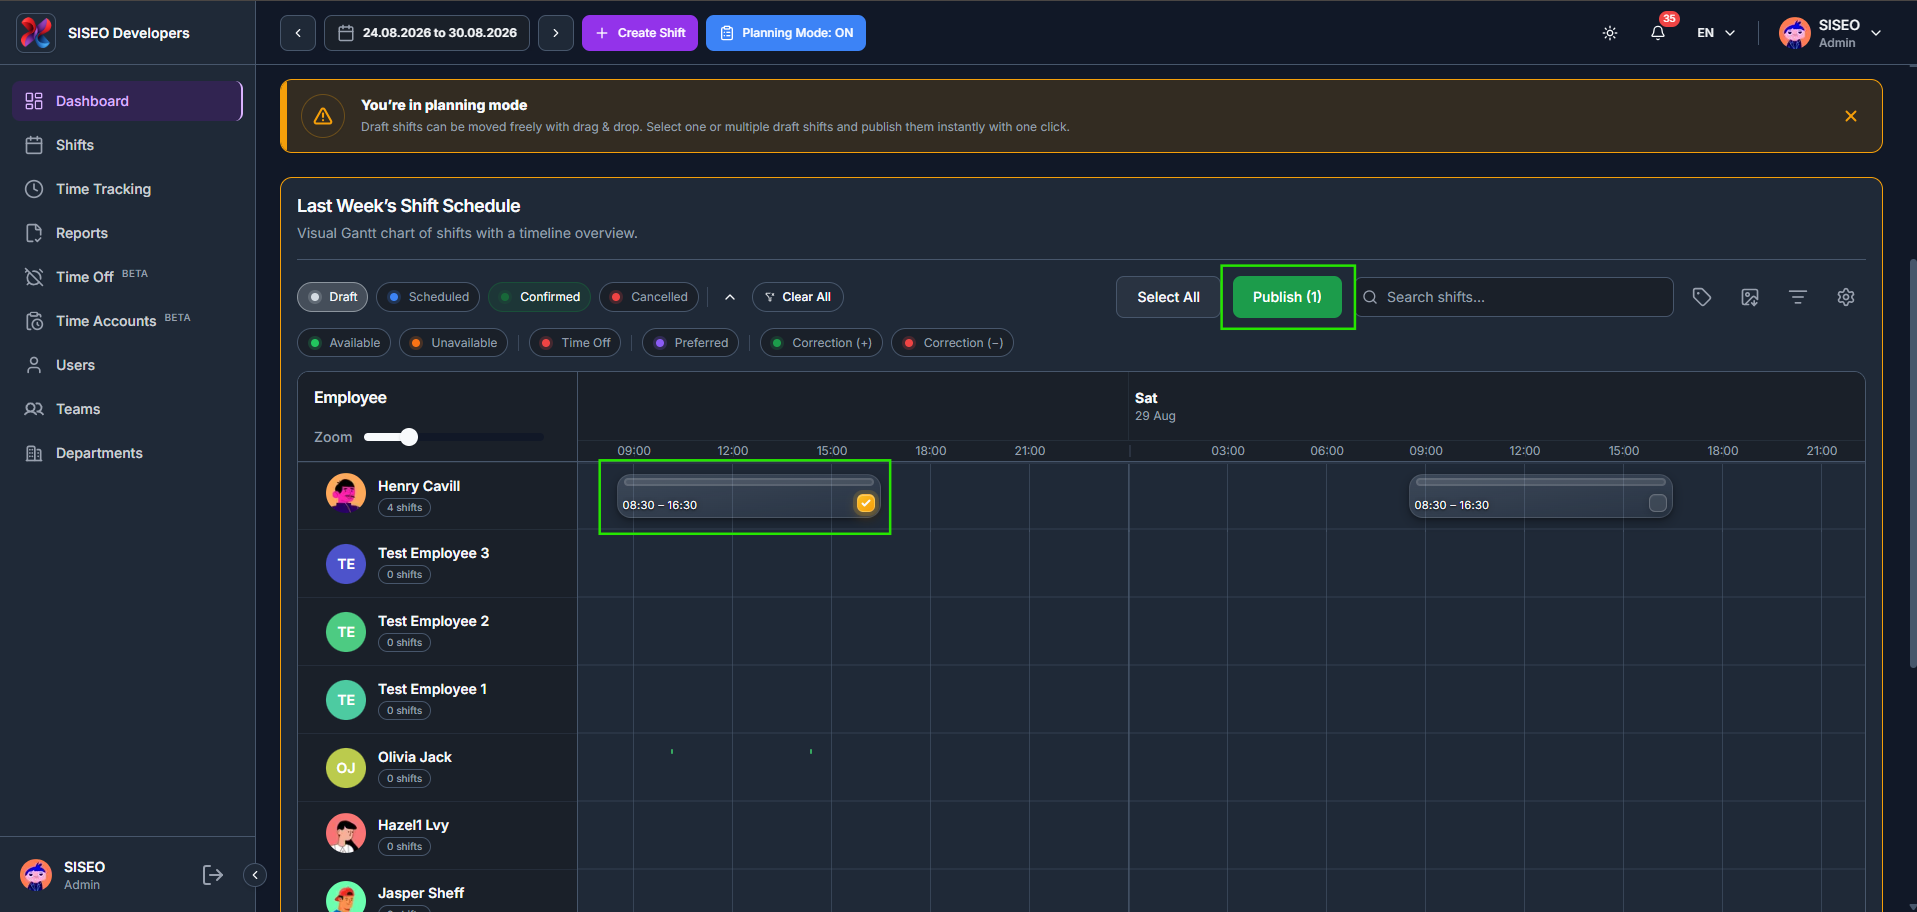
Tick the checkbox on one or more Draft shifts, the Publish and Delete button counts update live to show how many are selected.
- 2
Click Publish (N). A confirmation asks you to confirm how many shifts will be published before it goes ahead.
- 3
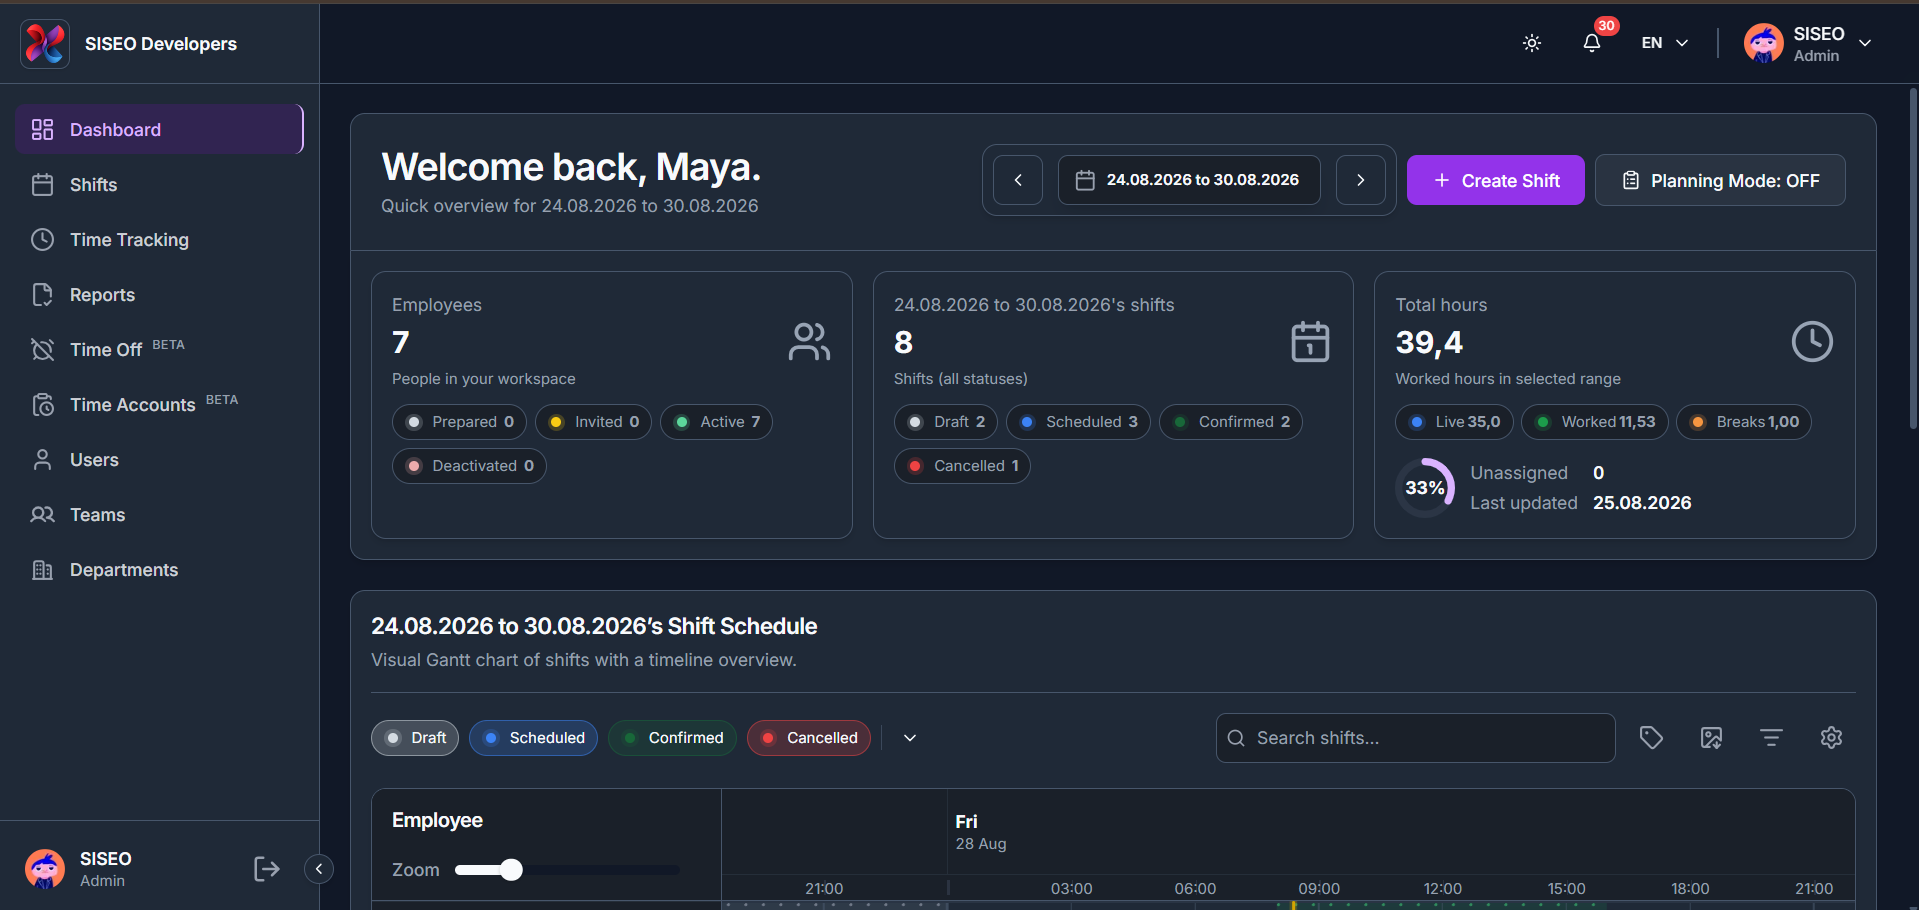
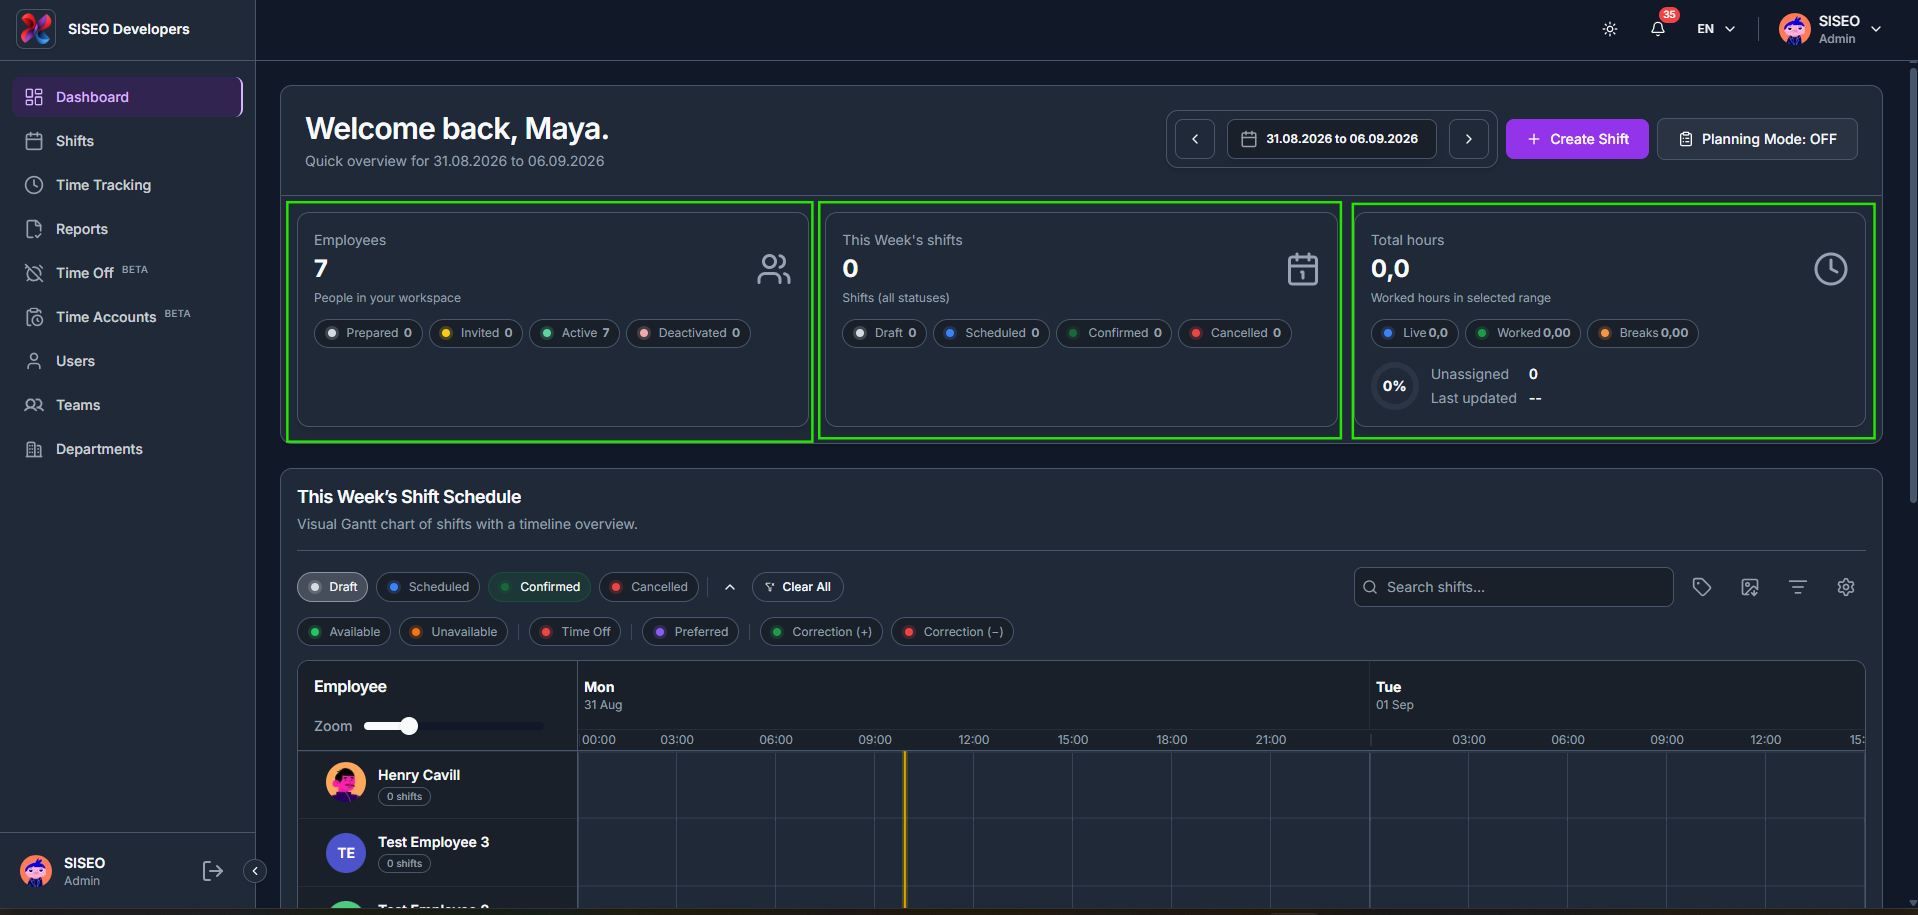
Once published, each shift’s Status changes from Draft to Scheduled, and the header’s Total hours and status counts update to match.
2.2.6How to delete, restore, and permanently remove a shift
- 1
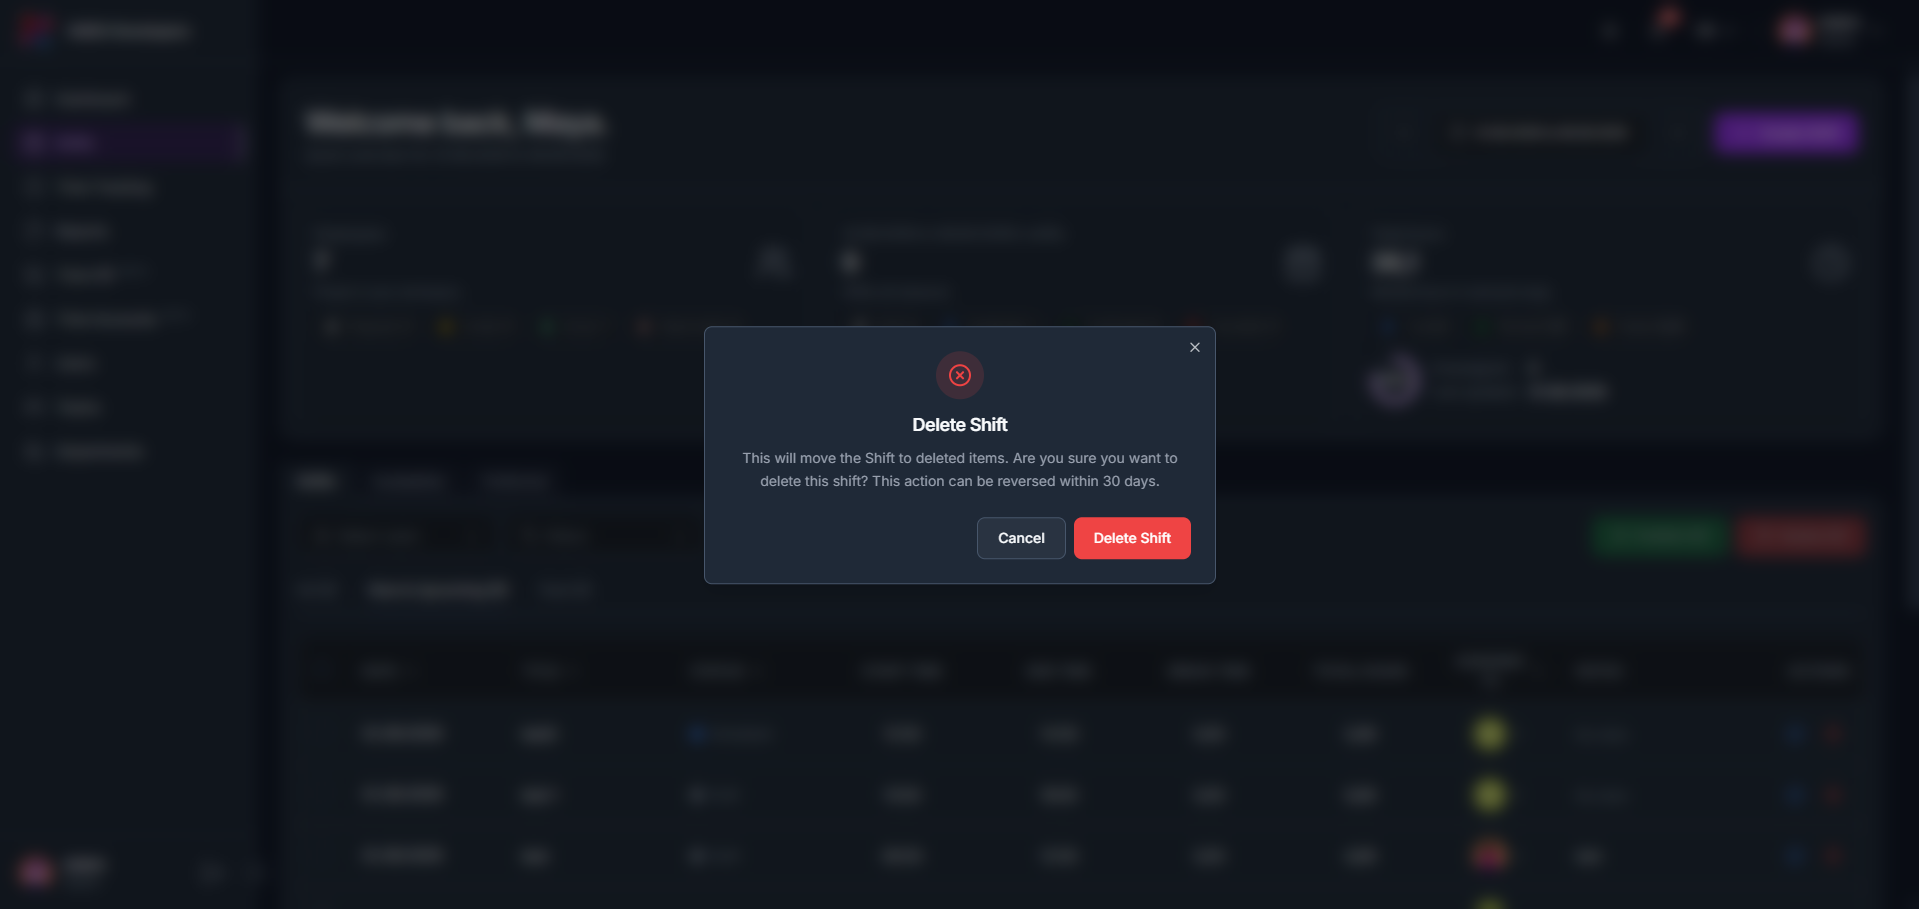
Click the delete (trash) icon on a shift row. A confirmation explains this moves the shift to deleted items and that the action can be reversed within 30 days.
- 2
Deleted shifts appear in the Recently Cancelled Shifts panel at the bottom of the table, showing who it was deleted for, the Deleted date, and when it Expires.
- 3
From that panel, click Restore to move the shift back to the table as a Draft (publish it again to make it visible to employees), or Delete to permanently remove it, this action cannot be undone.
2.3Availability tab (BETA)
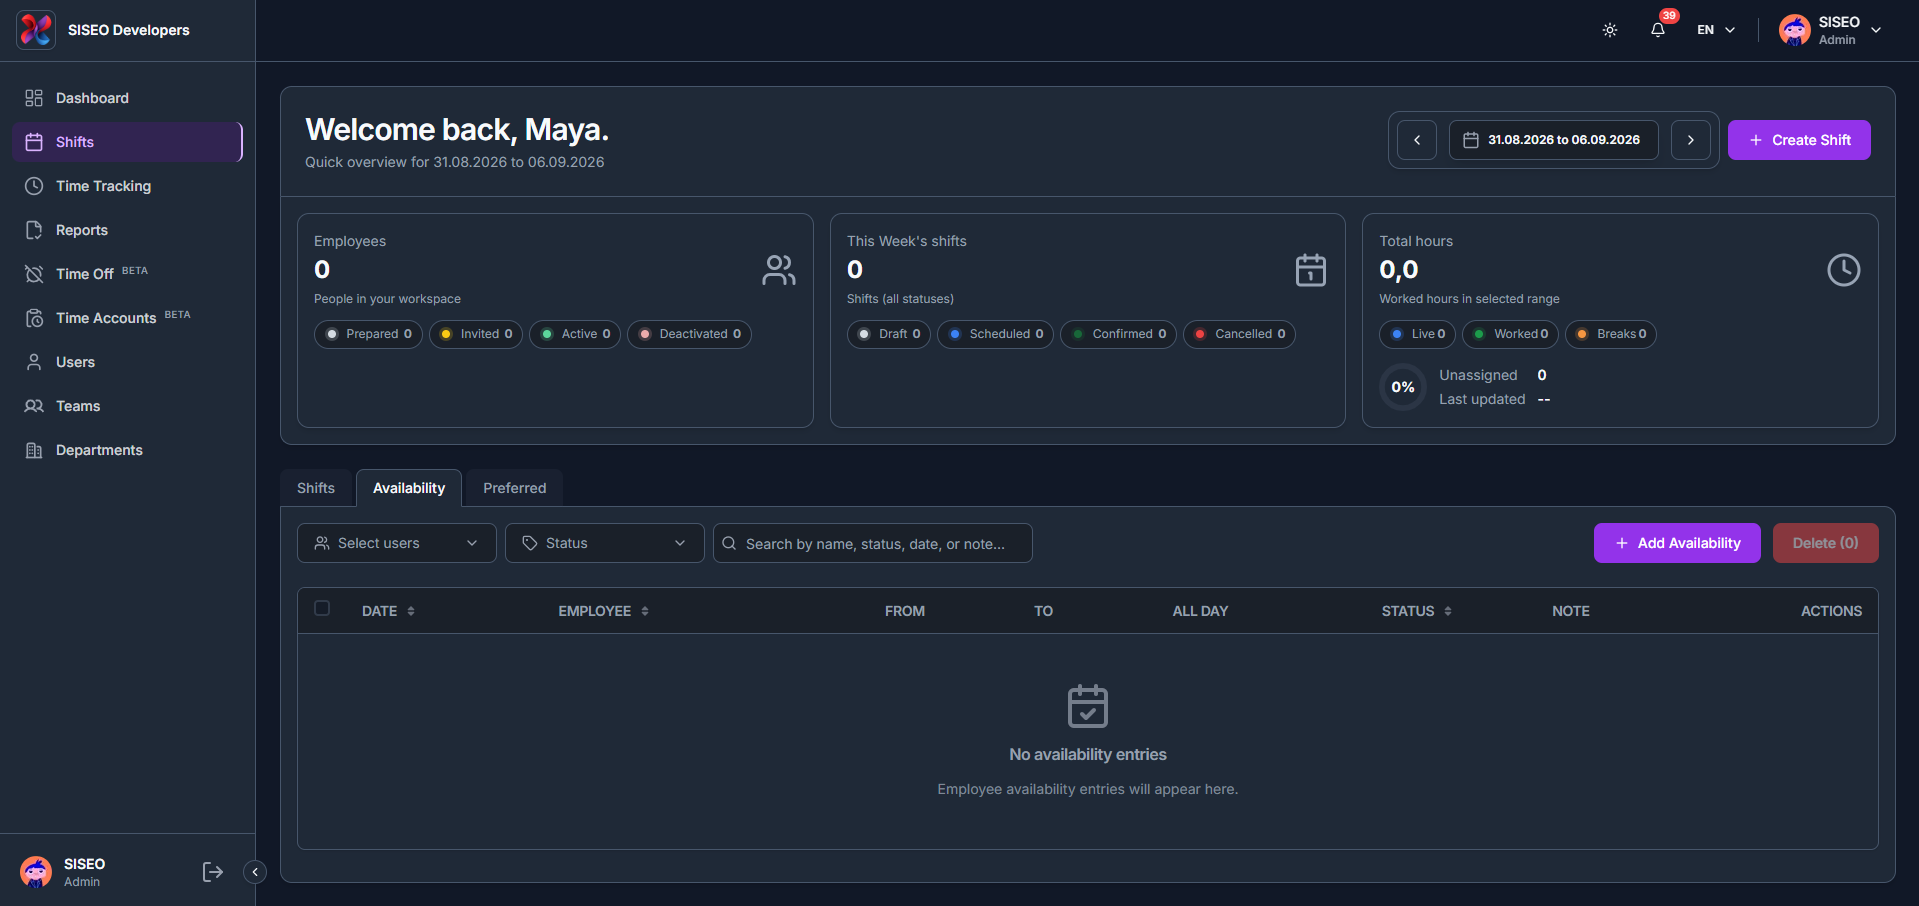
Shows when employees are free to work. Admins can also add availability entries on an employee’s behalf using + Add Availability.
2.3.1How to filter availability
- 1
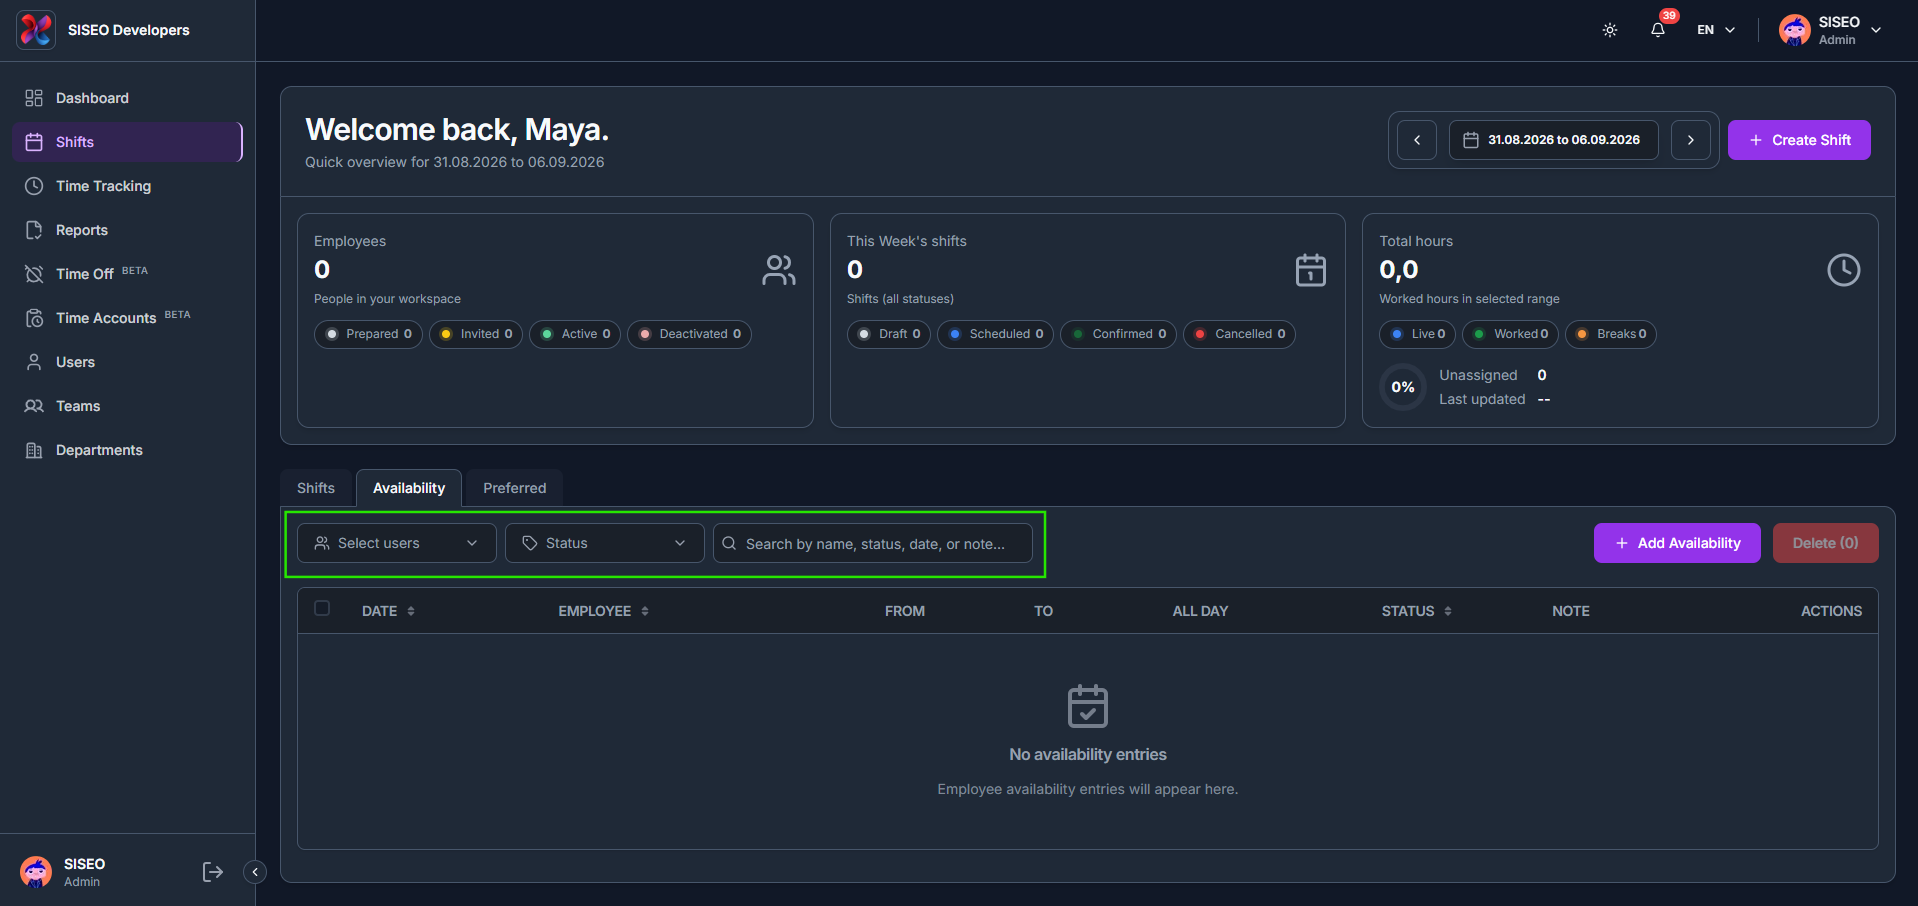
Use the Search by name, status, date, or note box to filter the table directly as you type, independent of the two dropdowns above.
- 2
Click Select users for a searchable employee checklist (by name, team, or tag) with Select All, the same pattern as the Shifts tab.
- 3
Click Status to filter by Available or Not Available, plus Select All.
2.3.2How to add availability
- 1
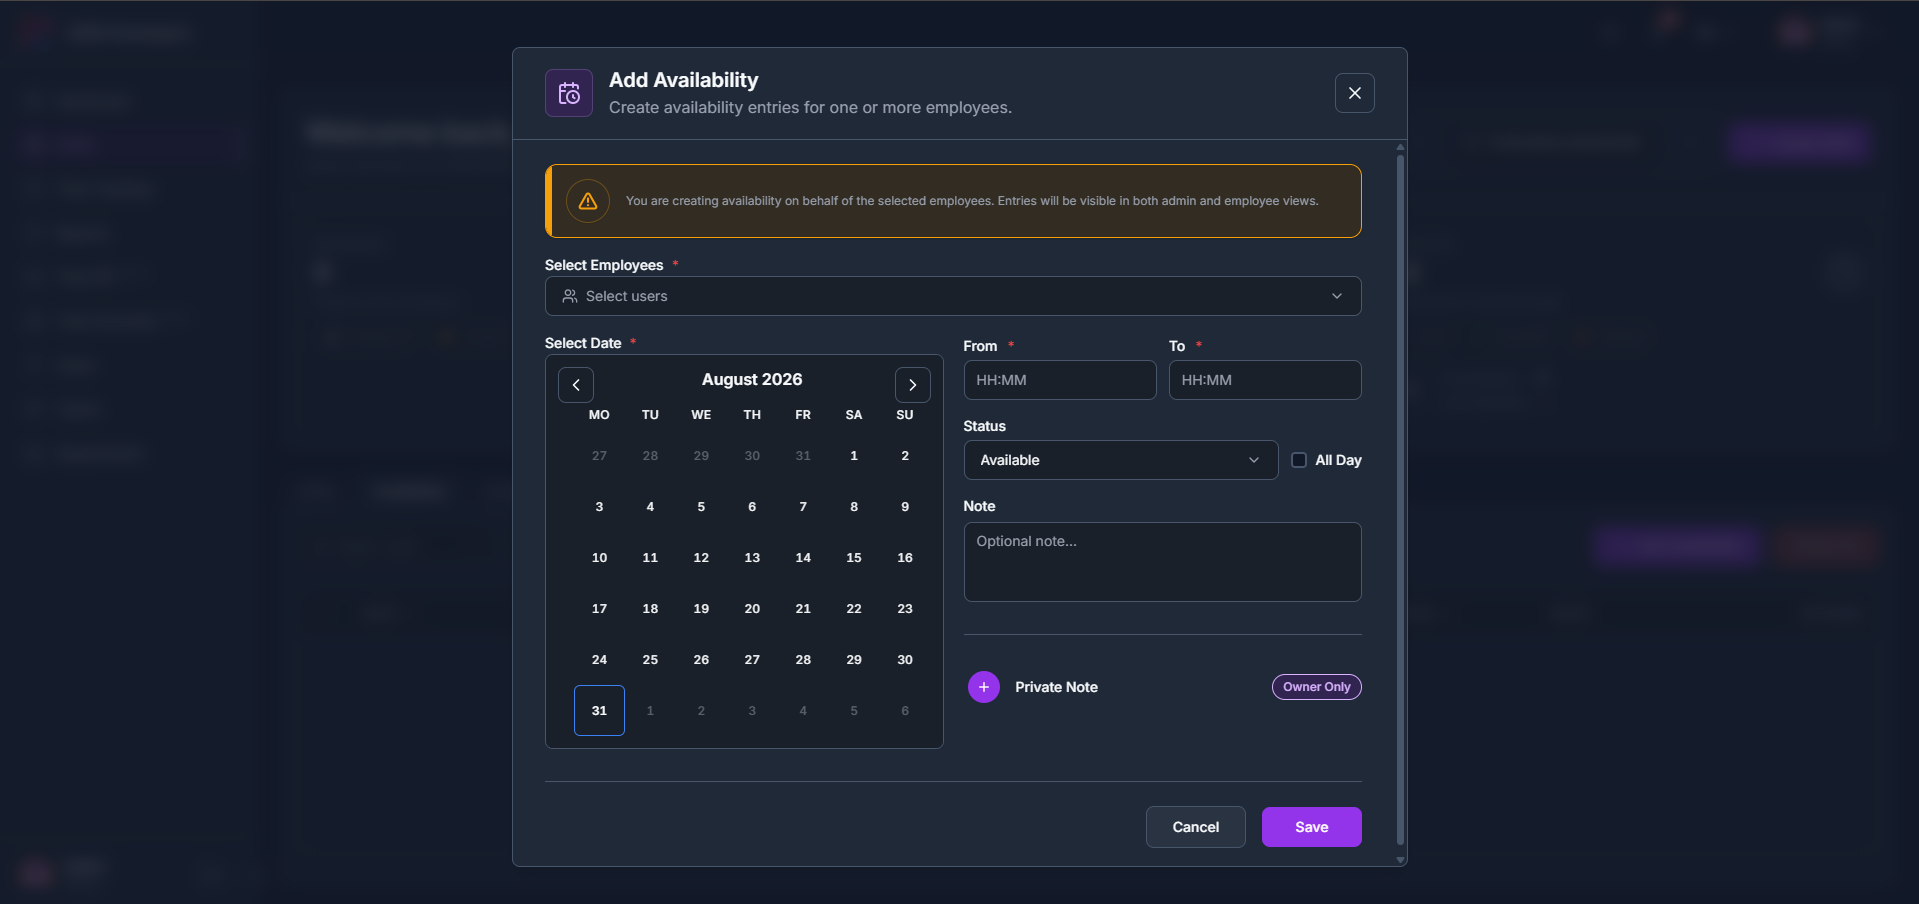
Click + Add Availability, choose the employee(s) under Select Employees, pick a date, set From / To times (or tick All Day), a Status of Available or Not Available, and an optional Note, then Save. A notice at the top of the modal reminds you that entries you create this way are visible in both admin and employee views. You can also add a Private Note visible to the Owner only.
- 2
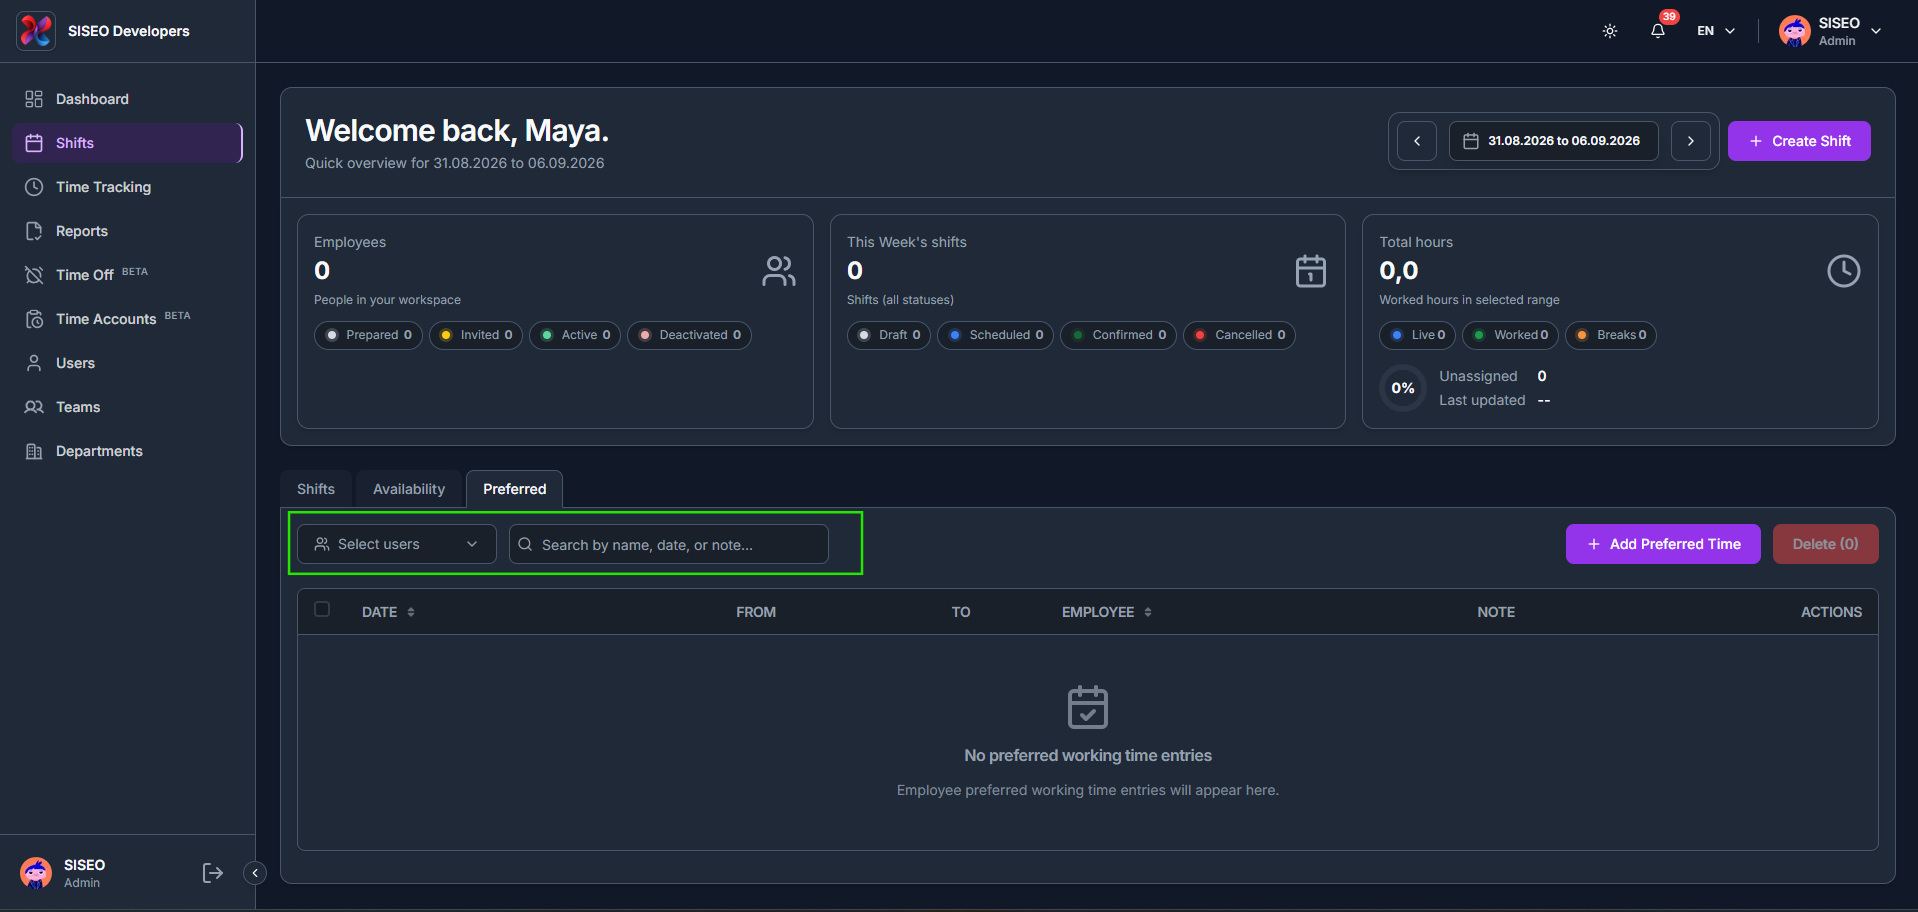
The table lists Date, Employee, From, To, All Day, Status, Note, and Actions. Select rows and click Delete to remove entries; a Recently Deleted Availability link at the bottom keeps deleted entries for reference.
2.4Preferred tab (BETA)
Employees can log preferred working times (days/hours they would like to work), which appear here for admins to reference when building the schedule.
2.4.1How to filter preferred working time
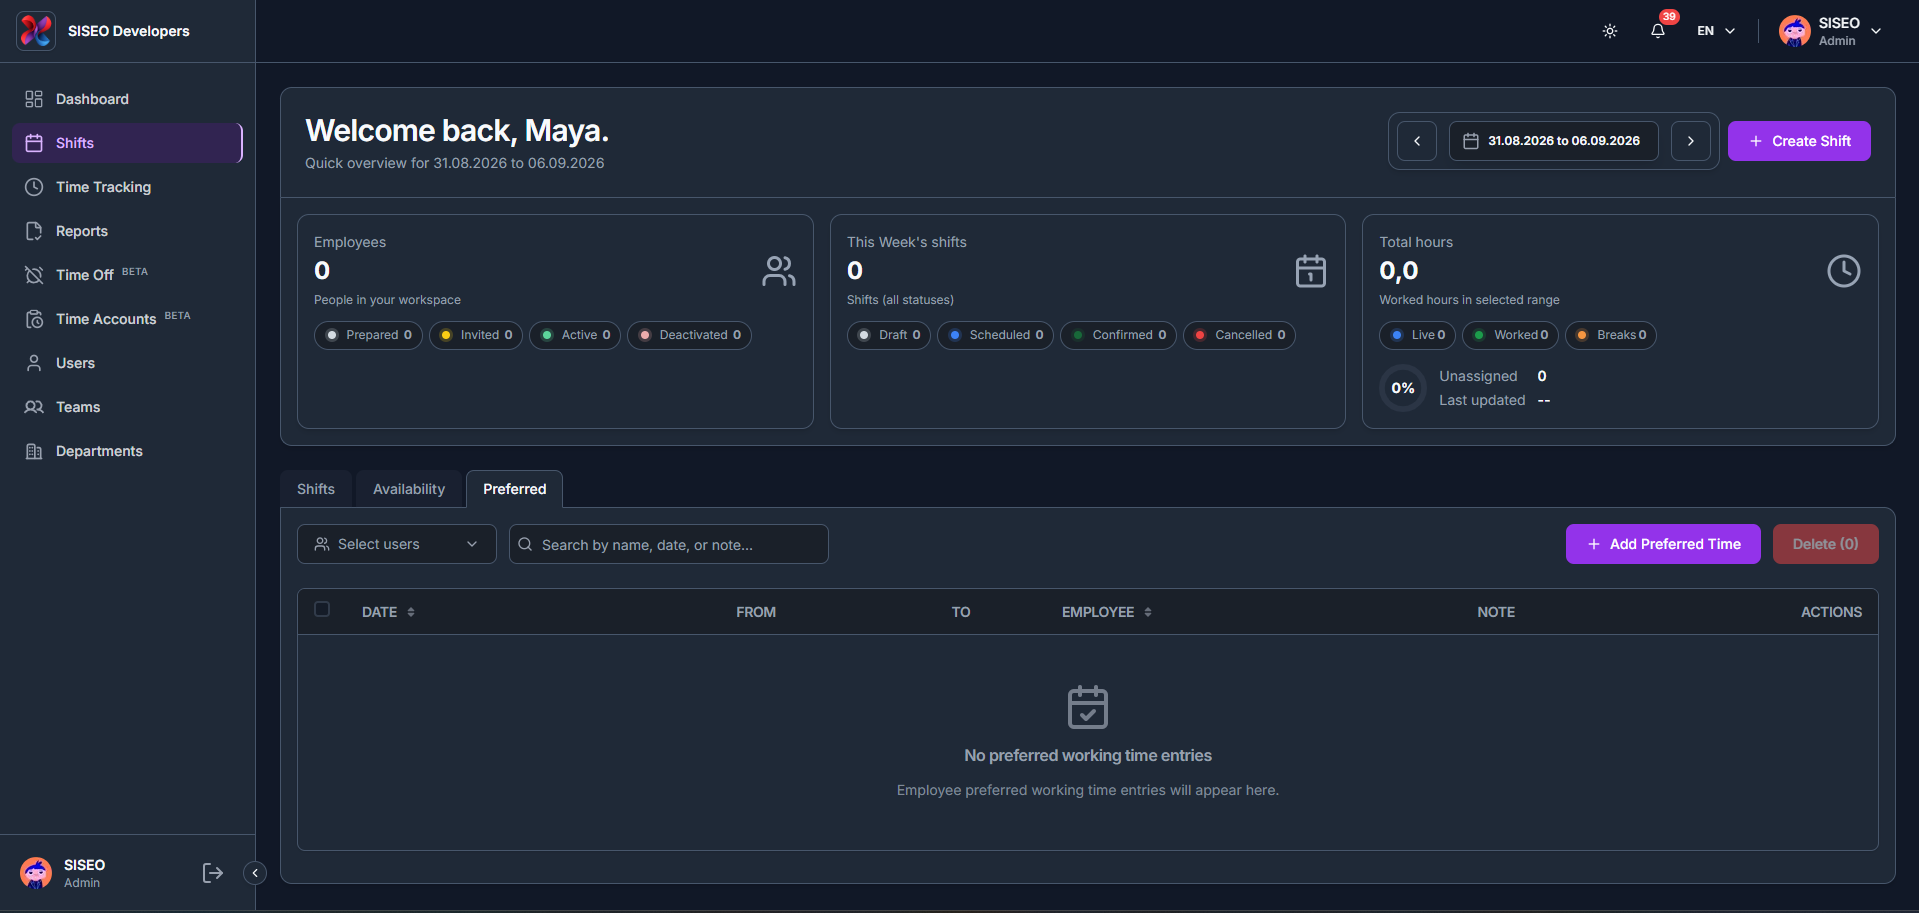
Use Select users and the Search by name, date, or note box above the table. There is no separate Status filter here since preferred-time entries do not have a status.
2.4.2How to add preferred working time
- 1
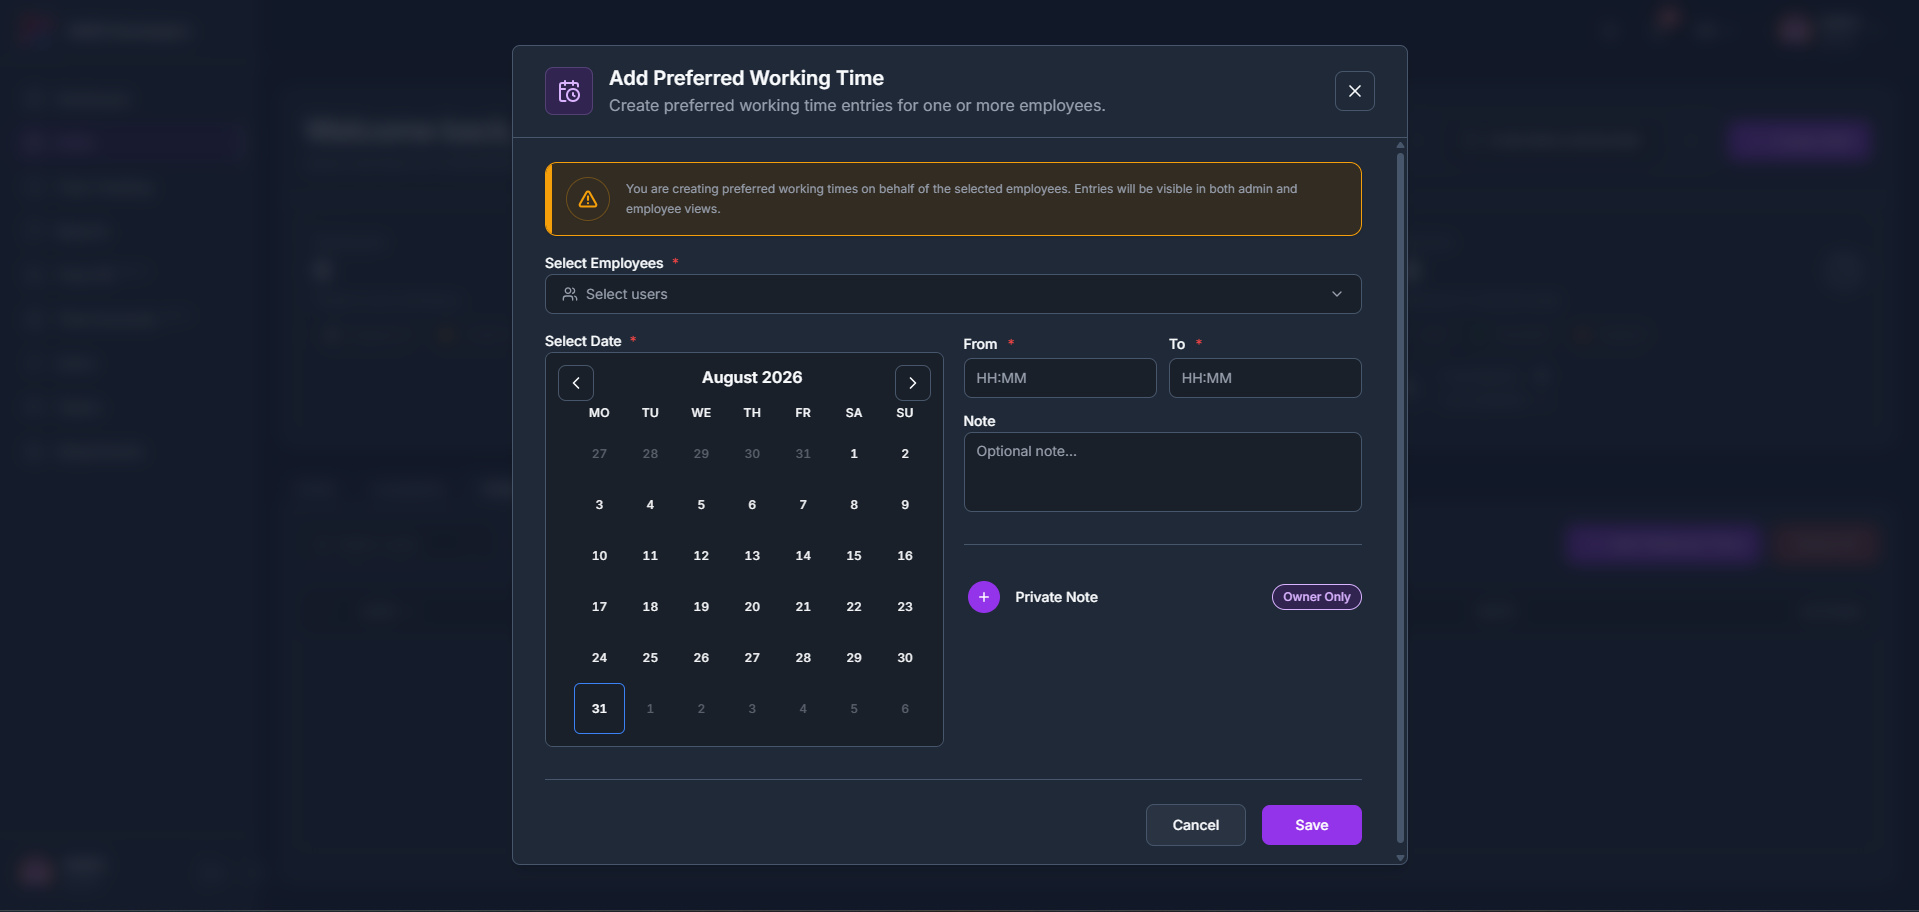
Click + Add Preferred Time, choose the employee(s), pick a date, set From / To times, and an optional Note, then Save.
As with Availability, a notice reminds you that entries are visible in both admin and employee views, and you can add a Private Note visible to the Owner only.
- 2
The table lists Date, From, To, Employee, Note, and Actions. Select rows and click Delete to remove entries; a Recently Deleted Preferred link at the bottom keeps deleted entries for reference.